Hot Sauce: What Can't it Do?
Bonus recipe in an email to follow immediately after this one: Tepache! The refreshing, fermented pineapple drink you didn't know you needed.
Disclosure, because I like you: If you choose to buy any of the ingredients or equipment that I mention in my newsletters, please click through to Amazon from my letter. If you make a purchase that way, I may earn a small commission, at no cost to yourself. And that would be just peachy, thank you.
Hello, my friend,
I’ve mentioned before that we are a condiment-intensive household and that anyone who might come to my house to look at the contents of my fridge would probably think, “She has a bigger problem than I thought.”
Hot sauce holds a special place in my heart because it is so delicious and there are so many things you can do to make it even better. Obviously, the central heat is from hot peppers, but there are so many things you can add to give it the flavor you want. Want it more Tex-Mex? Add cumin and lime. Want a more Asian flavor? I have made sauce incorporating tamarind paste and honey. You are in control of your hot sauce, and there are endless variations.
Most of the time, I simply add to the hot peppers some onion, garlic, some sort of fruit for flavor and sweetness, spices, vinegar and brine, if I am fermenting the sauce.
Oh, did I not mention that you can ferment hot sauce? You can, and it gives the sauce a complexity that you didn’t know you were missing, that umami “funk” that is so addictive in fermented foods.
We’re making a fermented Pineapple Habanero hot sauce today, although you could just as easily substitute fresh mango, if that’s your thing. (In a pinch I have even used defrosted frozen mango). Buy a fresh, ripe pineapple, though, so we can make tepache, the Mexican fermented pineapple drink, out of the scraps that don’t go into the hot sauce. This is a very-little-waste project, and you will love the tepache. The recipe will follow in another email.
For those of you who are just joining us, or have forgotten how to make a basic brine or control a fermentation, please read this. It is a step-by-step explanation of what fermentation is and how to make a brine, which is the anaerobic environment that lactobacilli need to thrive and convert your food to deliciousness.
We are going to make this sauce in two phases: The fermentation and the blending. The first phase will take about two weeks or so, and then you will blend the vegetables and fruit up, adding the brine as needed to loosen the sauce.
Fermented Pineapple Habanero Hot Sauce
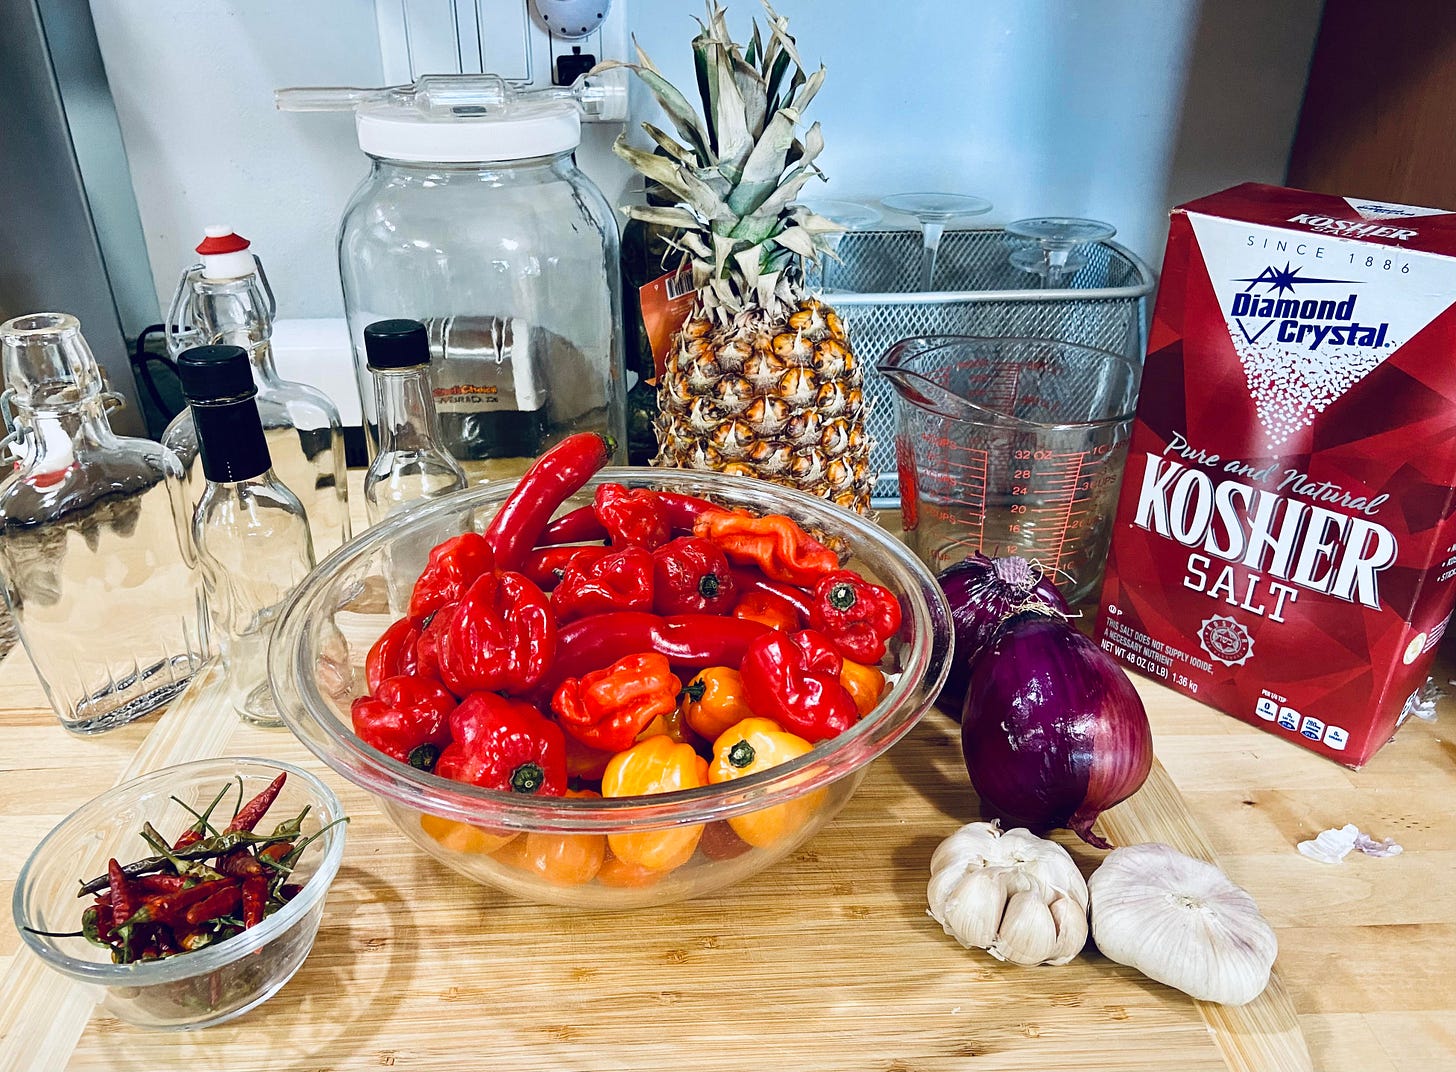
Rubber gloves (I AM SERIOUS. I am putting this first as a reminder that we are working with a lot of capsaicin here and you do NOT want it in your eyes. Or elsewhere.)
A good blender (I use the Ninja and am very happy with it. The footnote at the end explains why my blender is better than yours.1)
1 gallon wide mouth jar with airlock
1 ripe, whole pineapple
1 lb. fresh habanero peppers
1 lb. fresh hot peppers, any variety, but try to keep them in the same color family for visual appeal (I use all red or orange peppers)
2 red onions, peeled and “chunked” (although the smaller you cut the pieces, the faster they will ferment
1 head of garlic, separated into cloves, peeled and sliced in half
8 Tbsp. Kosher salt (That sounds like a lot of salt, but remember that we are filling a gallon jar with almost a gallon of water. Any extra brine will be put into a Ziploc bag to help hold the fruit and vegetables down)
Filtered water to fill the gallon jar to the shoulders (spring water is also good. Do not use tap water if it is chlorinated. That will prevent the food from fermenting.)
The Fermentation:
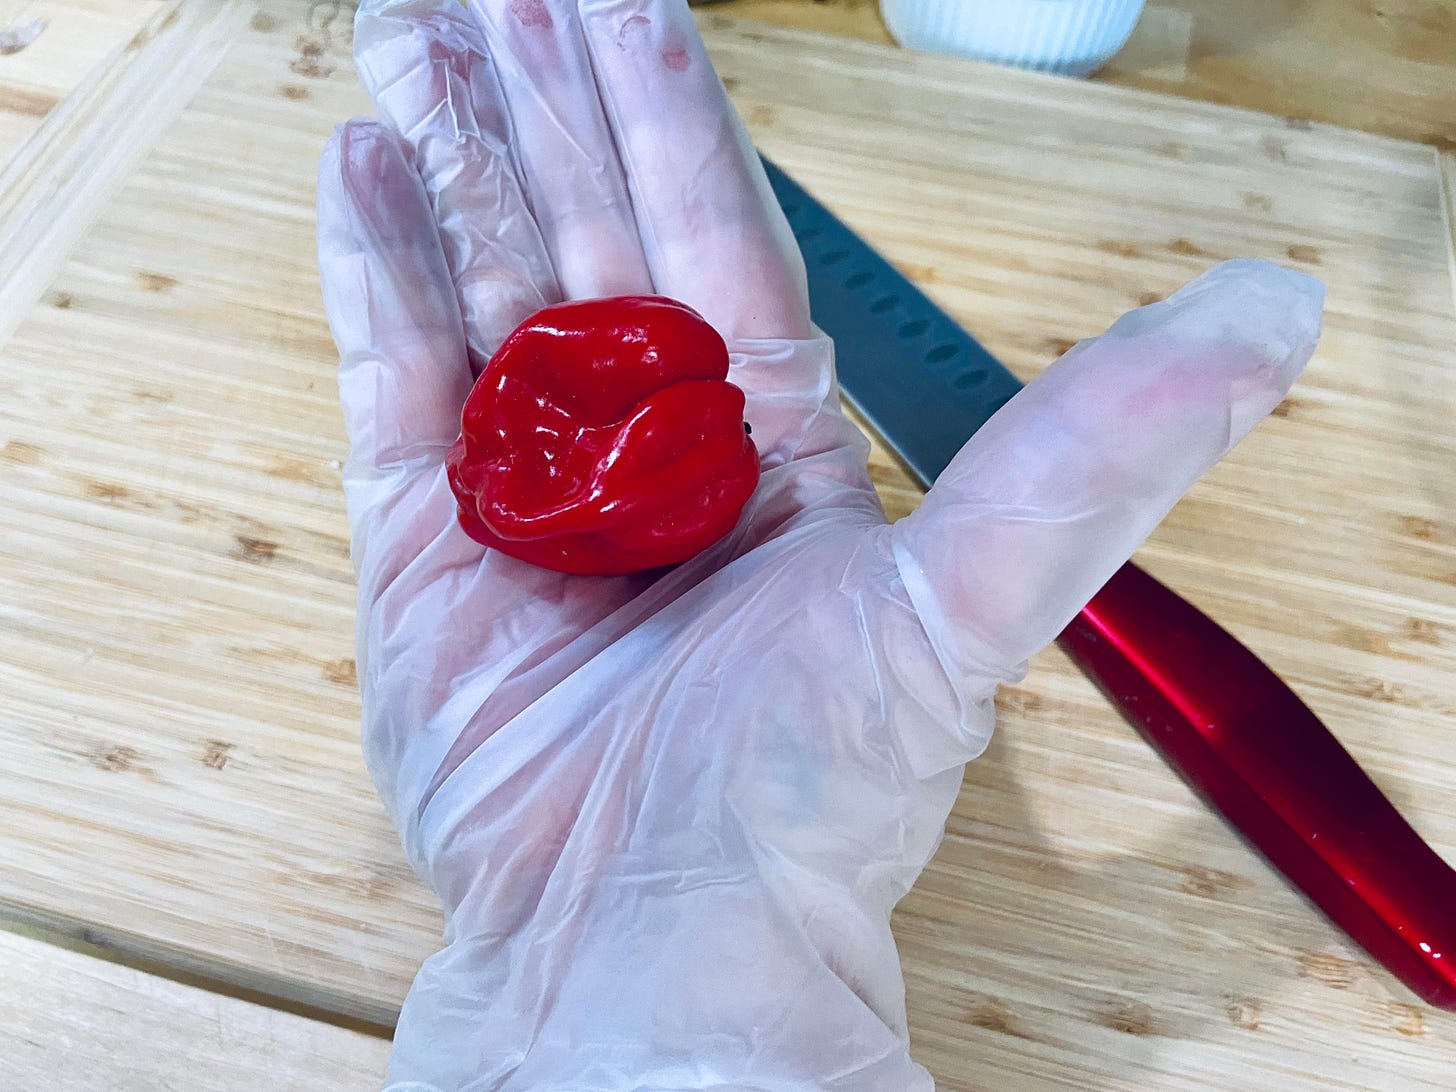
PUT ON THE RUBBER GLOVES. I’m serious. I know you tucked them away somewhere, thinking you could cut and de-seed frigging habanero peppers without them because rubber gloves are hot and uncomfortable, and my one question to you is: ARE YOU CRAZY? I’ll wait here while you put them on your hands.
Are you gloved? OK, cool. Rinse the peppers, but do not scrub. Slice each one the long way (from stem to, um, stern) and use the tip of your knife to scrape out most of the seeds. You can leave some of them in to add heat, but they don’t blend well, and you will see them in the finished sauce. Set the peppers aside.
Slice off the top of the pineapple. This is the only part you won’t be using, although I’ve heard that you can plant them if you are into that and want to be zero-waste. Now slice the skin off the pineapple (including the bottom) and cut out the central core. Set the skin and core aside for the tepache (you’ll be making the tepache on the same day you start the hot sauce fermentation. Recipe to follow in the next email.)
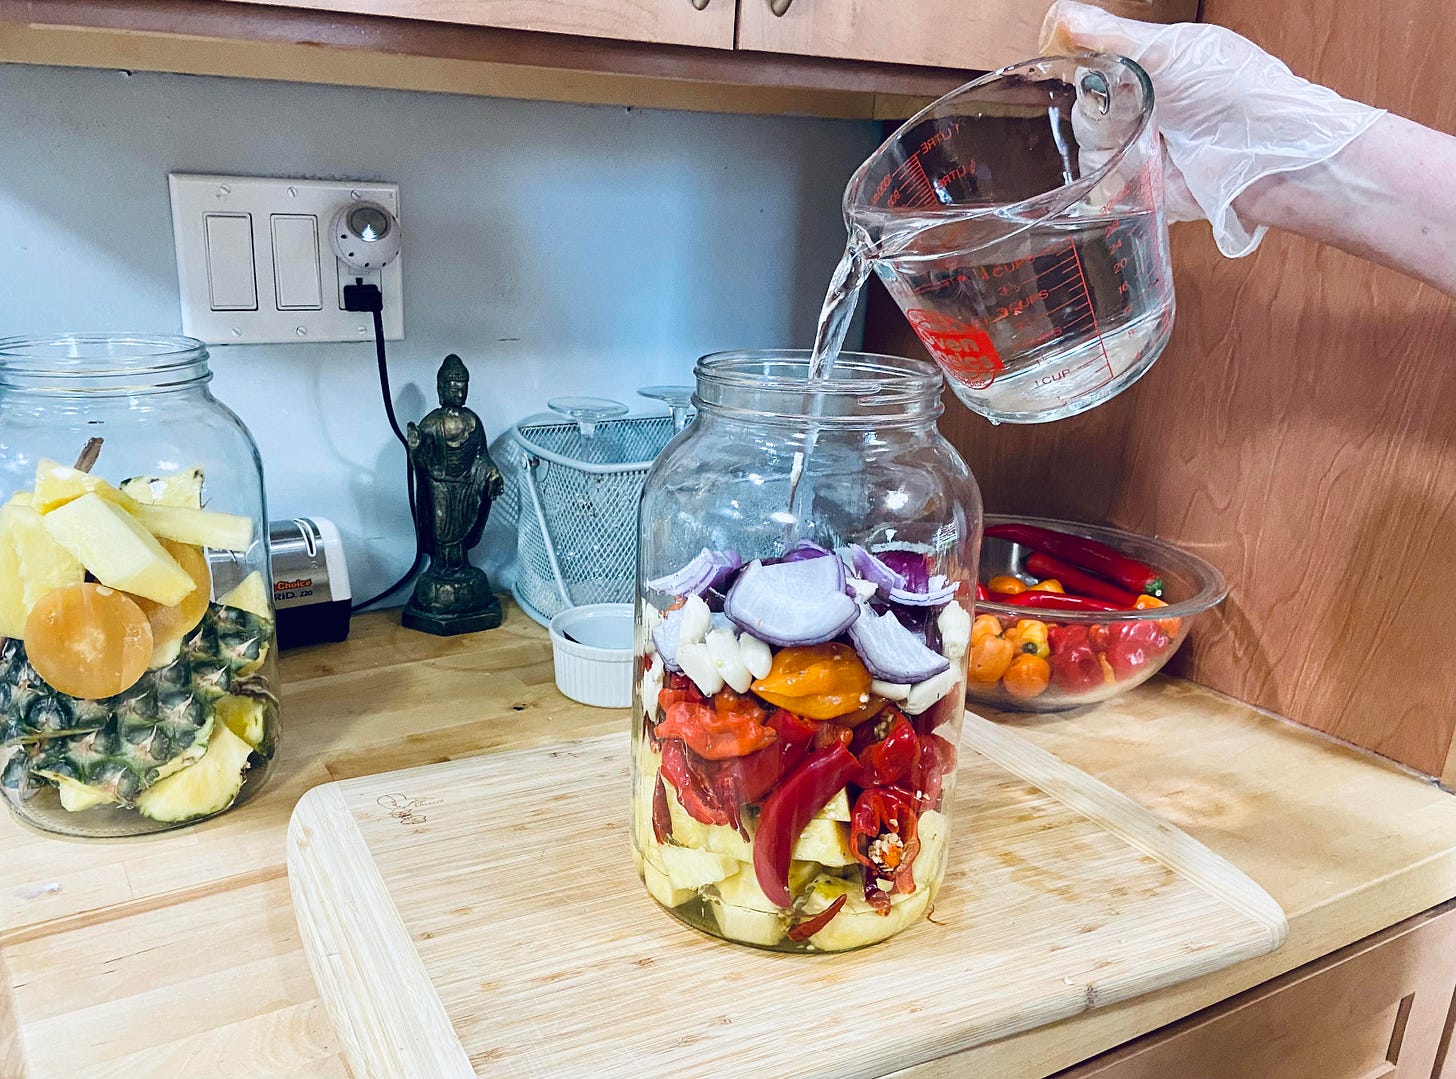
Slice up the fruit and place in the gallon hot sauce jar.4. Place the peppers in the jar on top of the pineapple. Add the garlic, and then put the red onion chunks on top (they will help hold the other items under the brine.
5. Make the brine. Add brine to the jar until it just covers the fruit and vegetables.

The contents need to be kept completely submerged in the brine. This jar will probably be too large to use a pickling stone, so we are going to make our own weight.
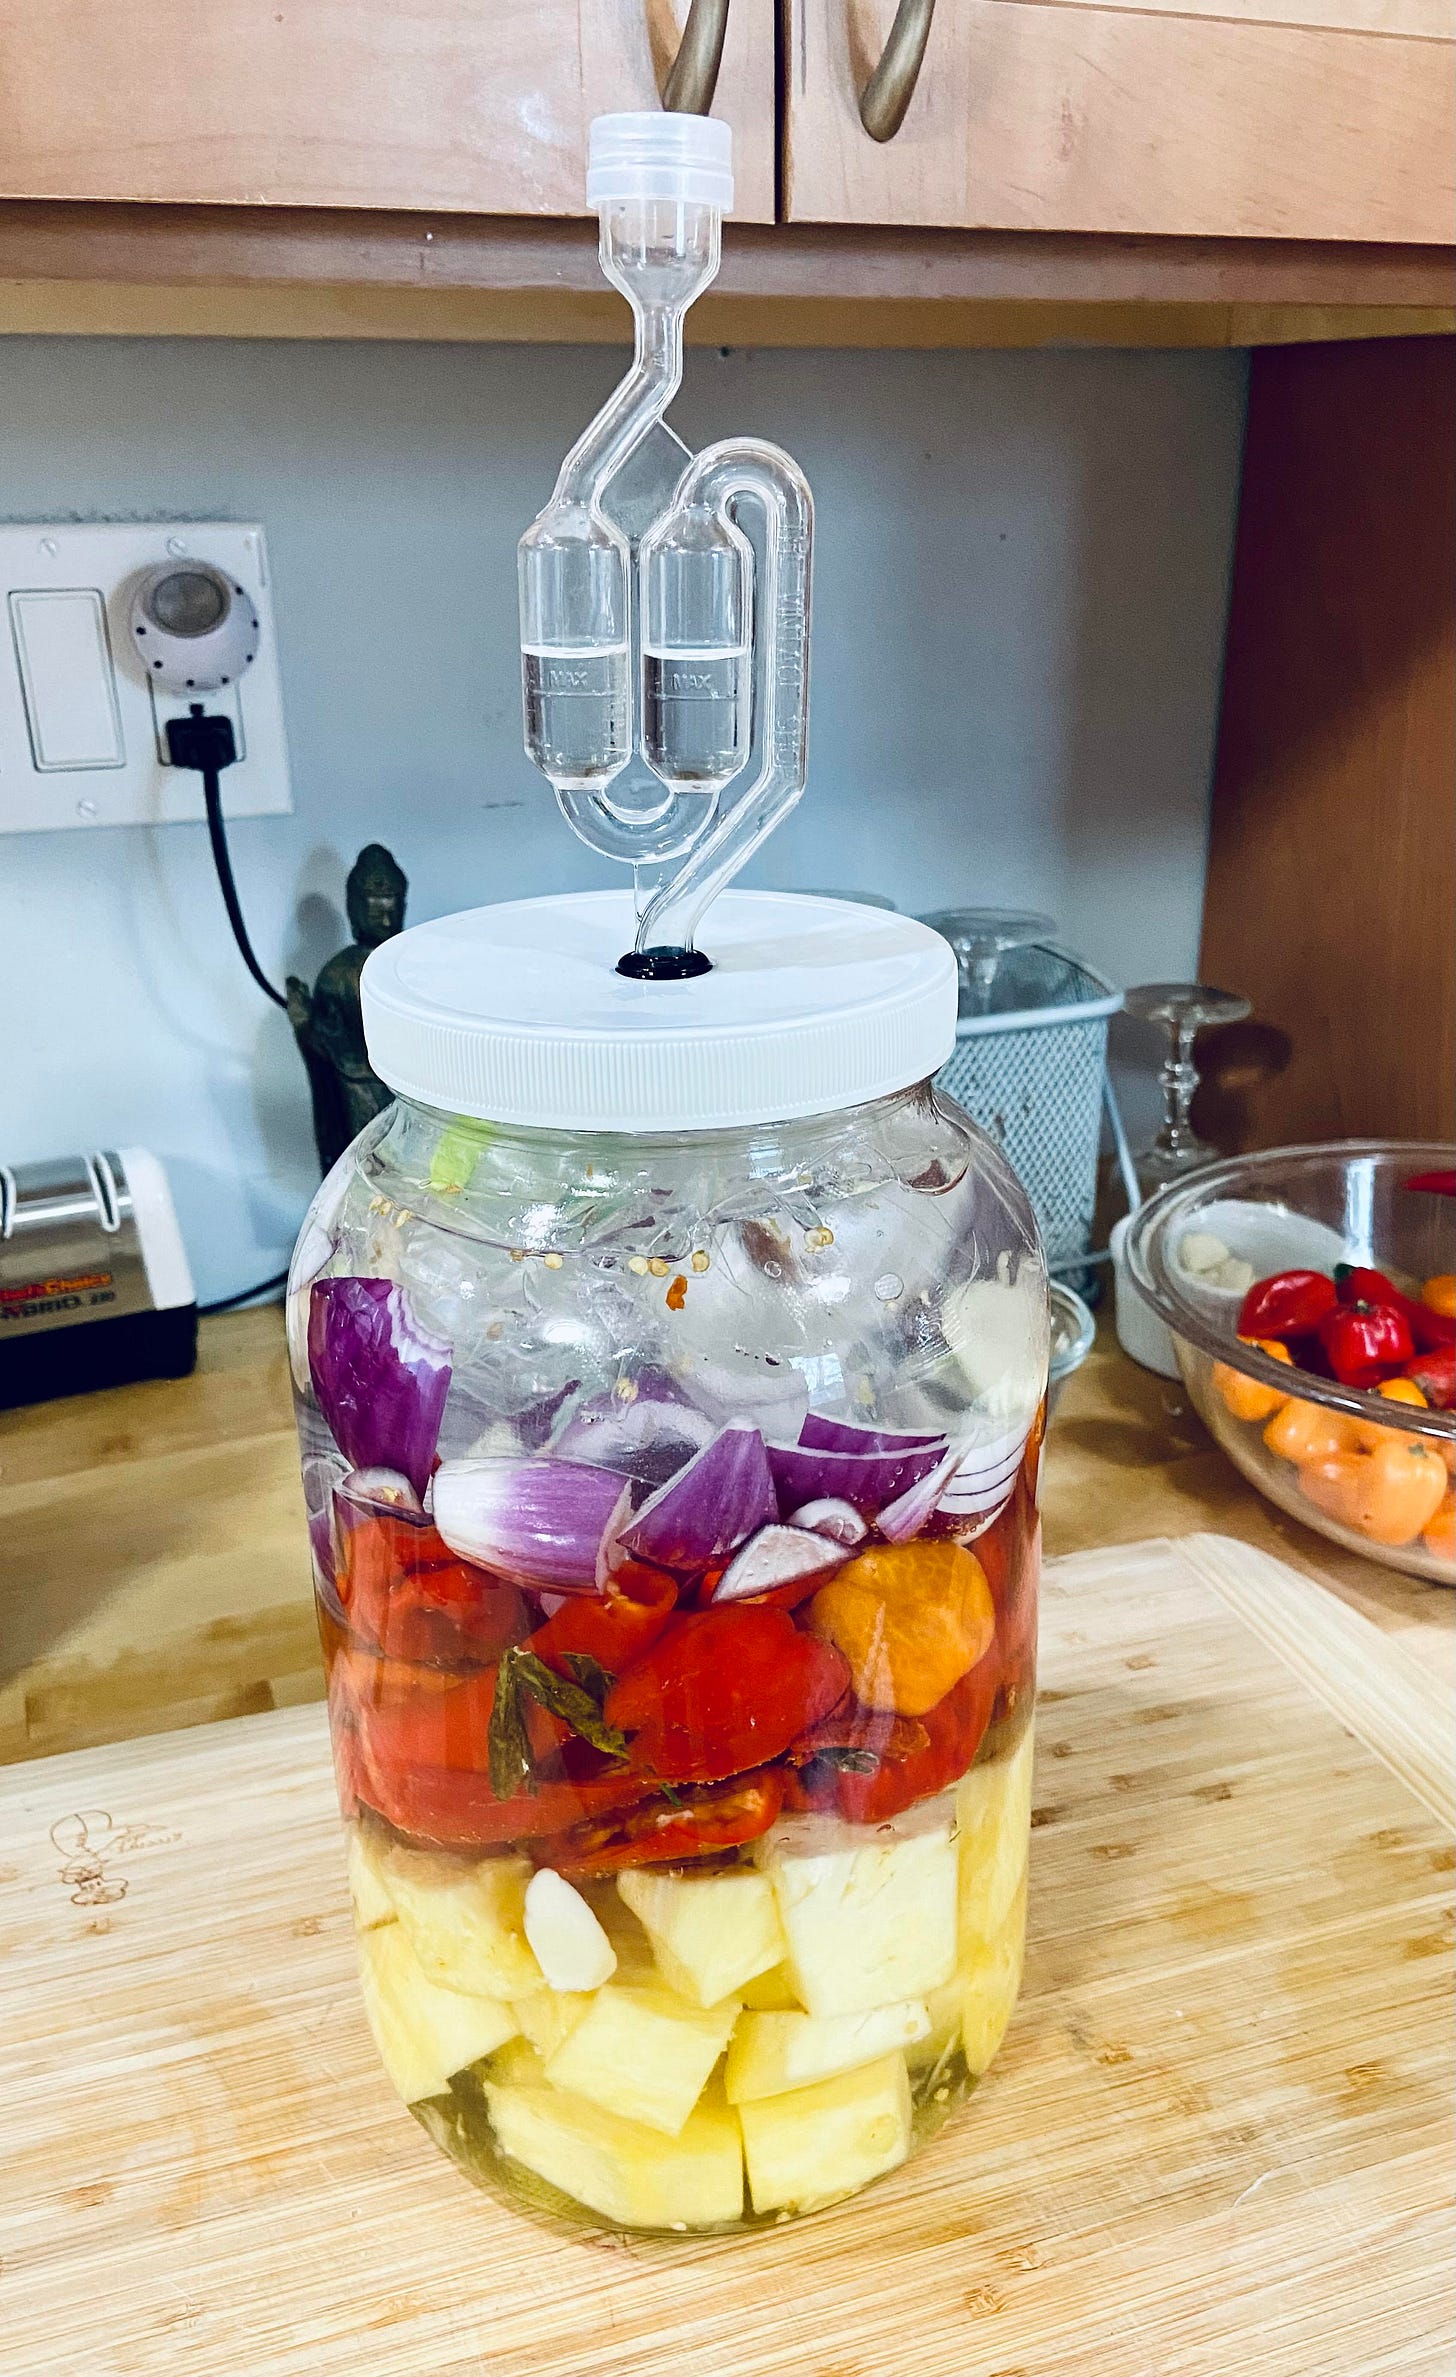
6. Fill a large Ziploc bag about halfway with the leftover brine (or make more: 2 Tbsp. kosher salt to 1 quart filtered water). Press any air out and zip the bag closed. Place the bag on top of everything in the jar (spill out any brine that overflows), and then screw on the lid with the airlock in place (fill the airlock to the indicated line with brine or filtered water). Remember, this is going to build up CO2 during the fermentation, so we need to give it room to escape, or BOOM.
Doesn’t it look pretty?
7. Set the jar aside, out of direct sunlight and in a warm-ish place (a cabinet or countertop is fine.)
Do not be tempted to remove the lid or airlock, unless you need to readjust the weighted bag. The lactobacilli know exactly what to do.
Over the next few days, you will start to see bubbles forming around the food in the brine. That means that everything is going well: the lactobacilli have arrived at the buffet and are partying hard. There are a couple of things that indicate that fermentation is taking place:
Bubbles
The liquid in the airlock is no longer even in the two tubes, which is an indication of positive pressure in the jar)
Cloudiness in the brine
The Blending (Two Weeks After You Started)
1 tsp. cumin powder
Honey to taste (I usually add a Tbsp. at a time during the blending phase until it’s as sweet as I want)
2 Tbsp. apple cider vinegar (optional — it adds a nice tangy flavor and will help preserve the sauce a bit longer. On the downside, this may kill some of the living elements in your sauce.)
1/2 fresh lime, juiced
1/4 tsp. Xantham gum (optional: it prevents the separation of the sauce in the bottle.)
A couple of grinds of black pepper
Mason jars or these adorable woozy bottles so that your hot sauce looks like the real thing (great for doling out as gifts to the people who have complimented your fermentations thus far.) They even come with those plastic doohickeys that you insert in the mouth of the bottle to reduce the flow.
Oh, and labels! You definitely want to label your sauce, but I bought these skull stickers and I believe they more than get the point across.
PUT THE RUBBER GLOVES ON AGAIN. Really. I know you hate them, but you may get some of the hot stuff on your hands. Better safe than blind, I
After fermentation has stopped — no real bubbling is taking place or two weeks have passed — scoop the fruit and vegetables into your blender. Reserve the brine.
Add the cumin, honey, apple cider vinegar, lime juice, xantham gum and black pepper and begin pureeing.
Puree in bursts, adding brine until it is the consistency you like in a hot sauce. Stop and check from time to time to see that the sauce is completely broken down. (If you decide to buy the adorable woozy bottles and you like your sauce on the thick side, do not use the plastic inserts.)
You have a choice to make now. You can strain the pulp out of your sauce or leave it as is, which will make a very thick sauce. I usually strain and add some of the pulp back. The xantham gum will prevent the sauce and the solids from separating.
I save the pulped “mash” in a jar in my fridge and we add it to soups, sauces and anything that needs some peppery heat. My older child, who has no taste buds left, has been known to spread it on a cracker.Bottle or jar your sauce up and label it. I keep a good amount of bottles in my fridge and give the rest away to people I like.
Stay tuned for the tepache recipe, coming right up!
Until next time,
Deb
Listen, we are all adults here, but just in case no one has told you, not all blenders are built the same. I did not know this, and for years I bought cheap blenders one right after the other, thinking “What am I really going to use this for? The occasional smoothie?” And they kept breaking on me, or refusing to chop or blend and then just dying after a year or two of abuse (e.g., the occasional smoothie.) These cheap blenders are not made for longevity.
No, what you want is a strong, fierce blender that could blend aluminum cans if it had to (not that I am suggesting that.) You want a blender that looks at the fruits and vegetables you are about to put into it, laughs at the challenge and says “Is that all you’ve got? Where are the aluminum cans??” (Again, I don’t advise this, no matter what the blender tells you.) You want a blender that, even though you spent a bit more on it in the beginning, keeps coming back for more and stays by your side for years, blending all the things you put in there without question (except for aluminum cans.) You need a blender that looks like a military tank that could shoot, I dunno, laser death rays at anyone who comes between you and your smoothie PEW! PEW! PEW!
But anyway, that’s why I recommend the Ninja.


