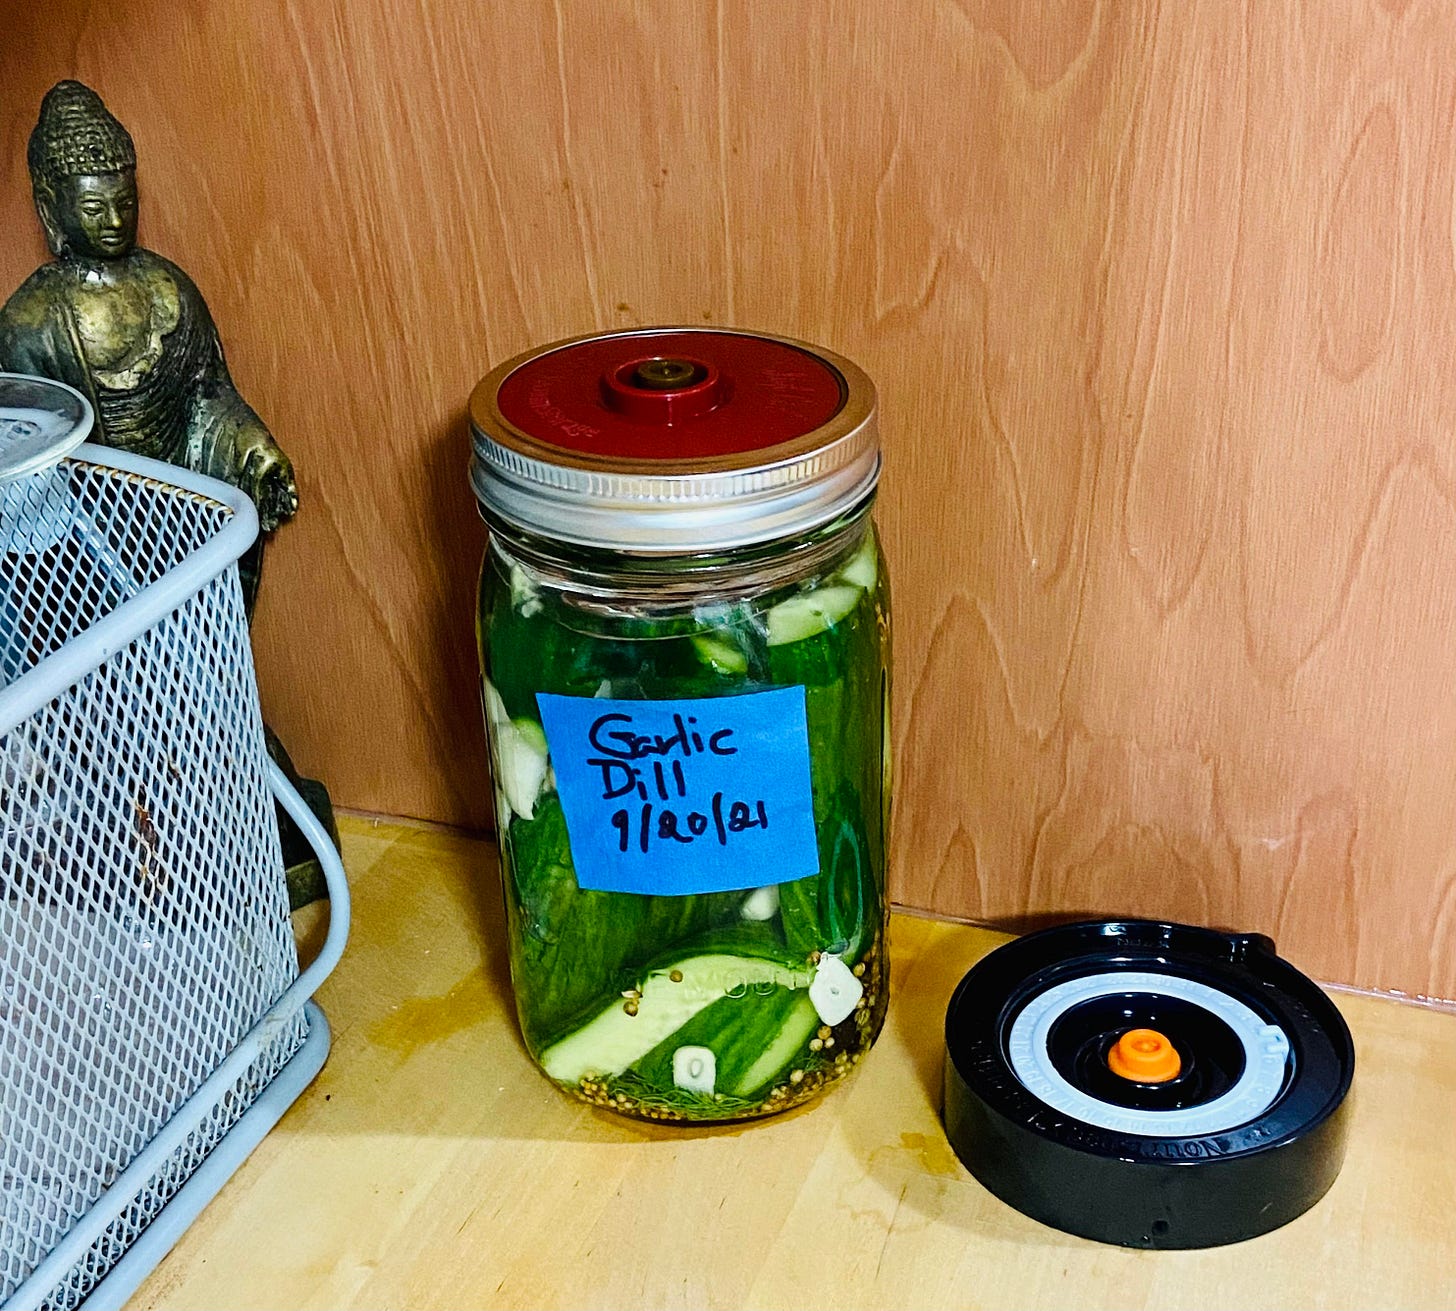
Garlic Dill Pickles (Lacto-Fermented)
How to make your mouth water and practice the Zen of waiting.
Have you tried your quick pickled onions yet? Your pink and pretty condiment should be ready now, and it is delectable on a burger. Oh, and don’t throw away the onion-infused vinegar when you finish the onions. A teaspoon or two whisked into a vinaigrette makes everything better.
Hey, this is an exciting day: We’re going to start our first lacto-fermentation experiment together! Seriously, I’m jazzed for us. Once you make one jar of lacto-fermented vegetables, you’re going to want to ferment everything. Warn your family to keep moving at all times.
Let’s get our equipment together first. You’ll see some asterisks in this letter. They’re there to explain something or give you alternatives to the way I do things.
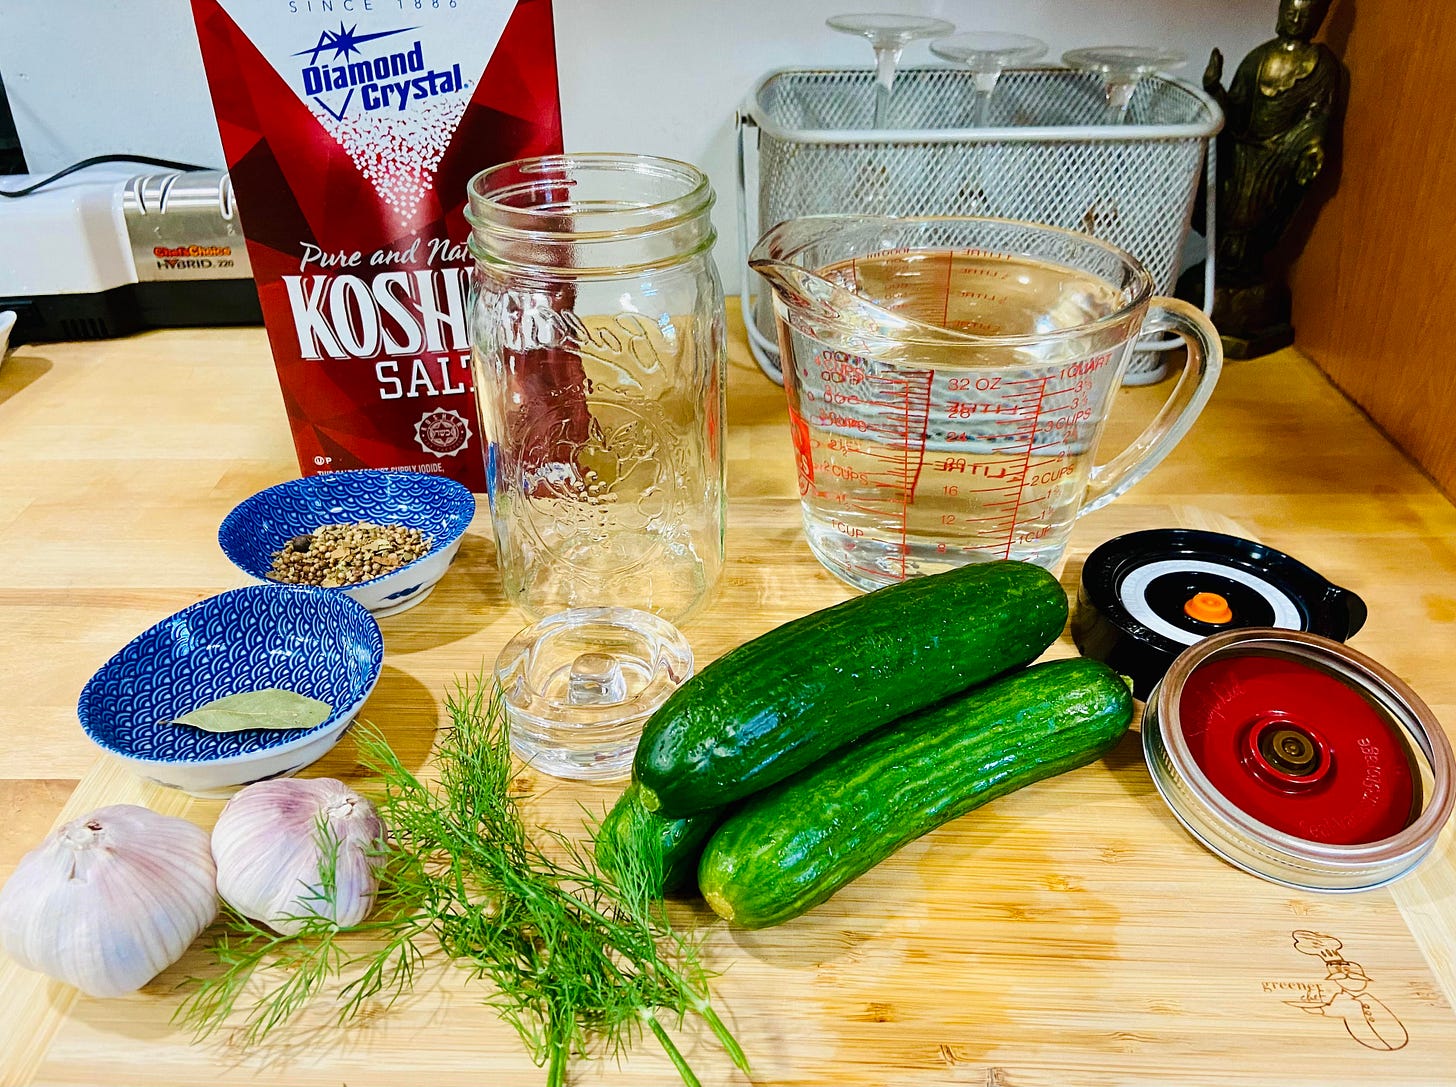
You will need:
A quart-sized Mason jar* (Mason jar tops are standardized and fit the airlocks best), with glass bottom sterilized. (I like the wide mouth jars. I just find them easier to work with)
An airlock** to allow the CO2 to escape during fermentation (so your precious doesn’t go BOOM!)
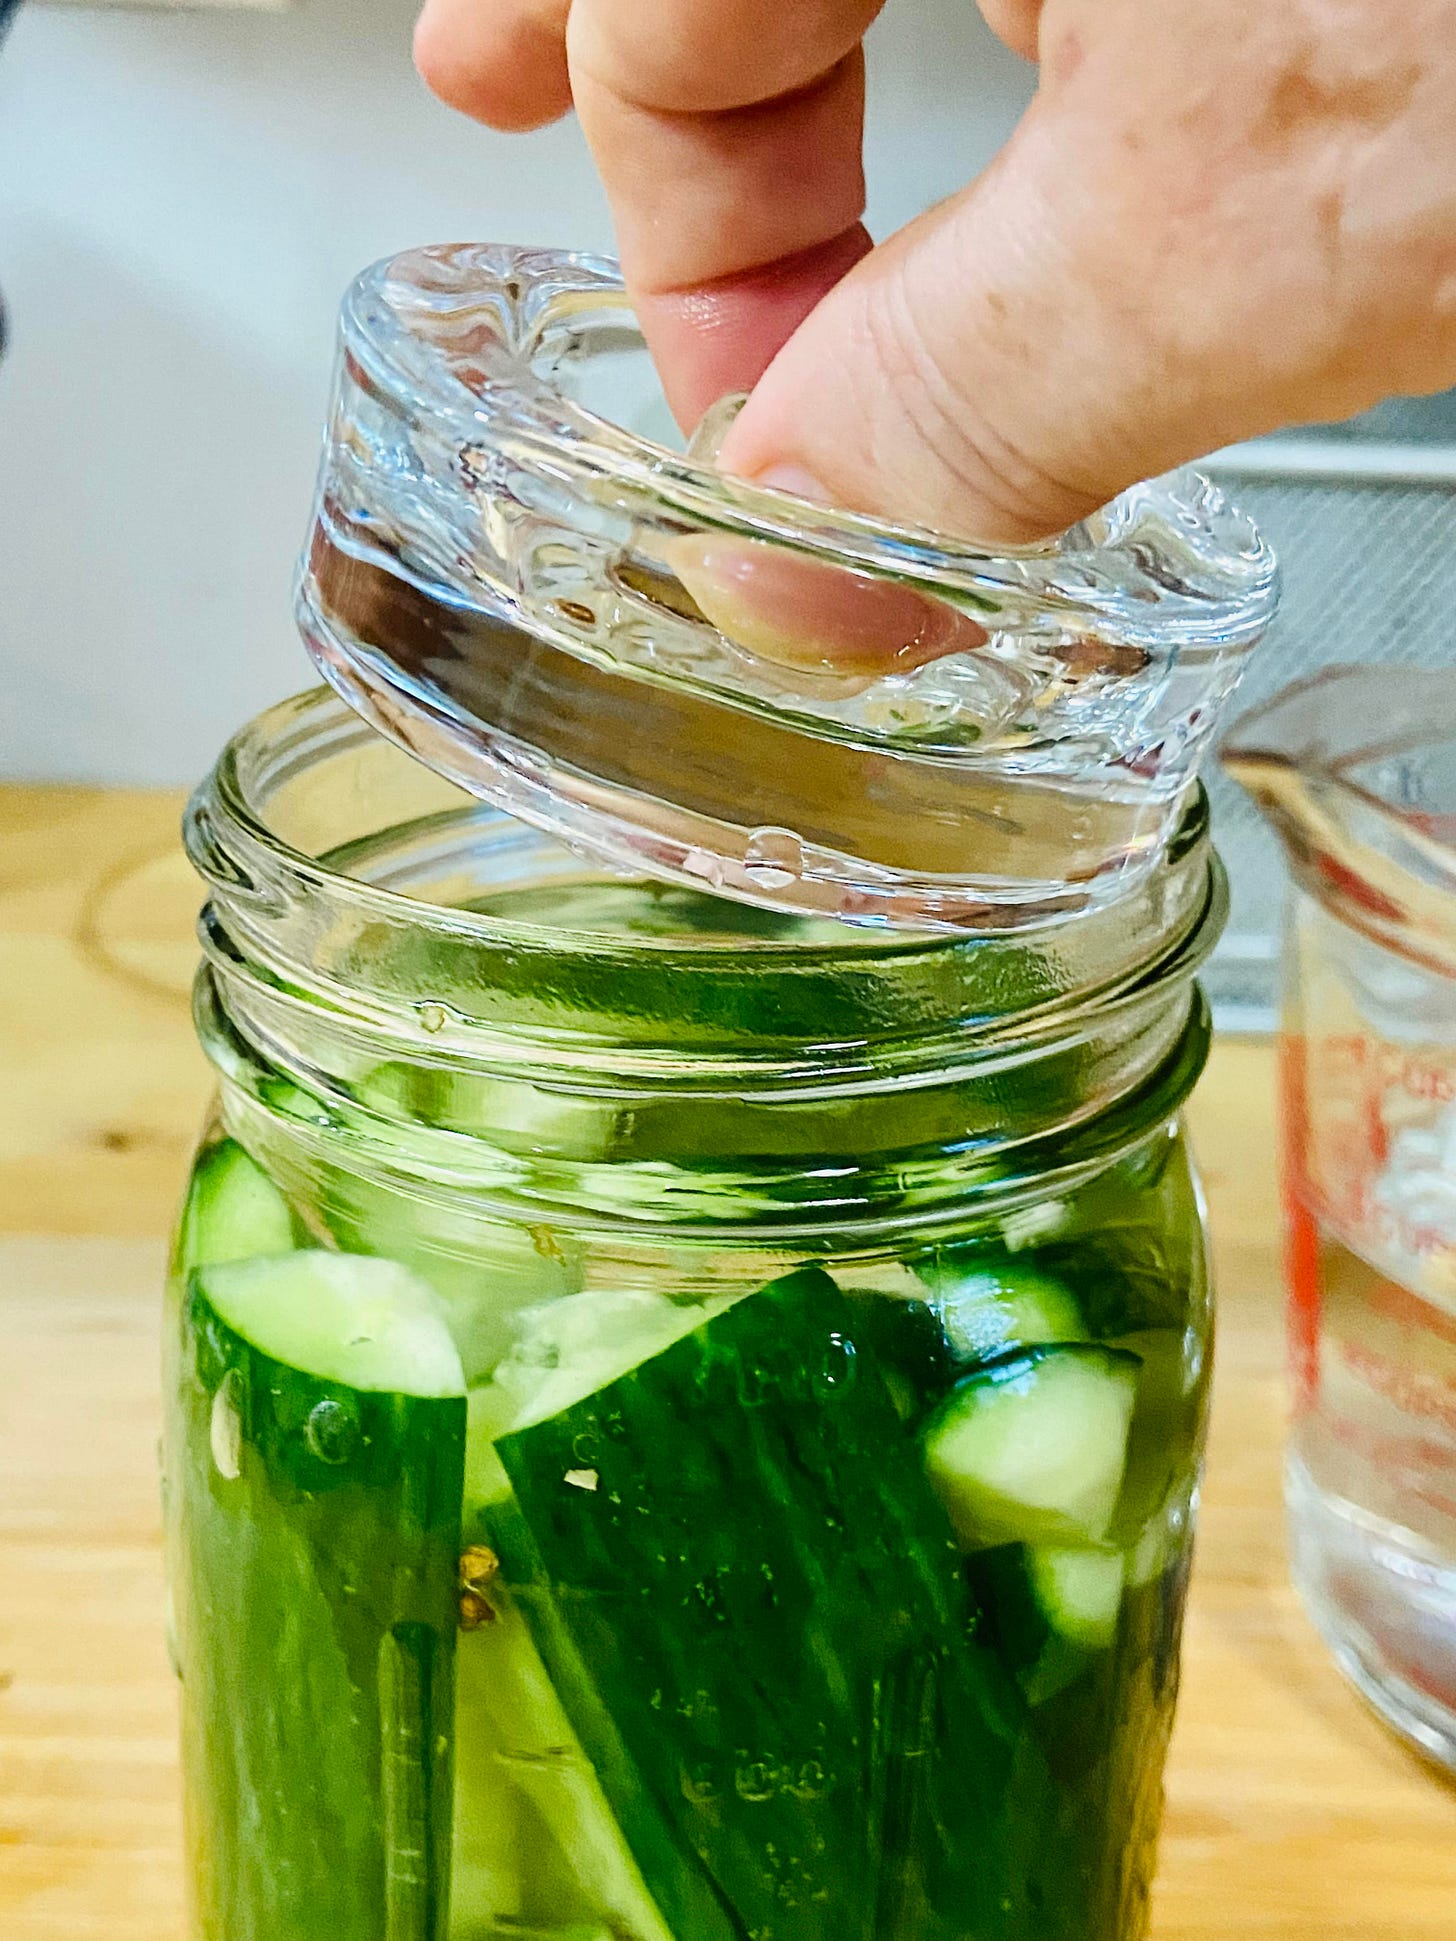
A pickle stone or small ziploc bag partially filled with a bit of extra brine and sealed
Non-chlorinated water (remember, chlorine will kill your army of lacto-bacteria)
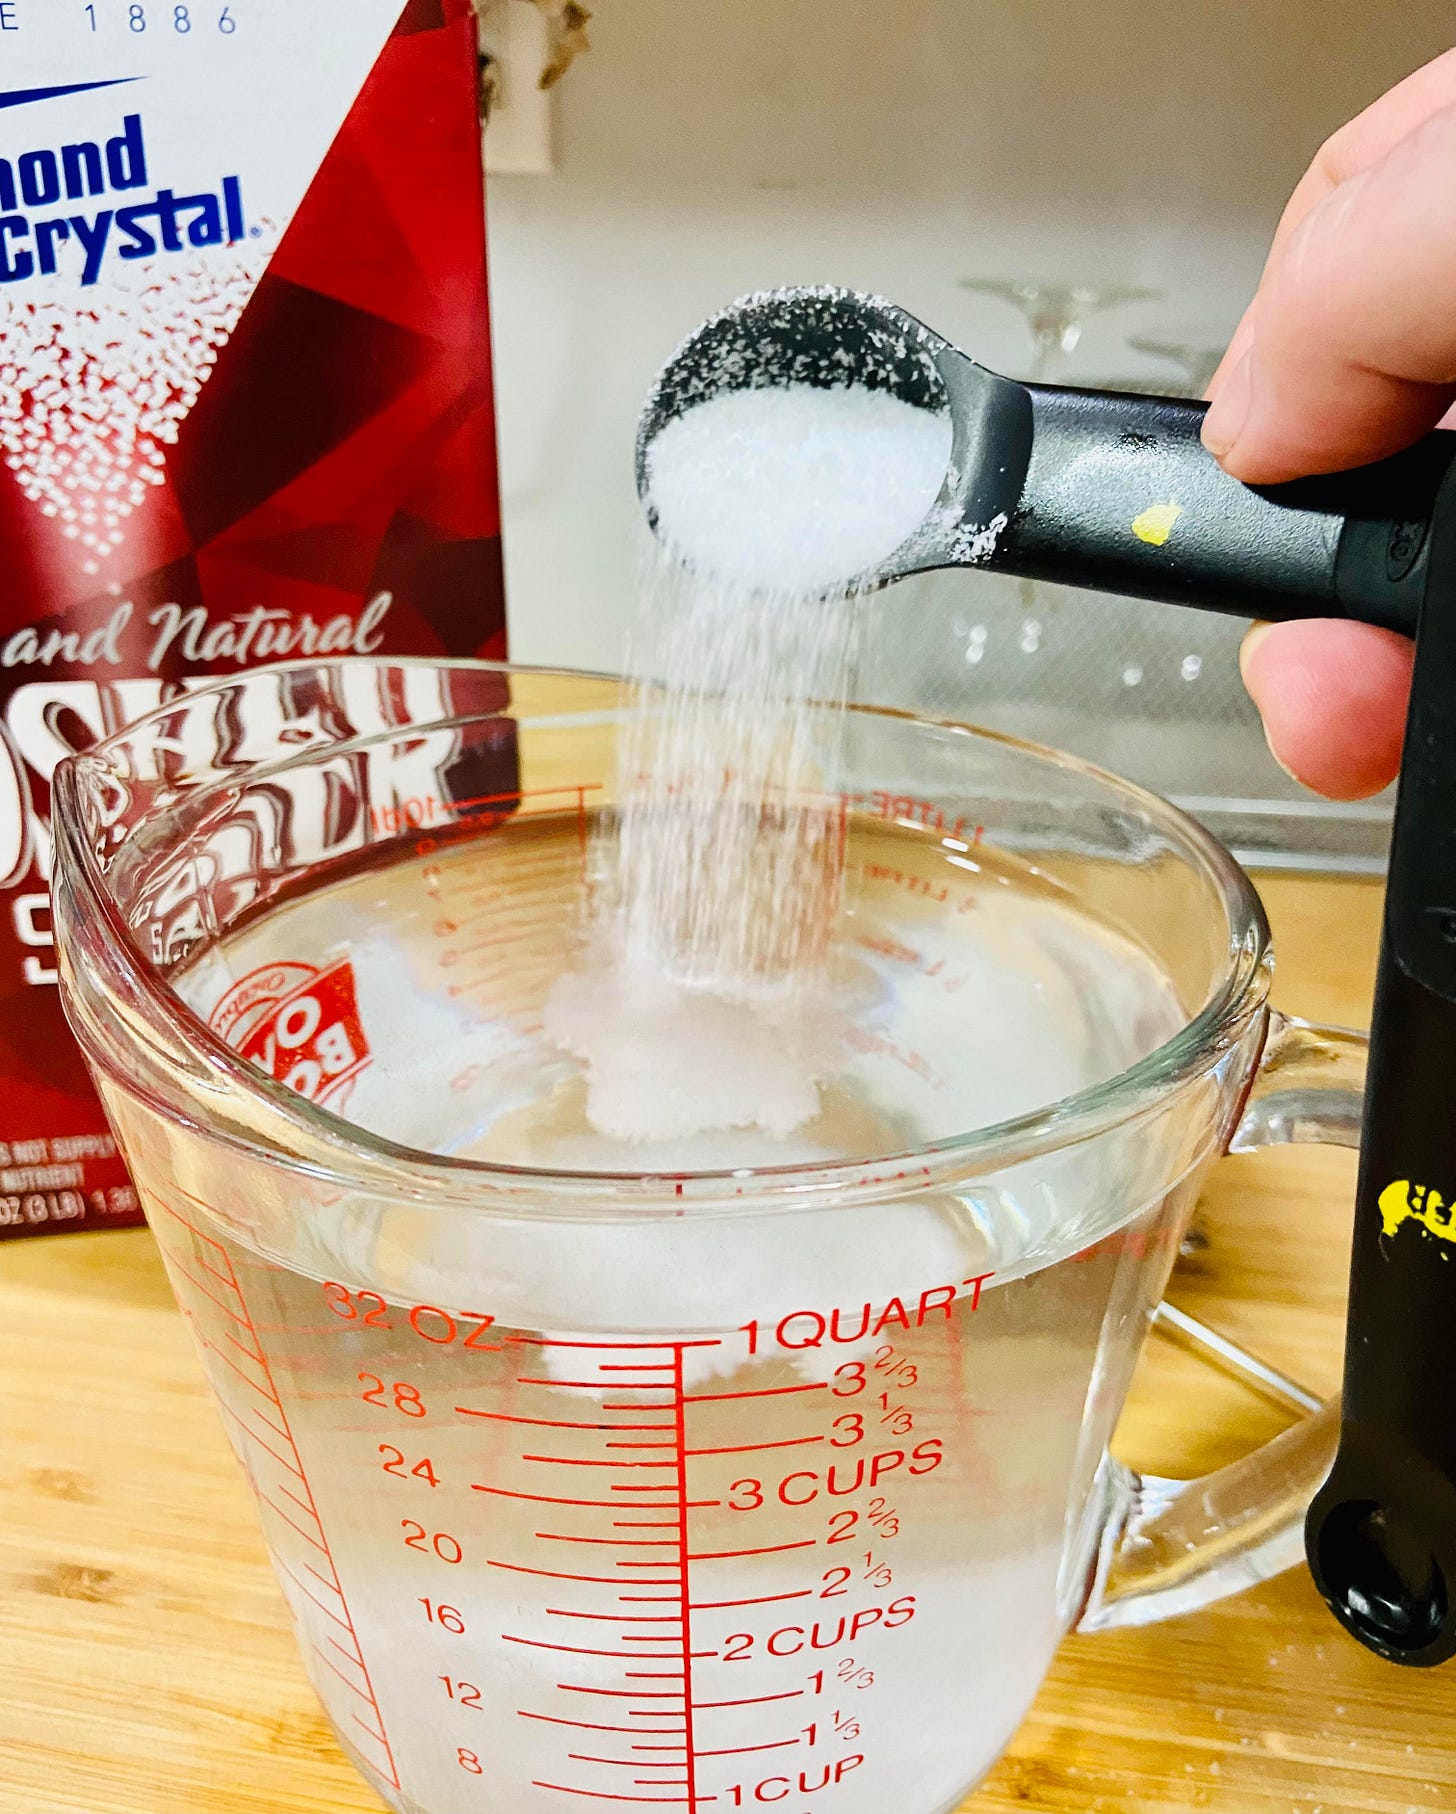
Non-iodized salt (iodine will kill the bacteria too) — Kosher salt is good, and easy to find
Vegetables to pack the jar, cut into sticks, slices or bite-sized pieces***
Fresh garlic, 2 or more large cloves**** peeled and sliced thinly.
Fresh dill, one or two sprigs from a bunch, stems trimmed
A bay leaf for each jar you make
1 Tbsp. pickling spices or 1 Tbsp. whole black peppercorns
Optional: Red pepper flakes, if you want to turn up the heat a little (It’s almost fall, you know)
Got all that together? Let’s gooo!
Make a Basic Brine. This will yield four cups, which should be slightly more than you will need to fill the jar of packed vegetables and leave about an inch of headroom***** at the top.
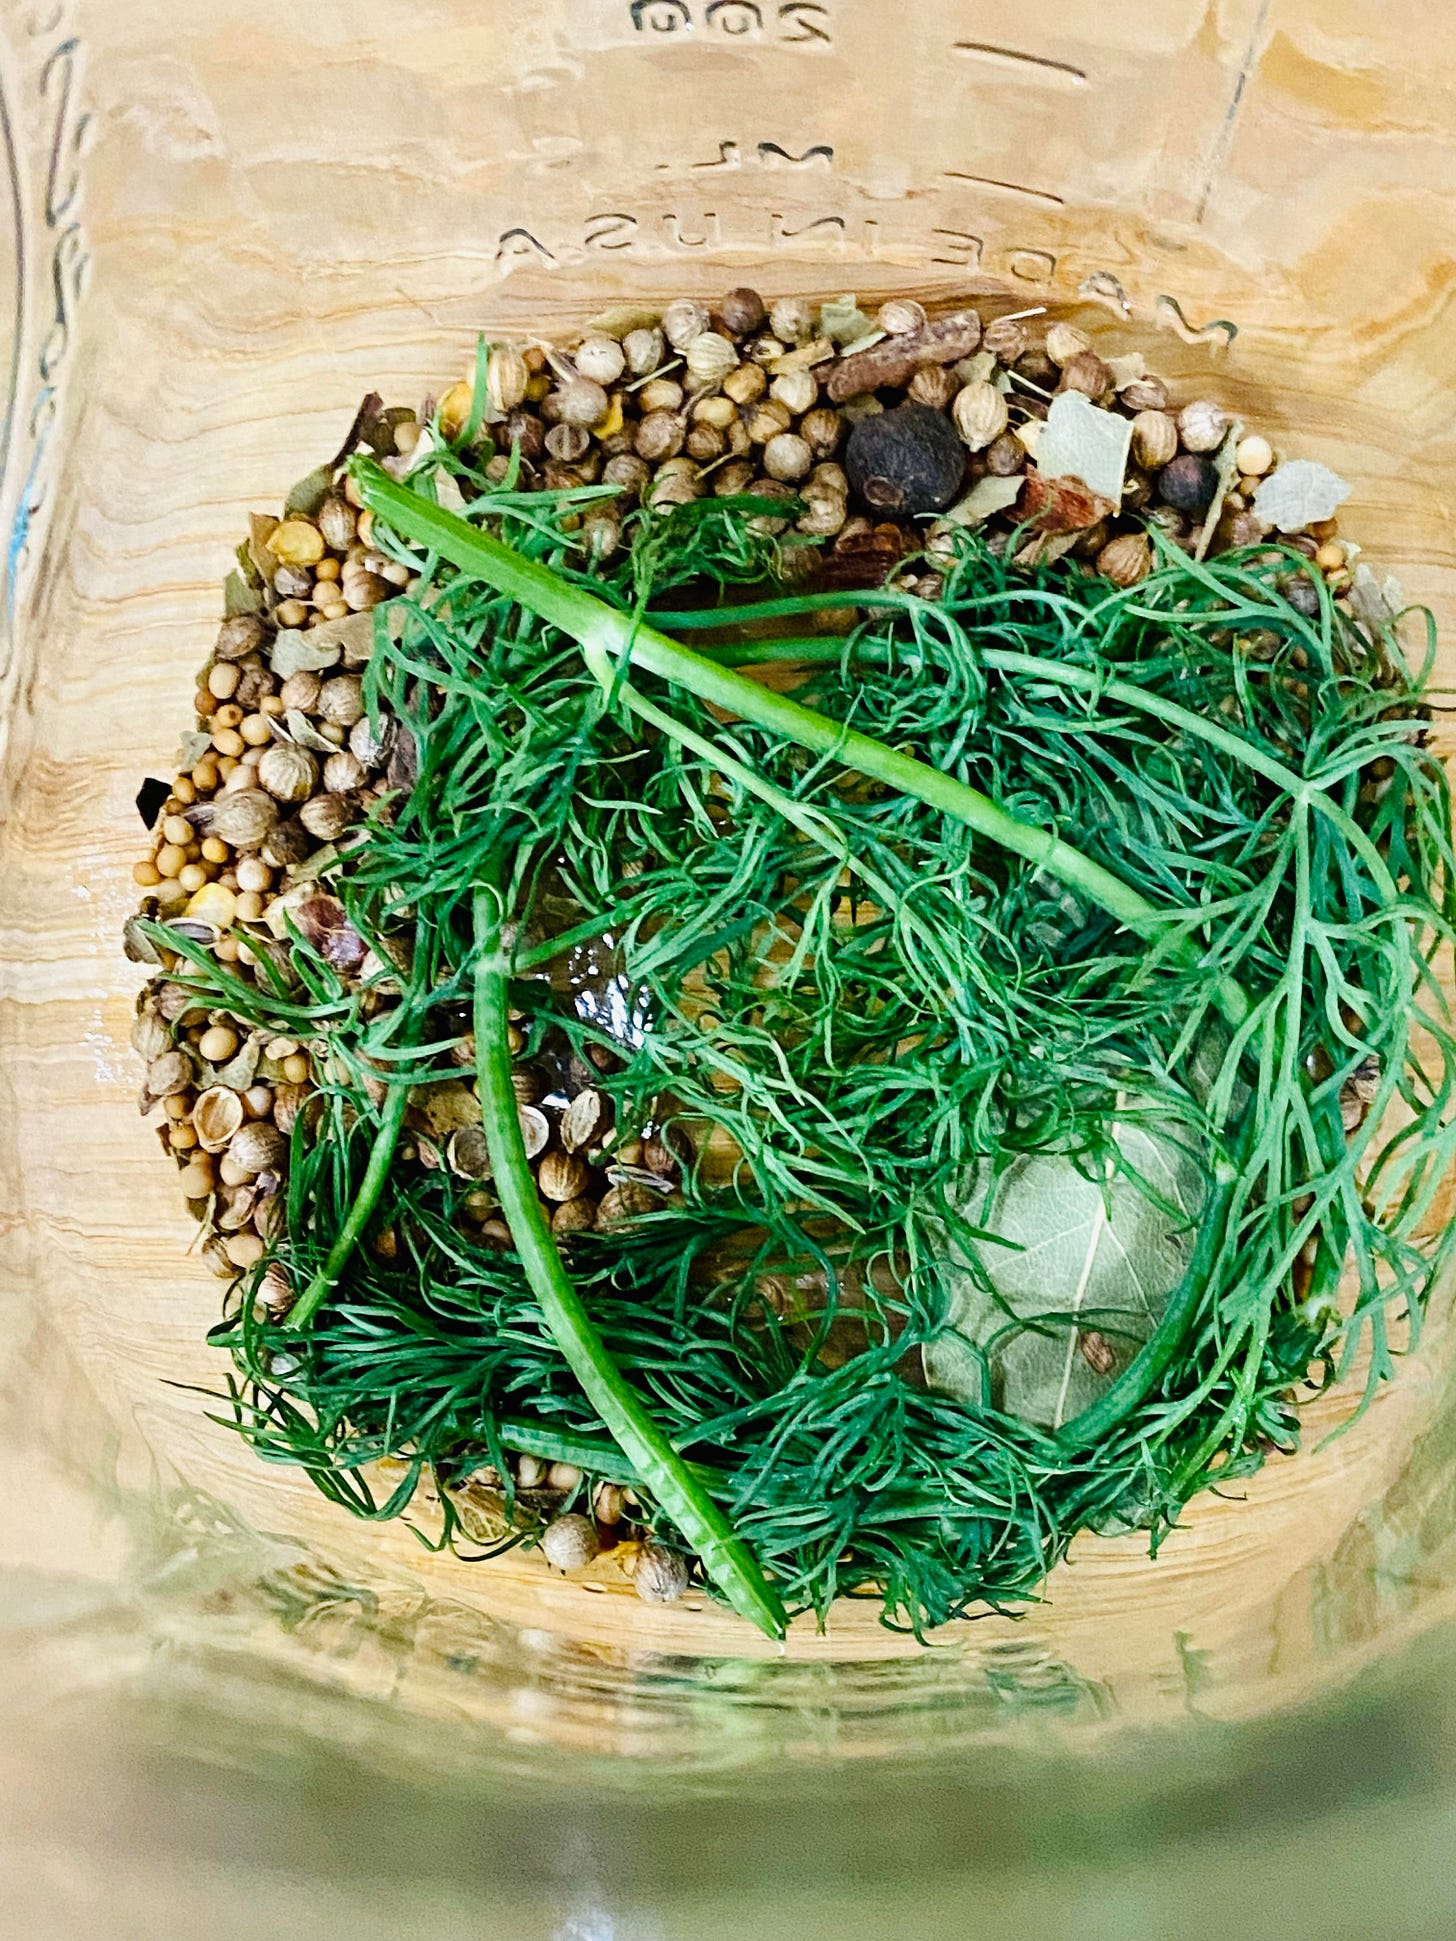
Place the bay leaf at the bottom of the jar, then add the pickling spices or peppercorns (and red pepper flakes, if you are using them) and the dill. Stick your nose in the jar and take a deep whiff. Mmm. Wait til we put the garlic in. Try not to drool into the jar.
Rinse your vegetables, but do not scrub or peel them, and then pat dry. The lacto-bacteria we want to cultivate are on the vegetable’s surface. Peeling the vegetables would be like inviting the bacteria to a party and then slamming the door in their faces when they show up. For the life of me, I can’t understand why my career as an analogy writer never took off.
Anyway:
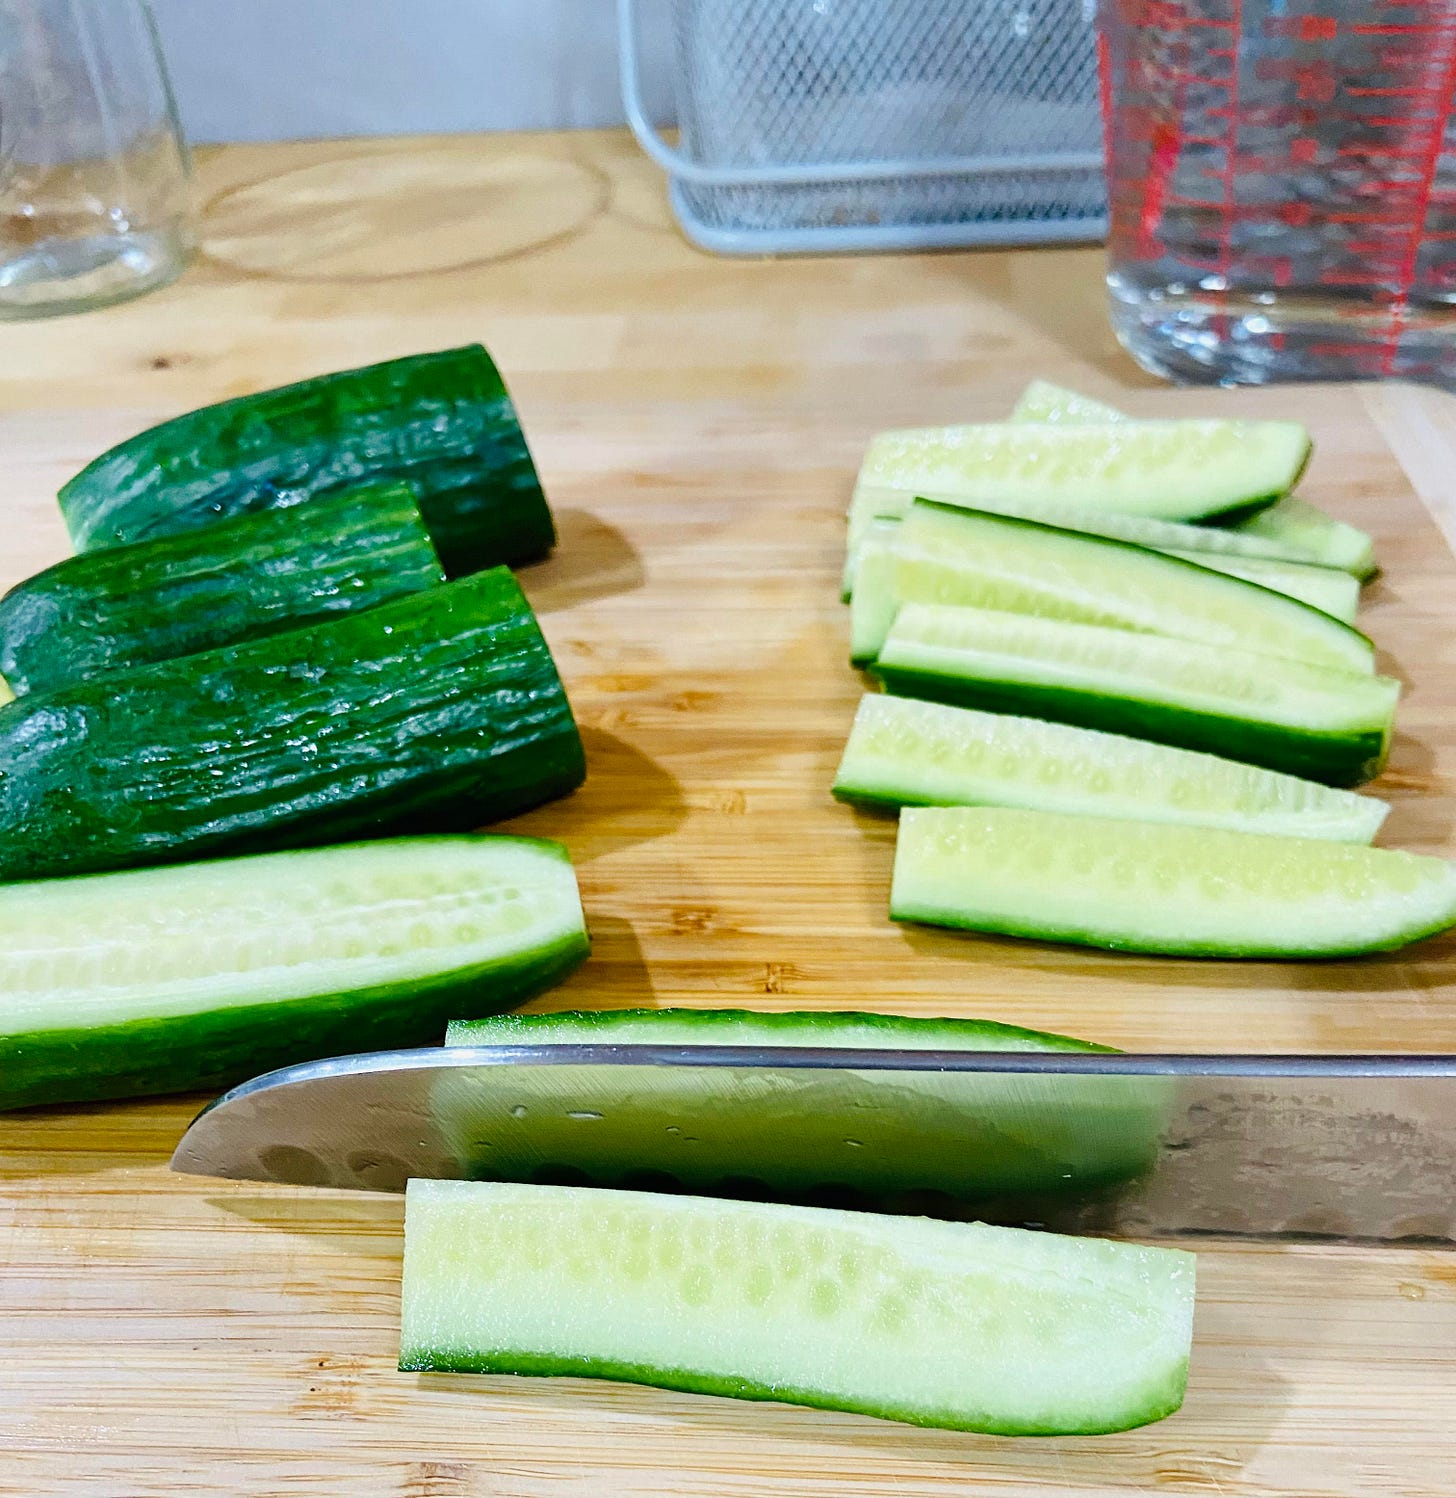
Prepare your vegetables the way you want them. For this project, I’m going to cut my cukes into spears. You do you. If you are using cukes, I suggest cutting the ends off. Legend has it that cutting the blossom end off helps keep the pickles crisp, but I find it easier to just slice both ends off. That way neither end gets jealous.
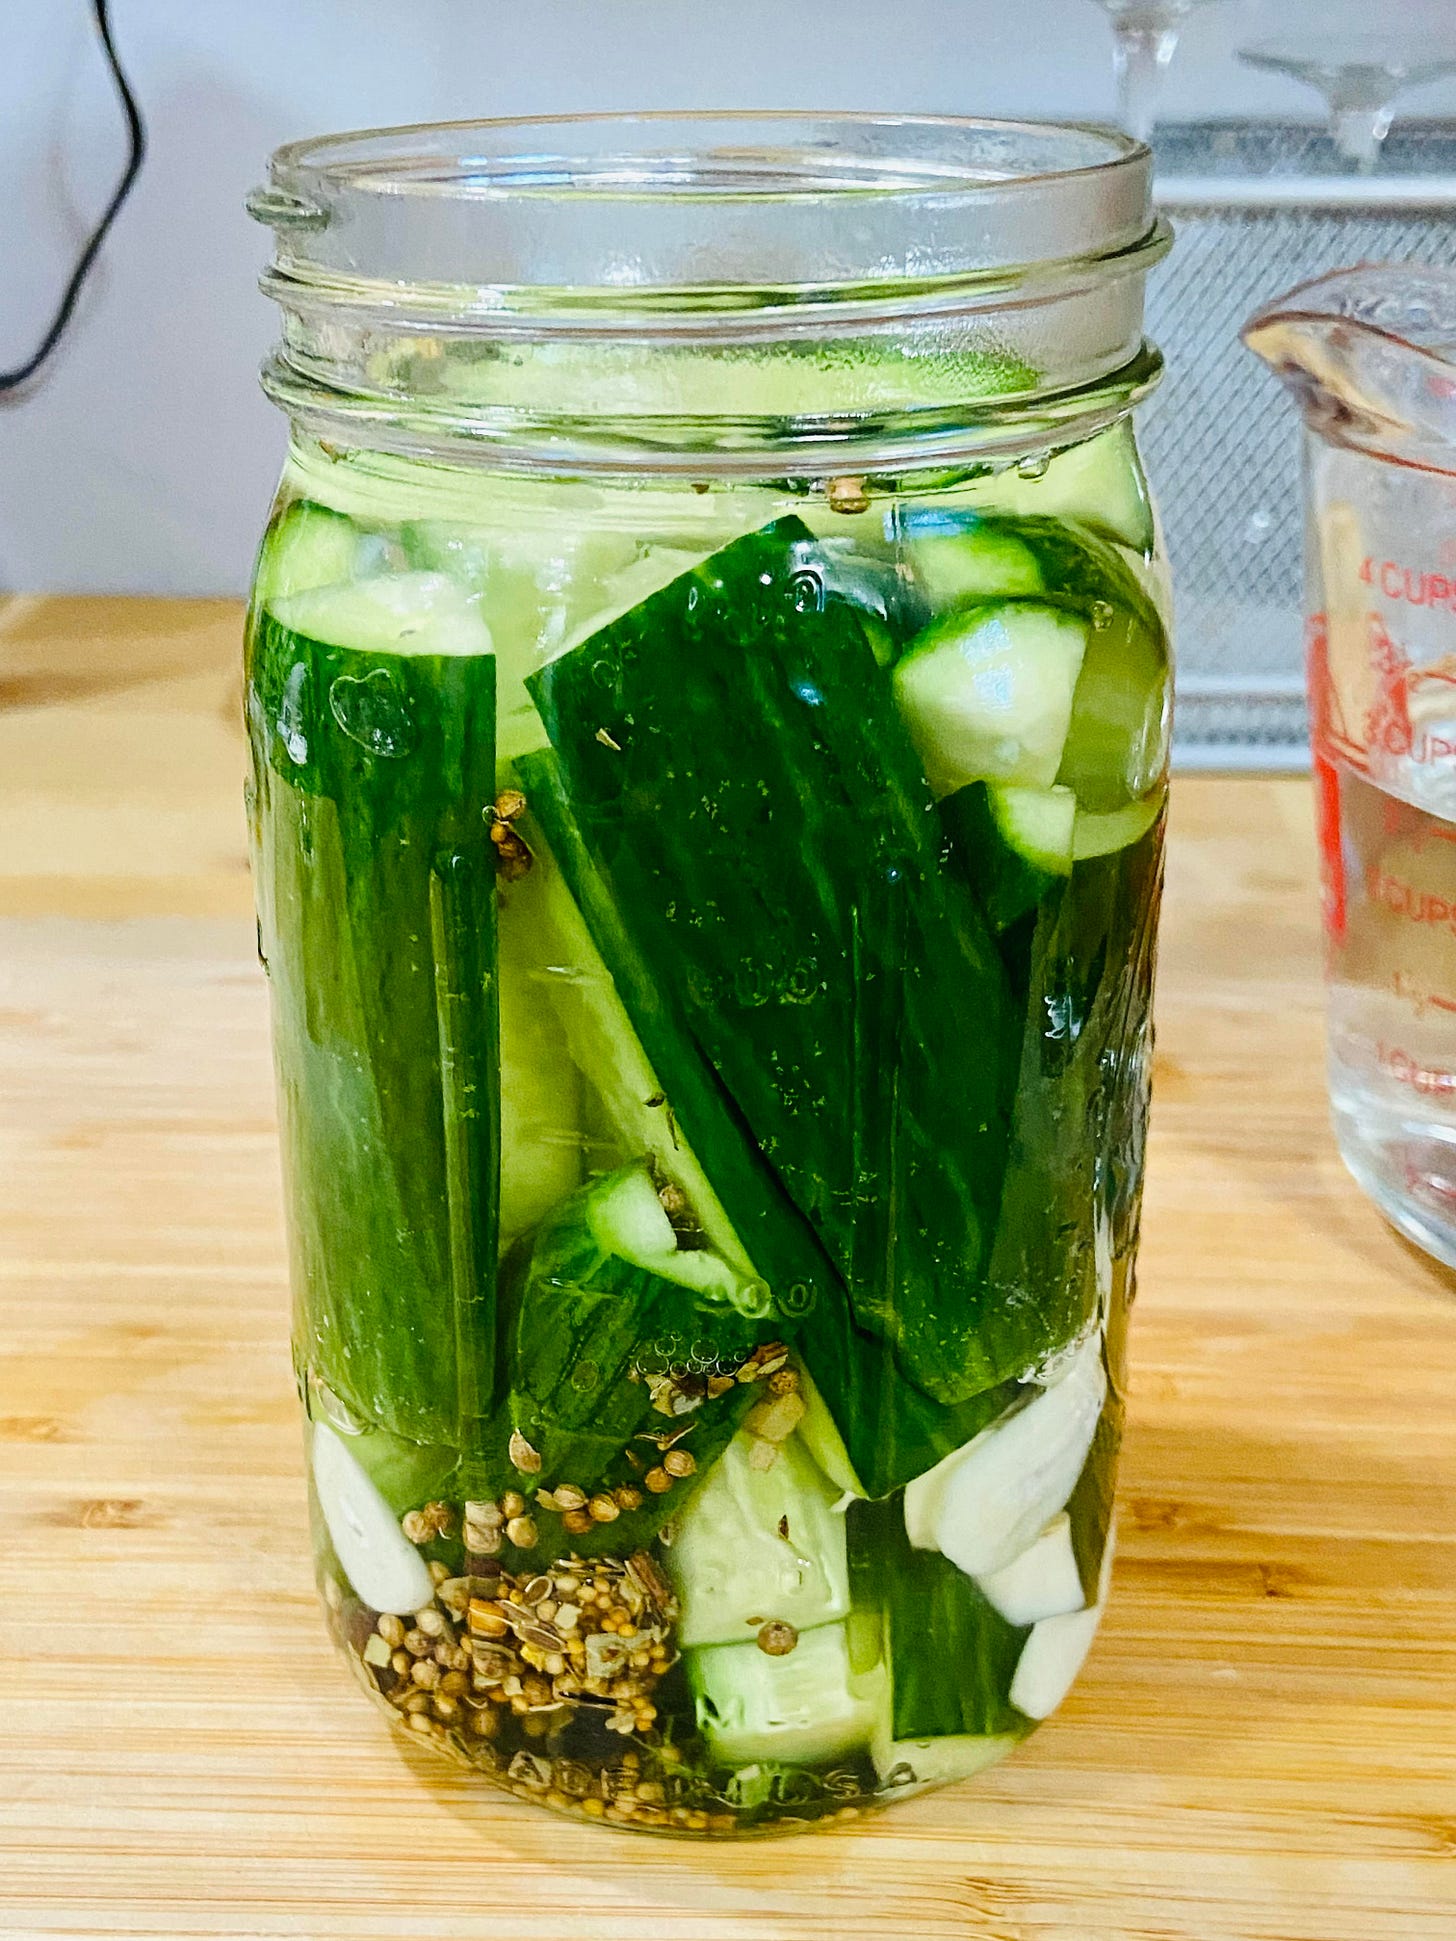
Pack the vegetables into the jar, slipping the garlic slices around them to fill any empty spots, leaving an inch of headroom to the lip of the jar. If you can pack the vegetables tightly enough so that none of them float up when you add the brine, you will not need the pickle weight.
(Caution, paper towel alert!) Pour the salt water brine on top of the vegetables, tapping the jar on the counter lightly as you go to release any air bubbles.
When there is an inch of headroom between the brine and the lip of the jar, stop and try to put the weight/ziploc bag on top. Some of the brine may overflow (hence the paper towel alert), but as long as the vegetables are fully submerged and you can put a lid on the jar, you’re OK.
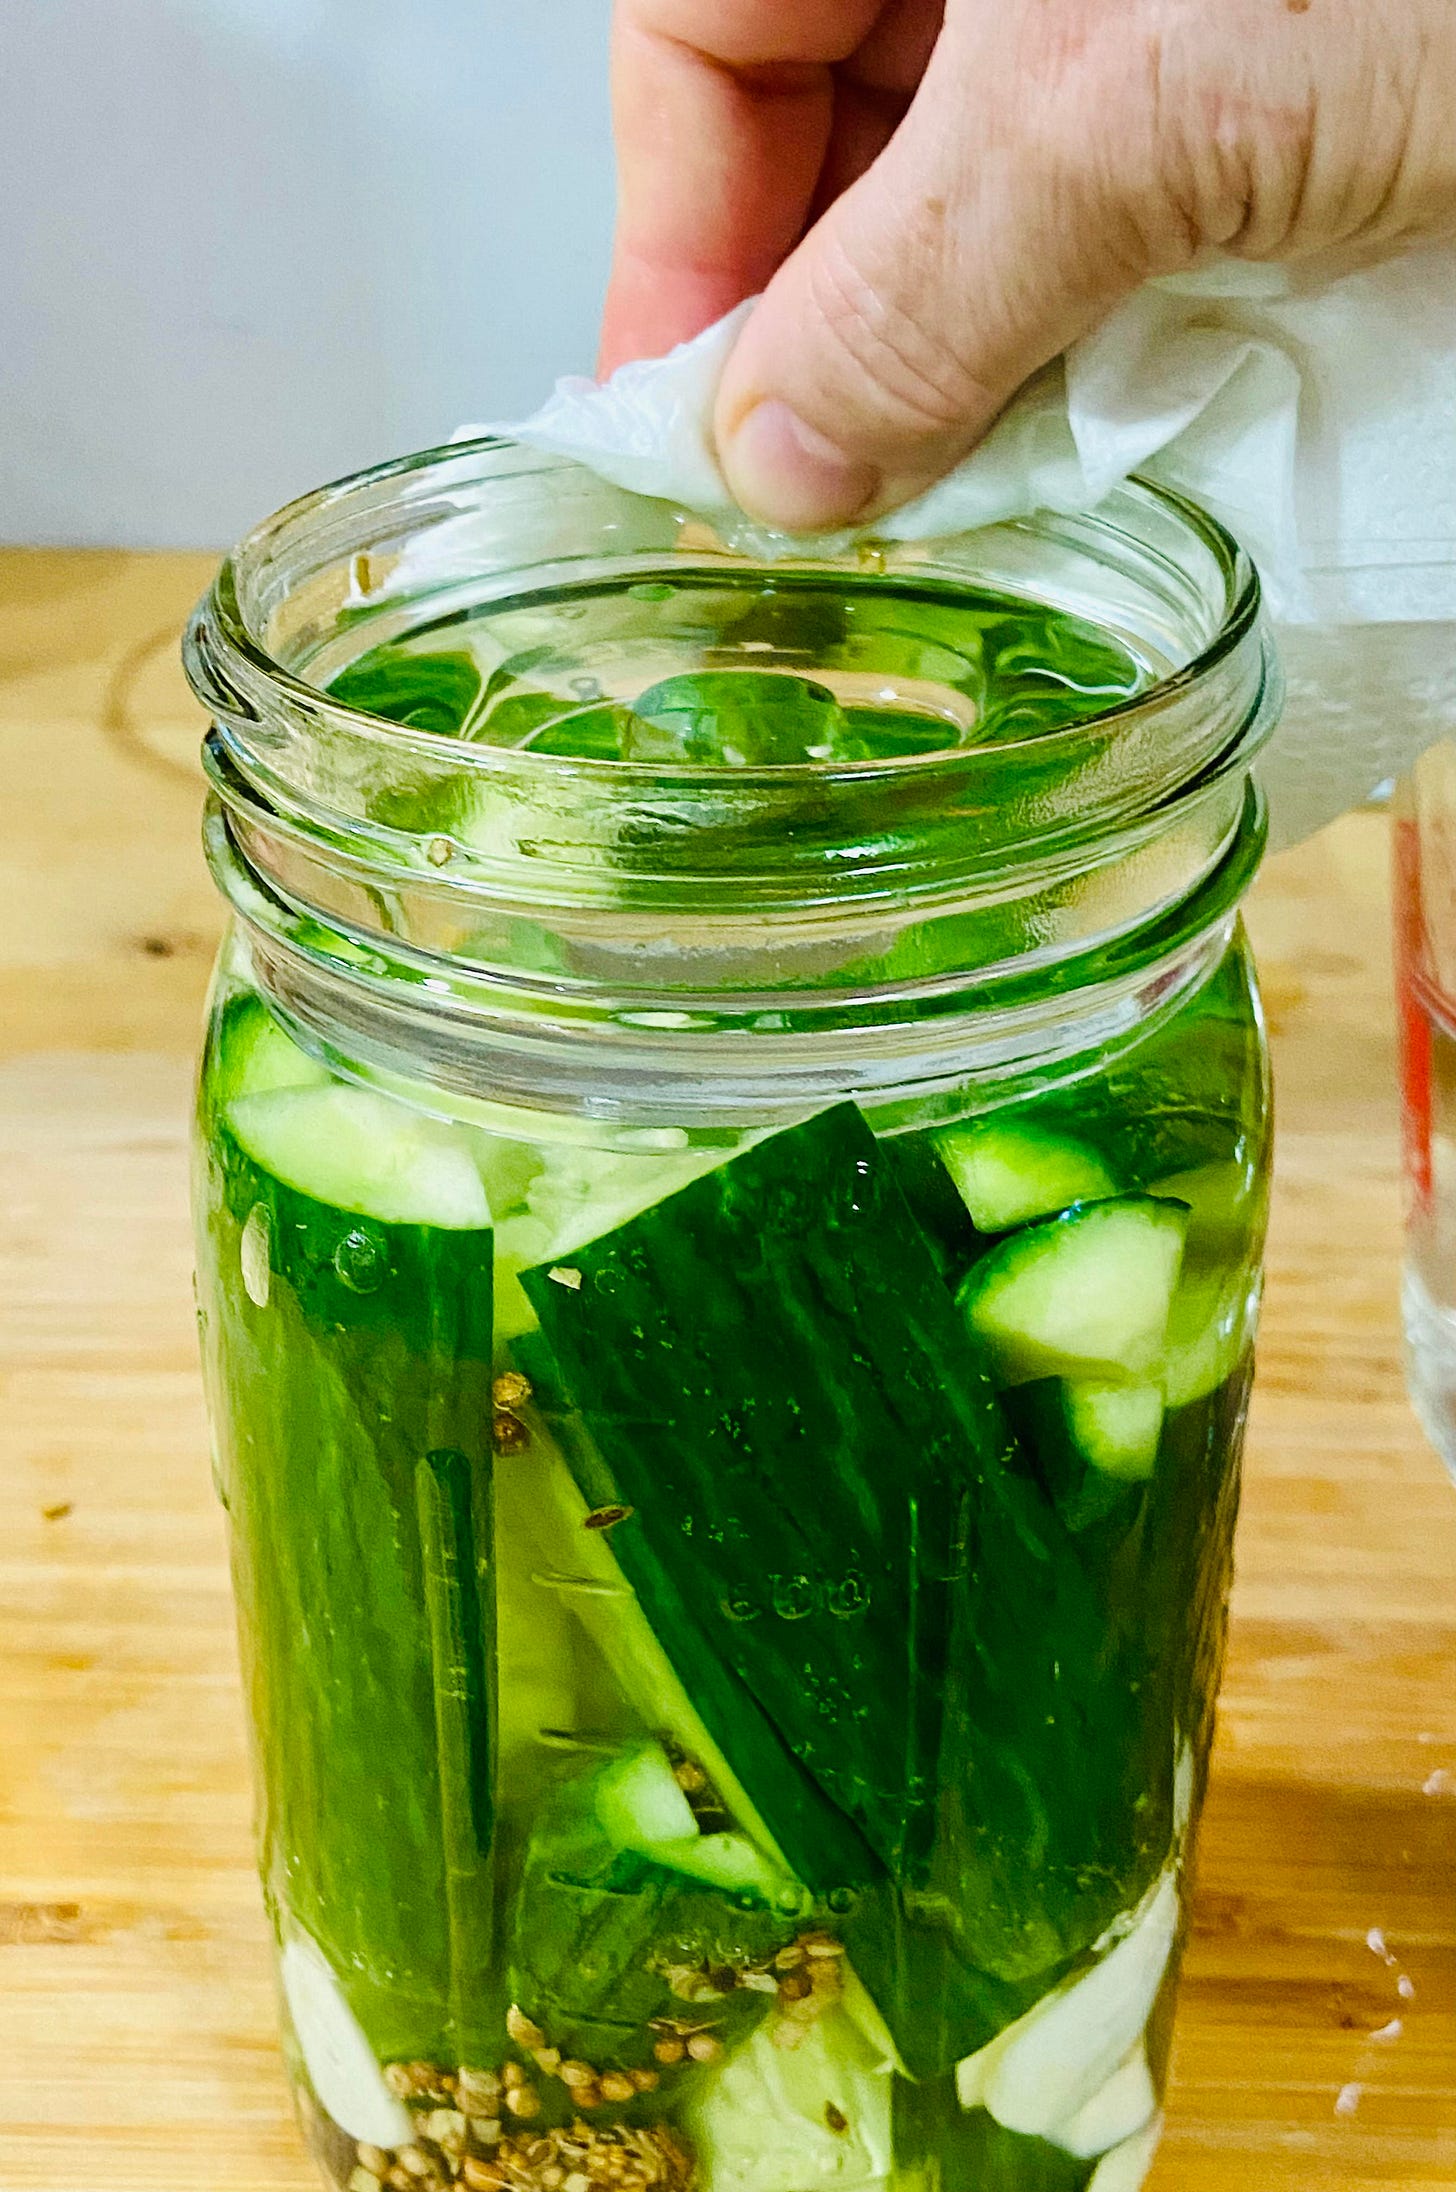
Wipe the neck of the jar dry with a clean towel. I am very fussy about clean jar necks. You should be, too.
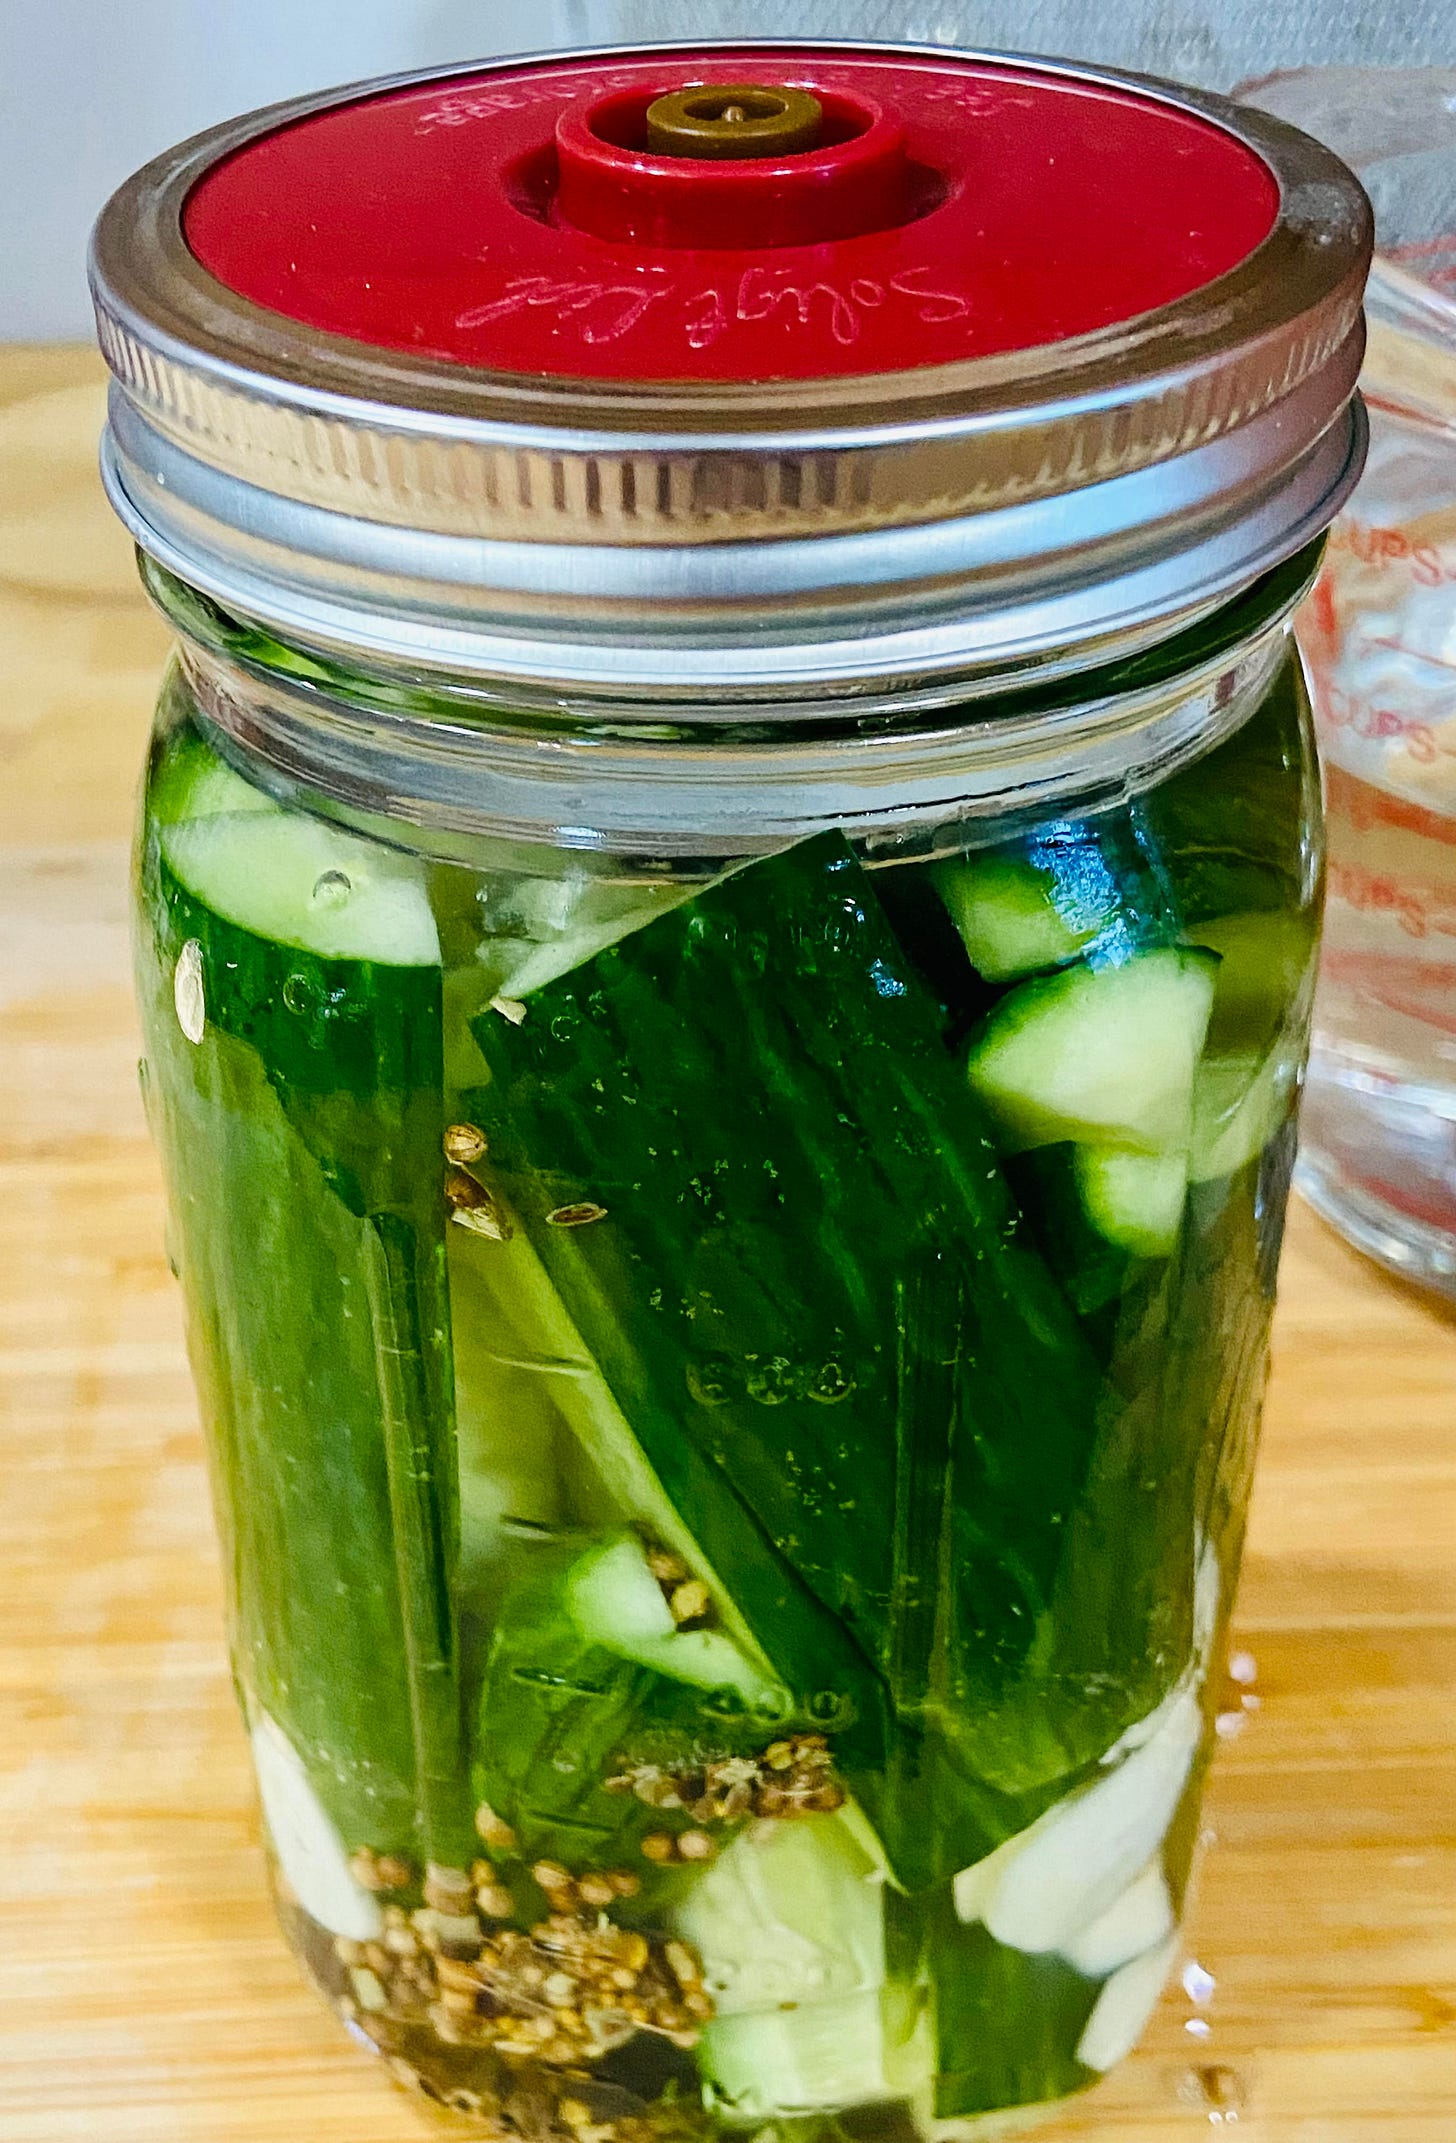
Place the airlock on the jar and close it up.
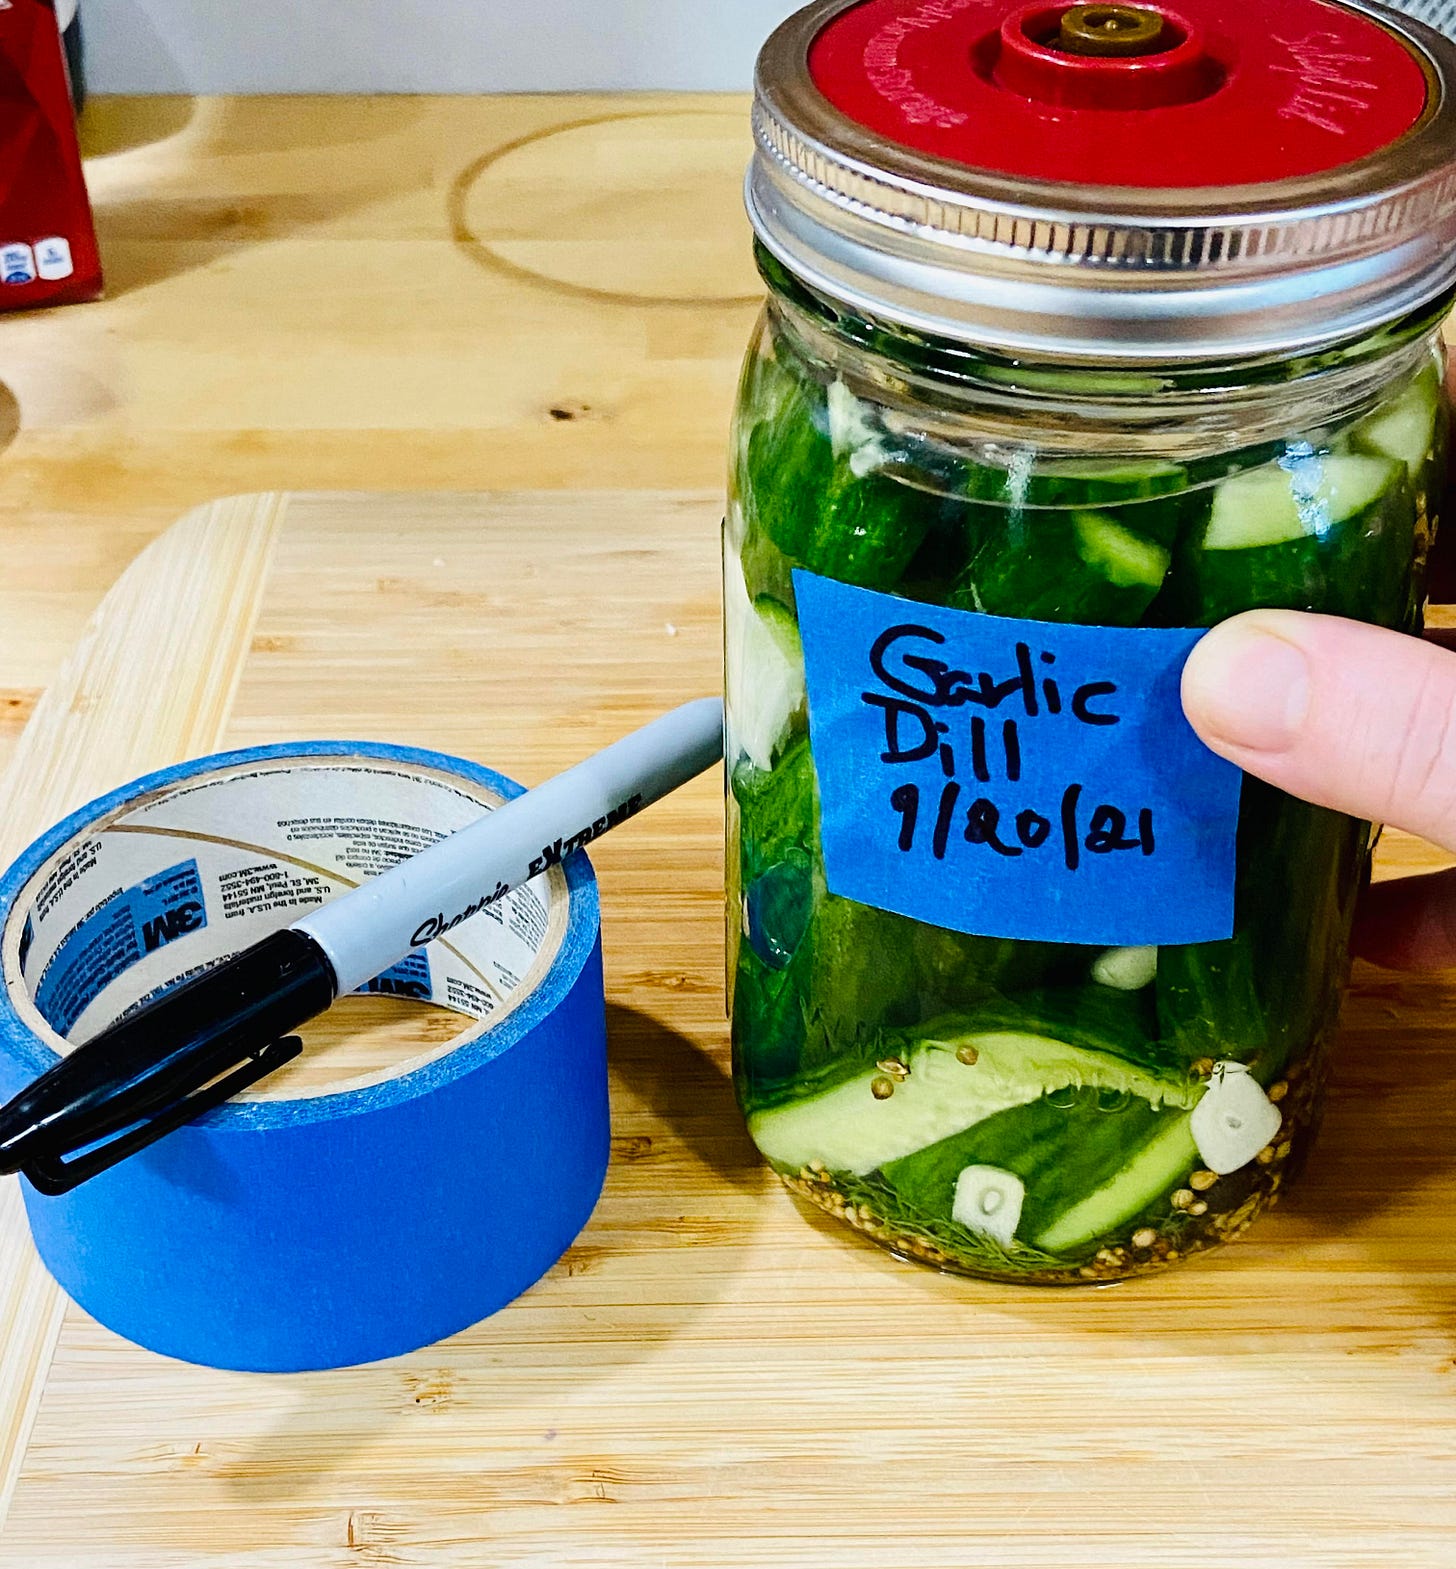
Last thing: LABEL ALL OF YOUR FERMENTS. Trust me when I tell you that you will eventually forget things, like when you started a ferment, or what the hell is even in that jar.
Get you a roll of painter’s tape and a Sharpie, and take 30 seconds to put the name and starting date on the jar. You won’t regret it.
And now the hardest part … we wait!
I know. It will be worth it, trust me. Have some more pickled onions to distract yourself.
Your ferments needs a temperate place to do its thing, out of direct sunlight, so I put mine in the corner of a kitchen counter that is fairly shaded and somewhat warm. It’s also OK to place it in a cabinet.
Note that there is no cooking here, no boiling of brine or anything. Mother Nature knows what she is doing and does not really need our help. I will say, though, that in warmer weather, fermentation can be quick — as little as a few days. In colder weather, a full fermentation could take a week or more, so be patient if you are doing this in the winter.
You will know things are going well if you see two things after the first few days:
Bubbles
A growing cloudiness in the brine
I know that sounds counterintuitive, but remember, this is bacteria we’re talking about. Either or both of these means that the lacto-bacteria have made it to the party and are helping themselves to your buffet. As a hostess gift, they will leave you the pickles.
The only sign that something might have gone wrong is if you see something fuzzy and/or weirdly colored on top of the brine. That could be a sign of mold, and the jar should be dumped out. Sad, but sterilize your jar and try again! Practice makes pickles.
You will know your pickles are ready when you believe they are ready. I’m not kidding. The longer they sit, the more sour they will taste, so after three or four days, give them a taste. If the pickles are not sour enough for your taste, let them sit out for a few more days with the airlock on until you are happy with them. If you are happy with the flavor, remove the pickle weight and airlock, close the jar using the disc and ring that came with the Mason jar, and keep the pickles in your fridge.
The pickles will continue to ferment in the fridge, but the cold will slow the process way down. I would estimate how long they will last that way, but let’s not fool ourselves. They’ll be gone pretty quickly, and you’ll be starting a new ferment, probably with a different vegetable. Dilly beans are good, and the string beans look so pretty in the jar. The recipe is very much the same, but with more dill. And garlic.
Treat yourself to a chilled garlic dill pickle whenever you want to feel especially accomplished. Remember, it’s alchemy, and you cast the spell.
*Extra Helpful Stuff*
* Sterilize your glass Mason jar by running it through a dishwasher cycle. Hygiene is very important here. We’re trying to propagate one type of bacteria while discouraging all the others. Don’t worry about touching it afterward, but try to keep your fingers out of the jar when possible. Lid and airlock should be washed thoroughly with hot water and soap.
**Airlock: Allows the CO2 gas to escape without letting oxygen in. I’m showing two kinds here: One that also acts as the lid (black and orange) and a plastic lid that replaces the disc in the two-part Mason jar lid (don’t remember where I got those, but anything like these are fine).
***How to cut your vegetables: Up to you. Seriously. I find that slicing allows me to get more vegetables into the jar, but you do you. You can cut things like carrots into sticks that are the height of the jar, minus the headroom and the pickle weight. You can slice them into rounds. If you are pickling something like cauliflower, you can break them into bite-sized pieces. You can use whole cucumbers if you want to make traditional pickles, but please buy the pickling cukes, which are shorter and have more bumps on them. The slicer cukes, which contain more water, will pickle, but not as well. Israeli cukes are OK because they contain fewer seeds and less water.
**** Look, we’re both adults here. I’m not going to tell you how much garlic to add to your jar. We are a garlic-intensive household, so I use irresponsible amounts in my jars. I consider 2 cloves to be enough for a goldfish. Your mileage may vary.
*****Headroom: A bit of space between the surface of the brine and the jar lid. Headroom allows the CO2 gas emitted by the lacto-bacteria to leave the brine before escaping through the airlock. It also helps keep the a layer of CO2 on top which helps keep the oxygen out.
Thanks for visiting my kitchen again! Let me know in the comments if you try this, or if you have any questions. I’m excited to know what you think.
Chat soon,
Deb


