Do You Even Tofu, Bro?
Of *course* it would be easier to buy a block of tofu in the supermarket. But that just shows that you don't know me very well.
Happy 2022! I’m saying that both in the spirit of well wishes to all of you, and the hope that it will help me manifest a truly happy year, since the past few have been the longest decades of my life. You may be able to relate to this.
First, some administrivial stuff:
I know I promised to put the recipe first in my letters, but truthfully, I haven’t been happy with the flow. It feels awkward to me. A lot of what I make in my kitchen is better served by putting it into context, so while I will try to keep things streamlined (trust me, I delete 90% of what I write) I will be writing that context up top from now on. If Substack ever introduces a “jump to recipe” button, I will install it to make things easier.
At some point this year, I may convert this newsletter into a paid subscription. That’s never good news for readers, and believe me, I empathize. But the money derived from the subscriptions will help me keep this going and, in return, I will publish on a more regular basis. There will still be some free posts, of course. I’m still ruminating on what this will look like. The cost will be very low, and I hope you will stay with me.
We eat a lot of tofu and tofu-adjacent products in my house. My older child is a vegetarian, and my husband — who will henceforth be referred to as the Resident South African — and I have cut way down on our consumption of animal protein, both for health and empathetic reasons. (I truly judge not if you consume meat. We still do occasionally, and remember, this is my household we’re talking about. You do you in yours.) So I was bound to develop an interest in soy products.
At some point in my kitchen science explorations, I developed a short-lived interest in cheese making, which is simply the separation of milk curds and whey using the Little Miss Muffet procedure, better known as acidification. You add an acid to the milk, collect the curds, press them into a mold, and voila! A very basic cheese is born. The whey can be reserved and used to start a new batch of cheese.
It turns out that the method for making homemade tofu is the same, except that you use soy milk instead of cow juice.
So why do I do it? For one thing, freshly made tofu tastes better. It’s hard to describe, but the all-too-well-known lack of flavor in tofu is just … nicer than the lack of flavor in the store bought version.
The second reason is because it’s there, my friend. I am a fiend for the process.
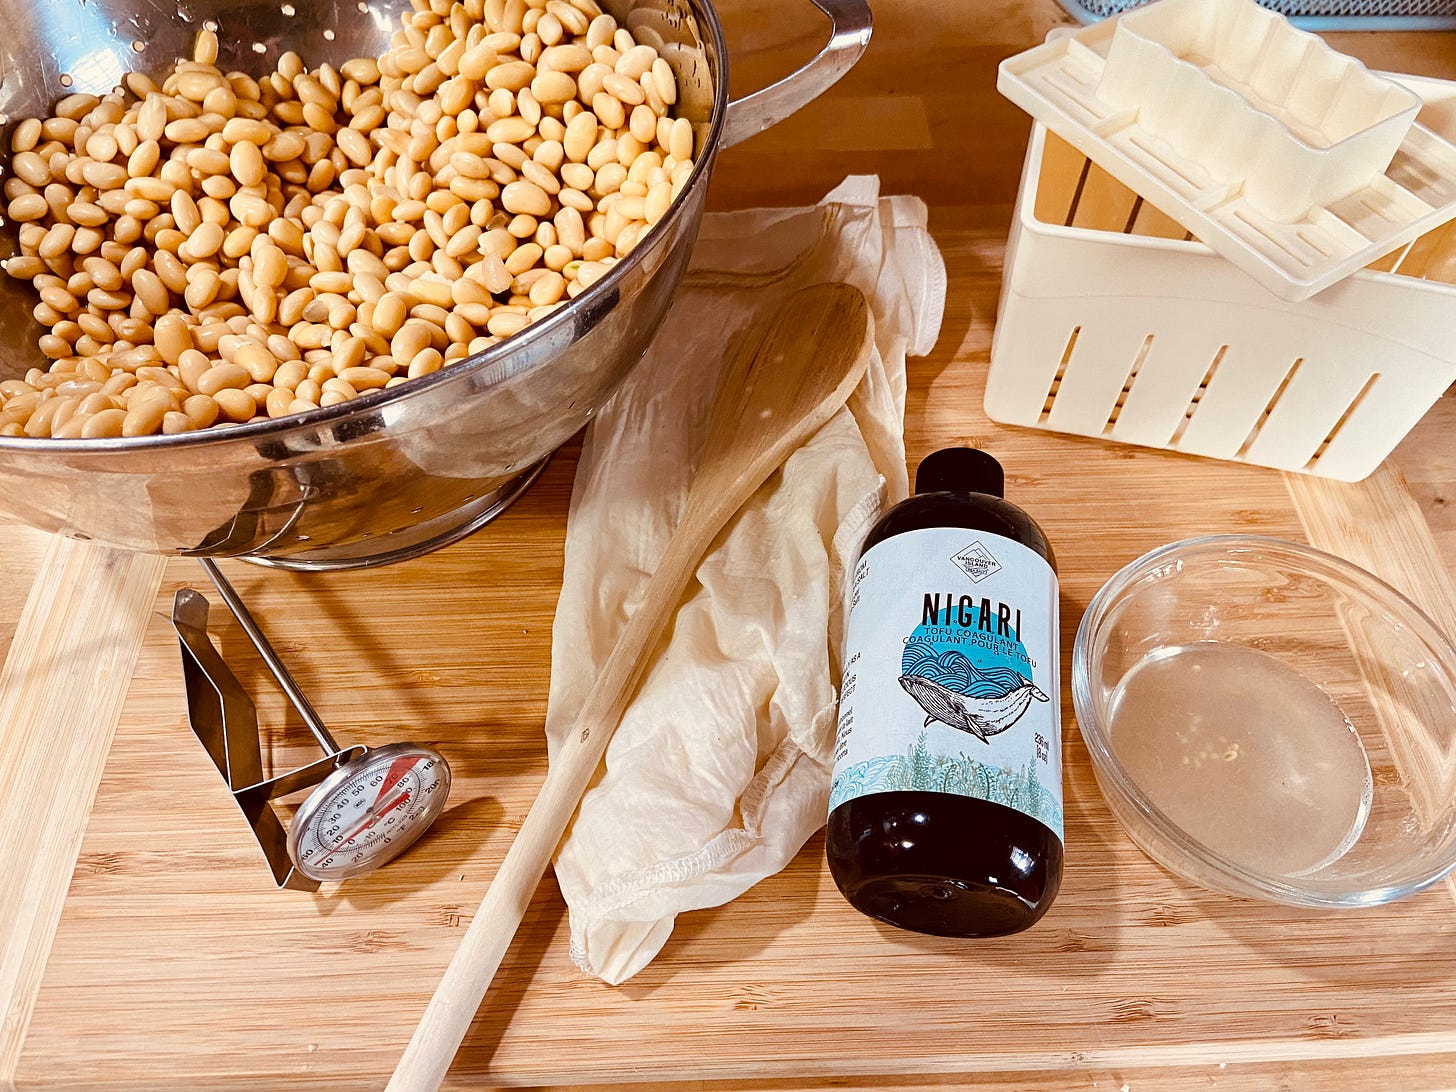
There are a few things you may need to buy before making your own tofu. I try to set up my recipes so that we can use things that can be found in our kitchens, but let’s not kid ourselves: If you, like me, have gotten to the point where you are considering making your own tofu, you’re already invested enough to buy some cheesecloth and a tofu press. And some soybeans.
About the soybeans: I have read that tofu can also be made using store bought soy milk. I have also read that Santa Claus exists (sorry, kids), and I am here to tell you from experience (two separate fails) that you should buy the damn soybeans and make the soy milk yourself. It’s an extra step or five, but it works.
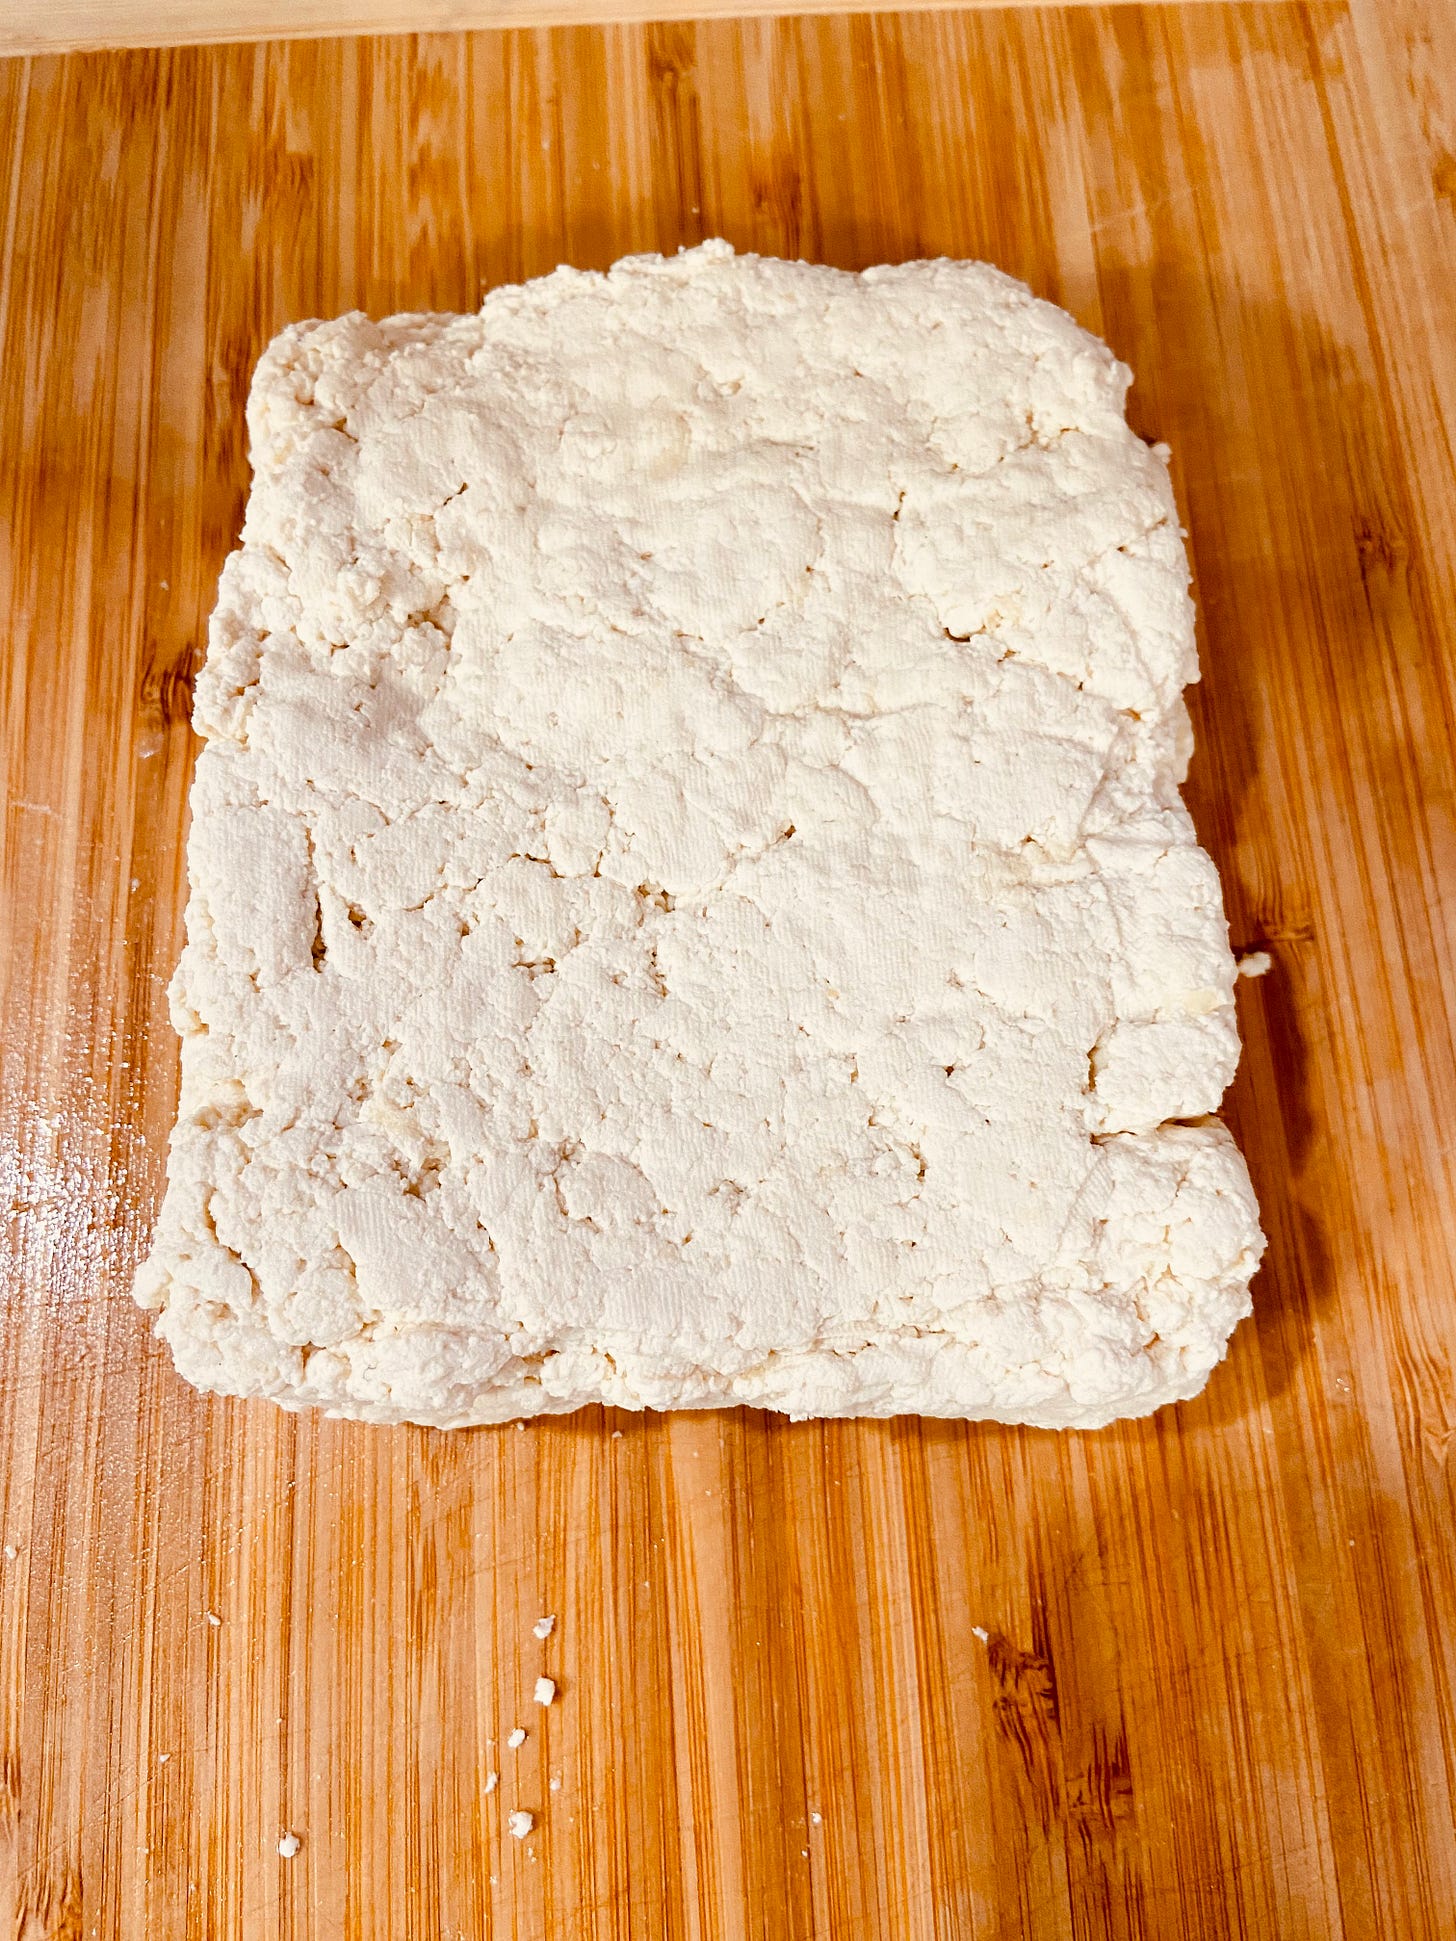
The end result of my tofu making odyssey was not as attractive as a store bought block, but I made an honest-to-God block of tofu, I did.
We cut it up and used it in homemade ramen that night, but if you can’t use it right away, put it in a container with some water and store it in your fridge. Use it within the next week. Or freeze it and defrost it in the fridge when you need it.
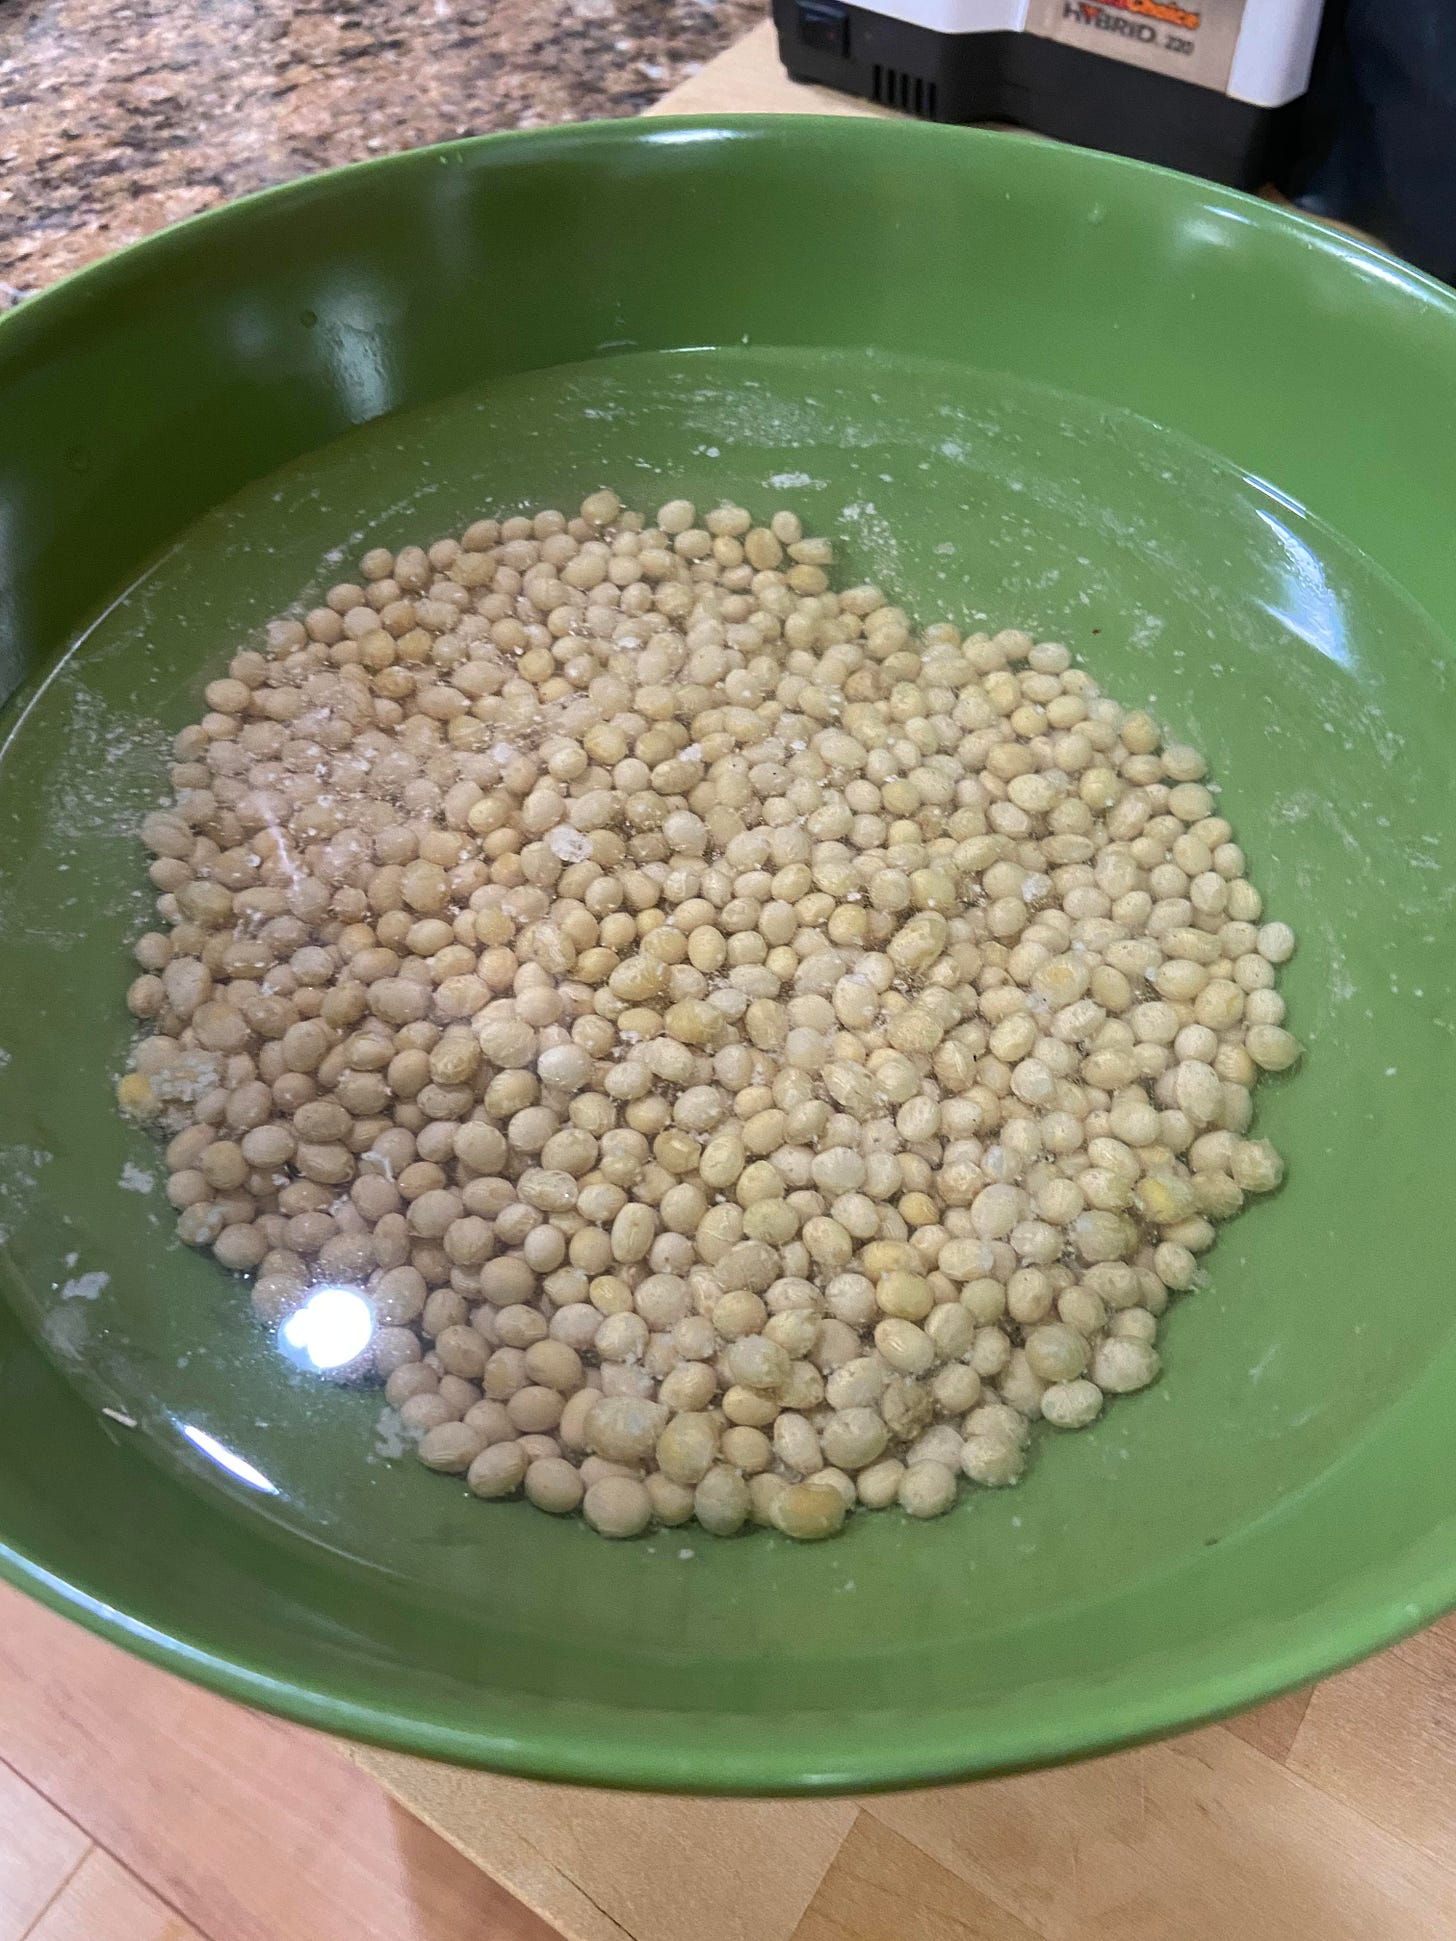
Programming note: The night before you want to conduct your science experiment, soak the soybeans in a large bowl of water. Even beans need to hydrate to stay healthy.
OK, curds to the left, to the left and whey to the right! Let’s gooo!
The Recipe
3 cups dried soybeans (start soaking the night before)
8 cups water, for making the soymilk
3 Tbsp. fresh lemon juice (or nigari, a salt-based coagulator used in tofu making. Honestly? Lemon juice is more convenient and works just as well. So does a light vinegar.)
Tofu press
2 pieces cheesecloth (One for straining the soy milk and one for draining the tofu)
Cooking thermometer (I use something like this)
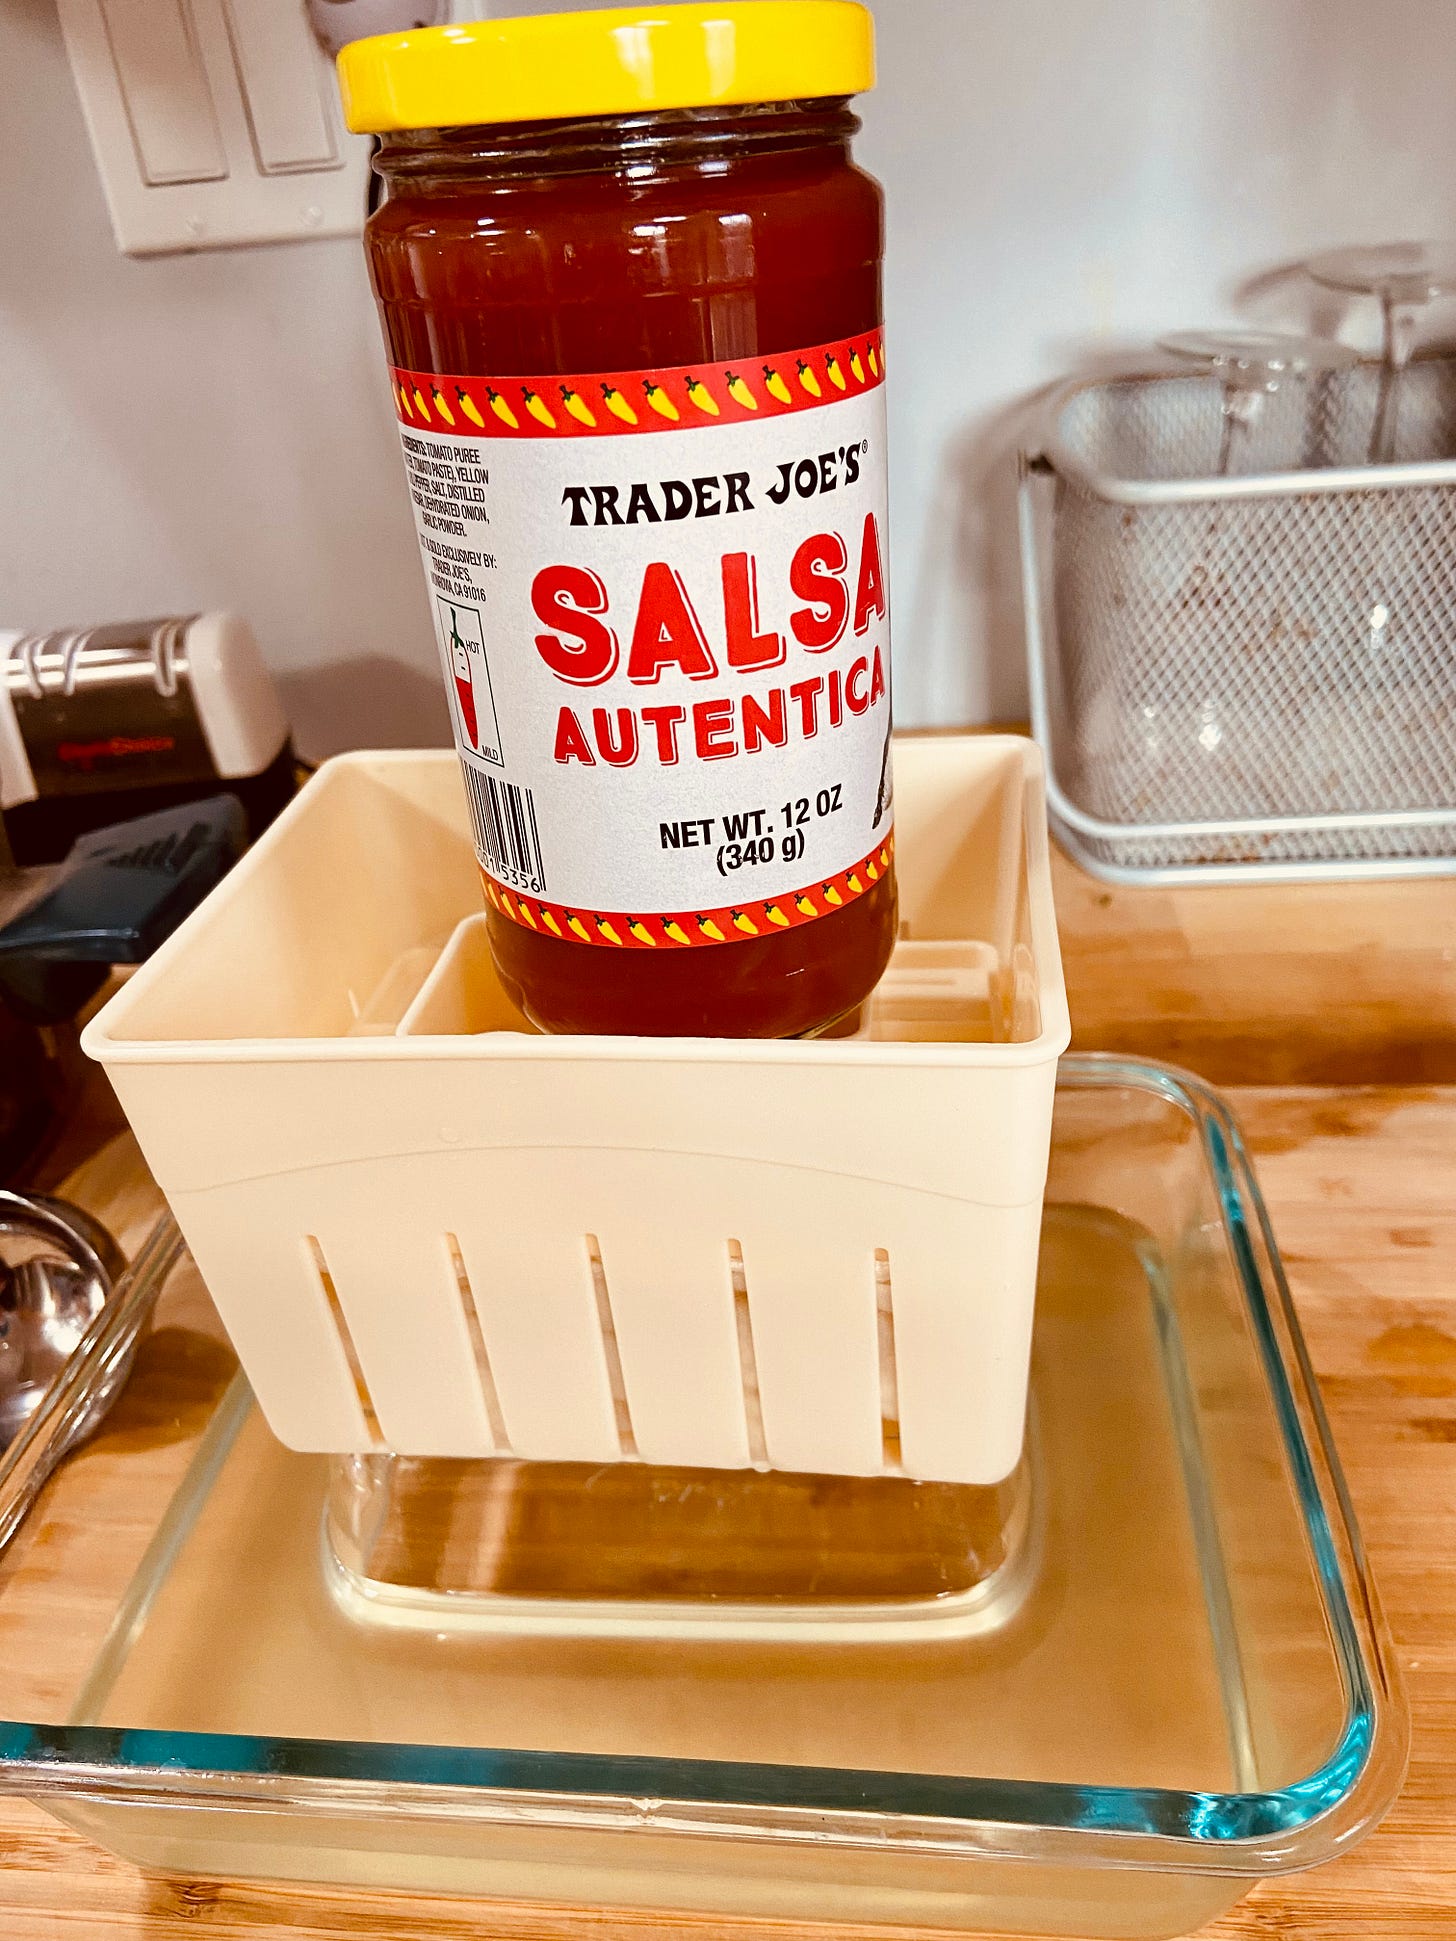
Weight for tofu press (I used a jar of Trader Joe’s salsa. Grab whatever you have that fits on top of the press and can reasonably weigh down the tofu without crushing it)
1. Drain the soaked beans well and rinse. Place them and 8 cups of fresh water in a blender. (You may need to do this in batches. I have a huge Ninja blender that has a “hold my beer” attitude about how much capacity it has. Personally, I think it stems from a deep sense of insecurity.)
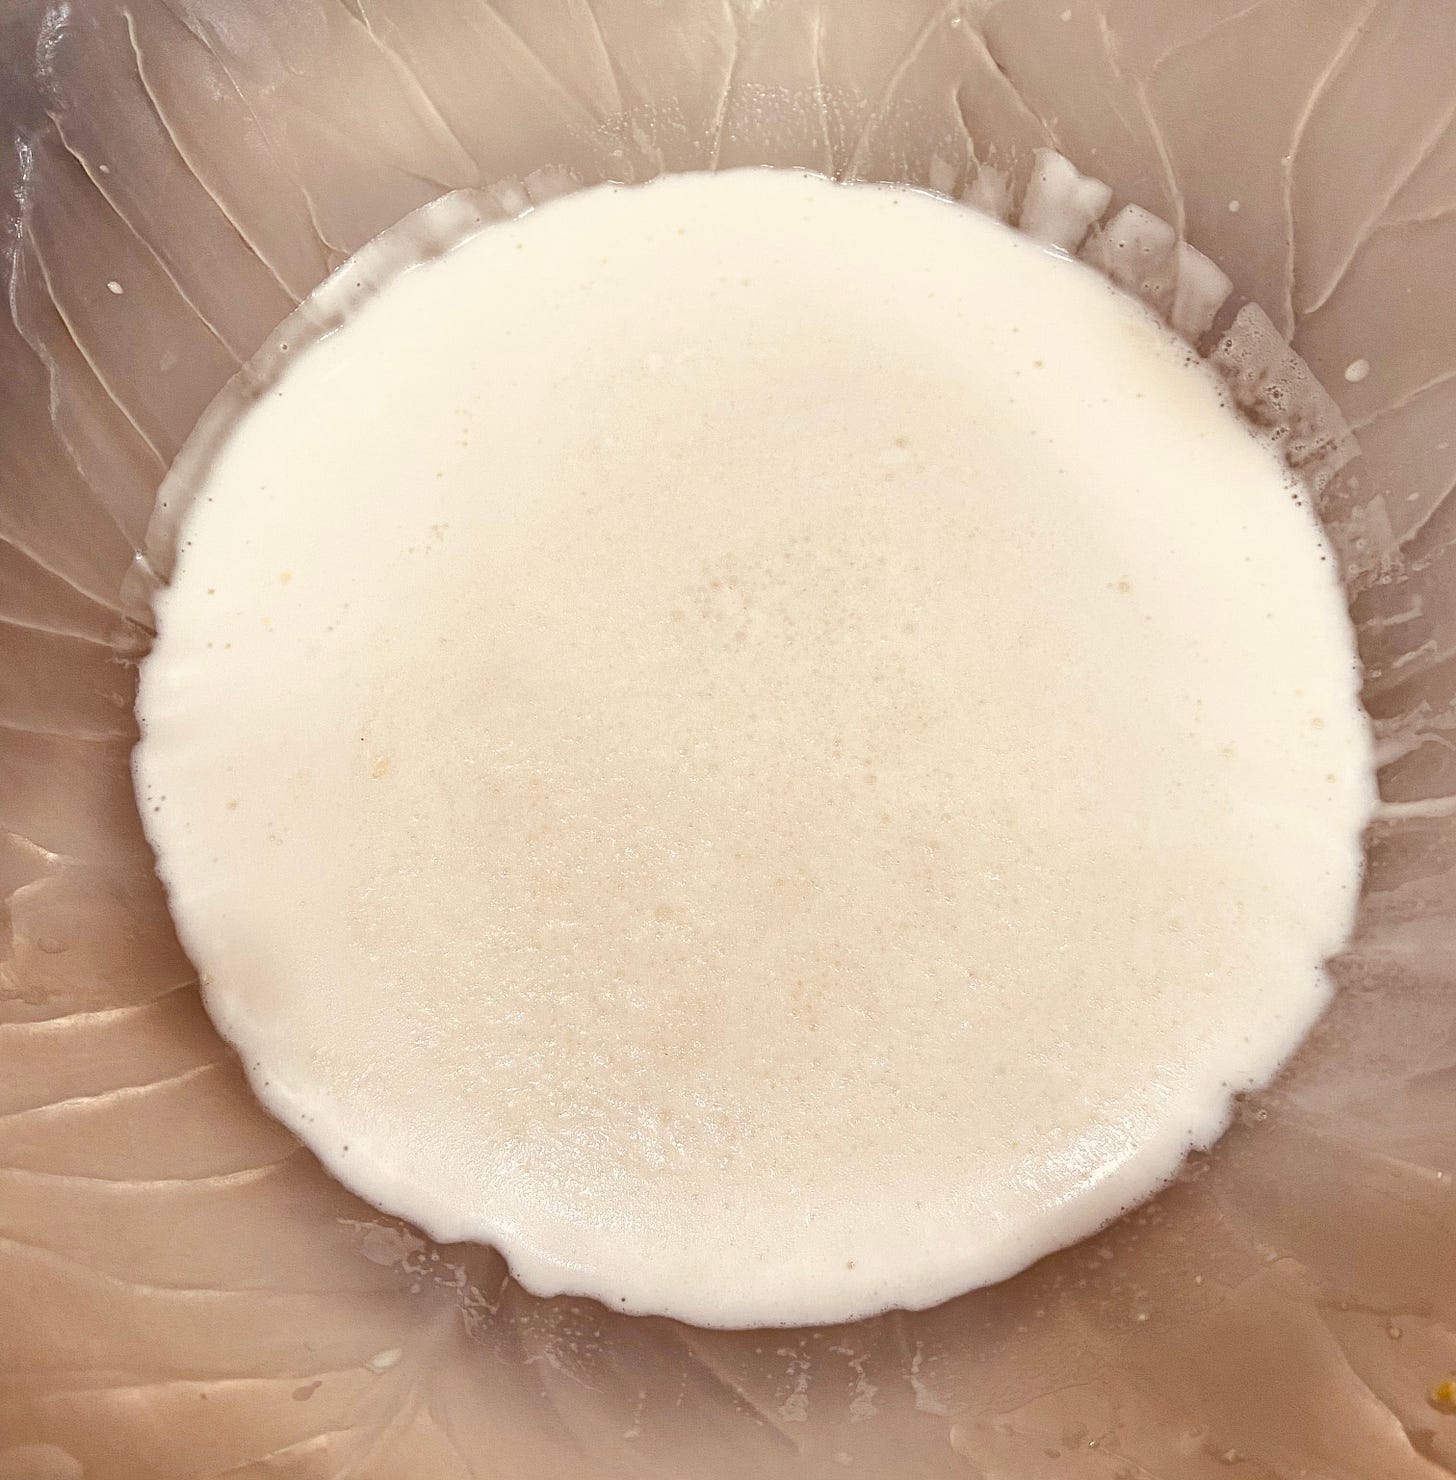
2. Blend the beans until very smooth. The water will turn white and cloudy. This is good. You are making your own soy milk, huzzah!
3a. Put a colander inside a larger bowl and put one piece of cheesecloth into the colander. Pour the soy milk into the cheesecloth (again, this may need to be done in batches) and drain the milk into the bowl.
3b. Here’s where you get to vent your hostilities. Gather the sides of the cheesecloth up and slowly squeeeeeeze the cheesecloth “bag” to help drain the rest of the soy milk into the bowl until all that is left in the bag is the soybean pulp.
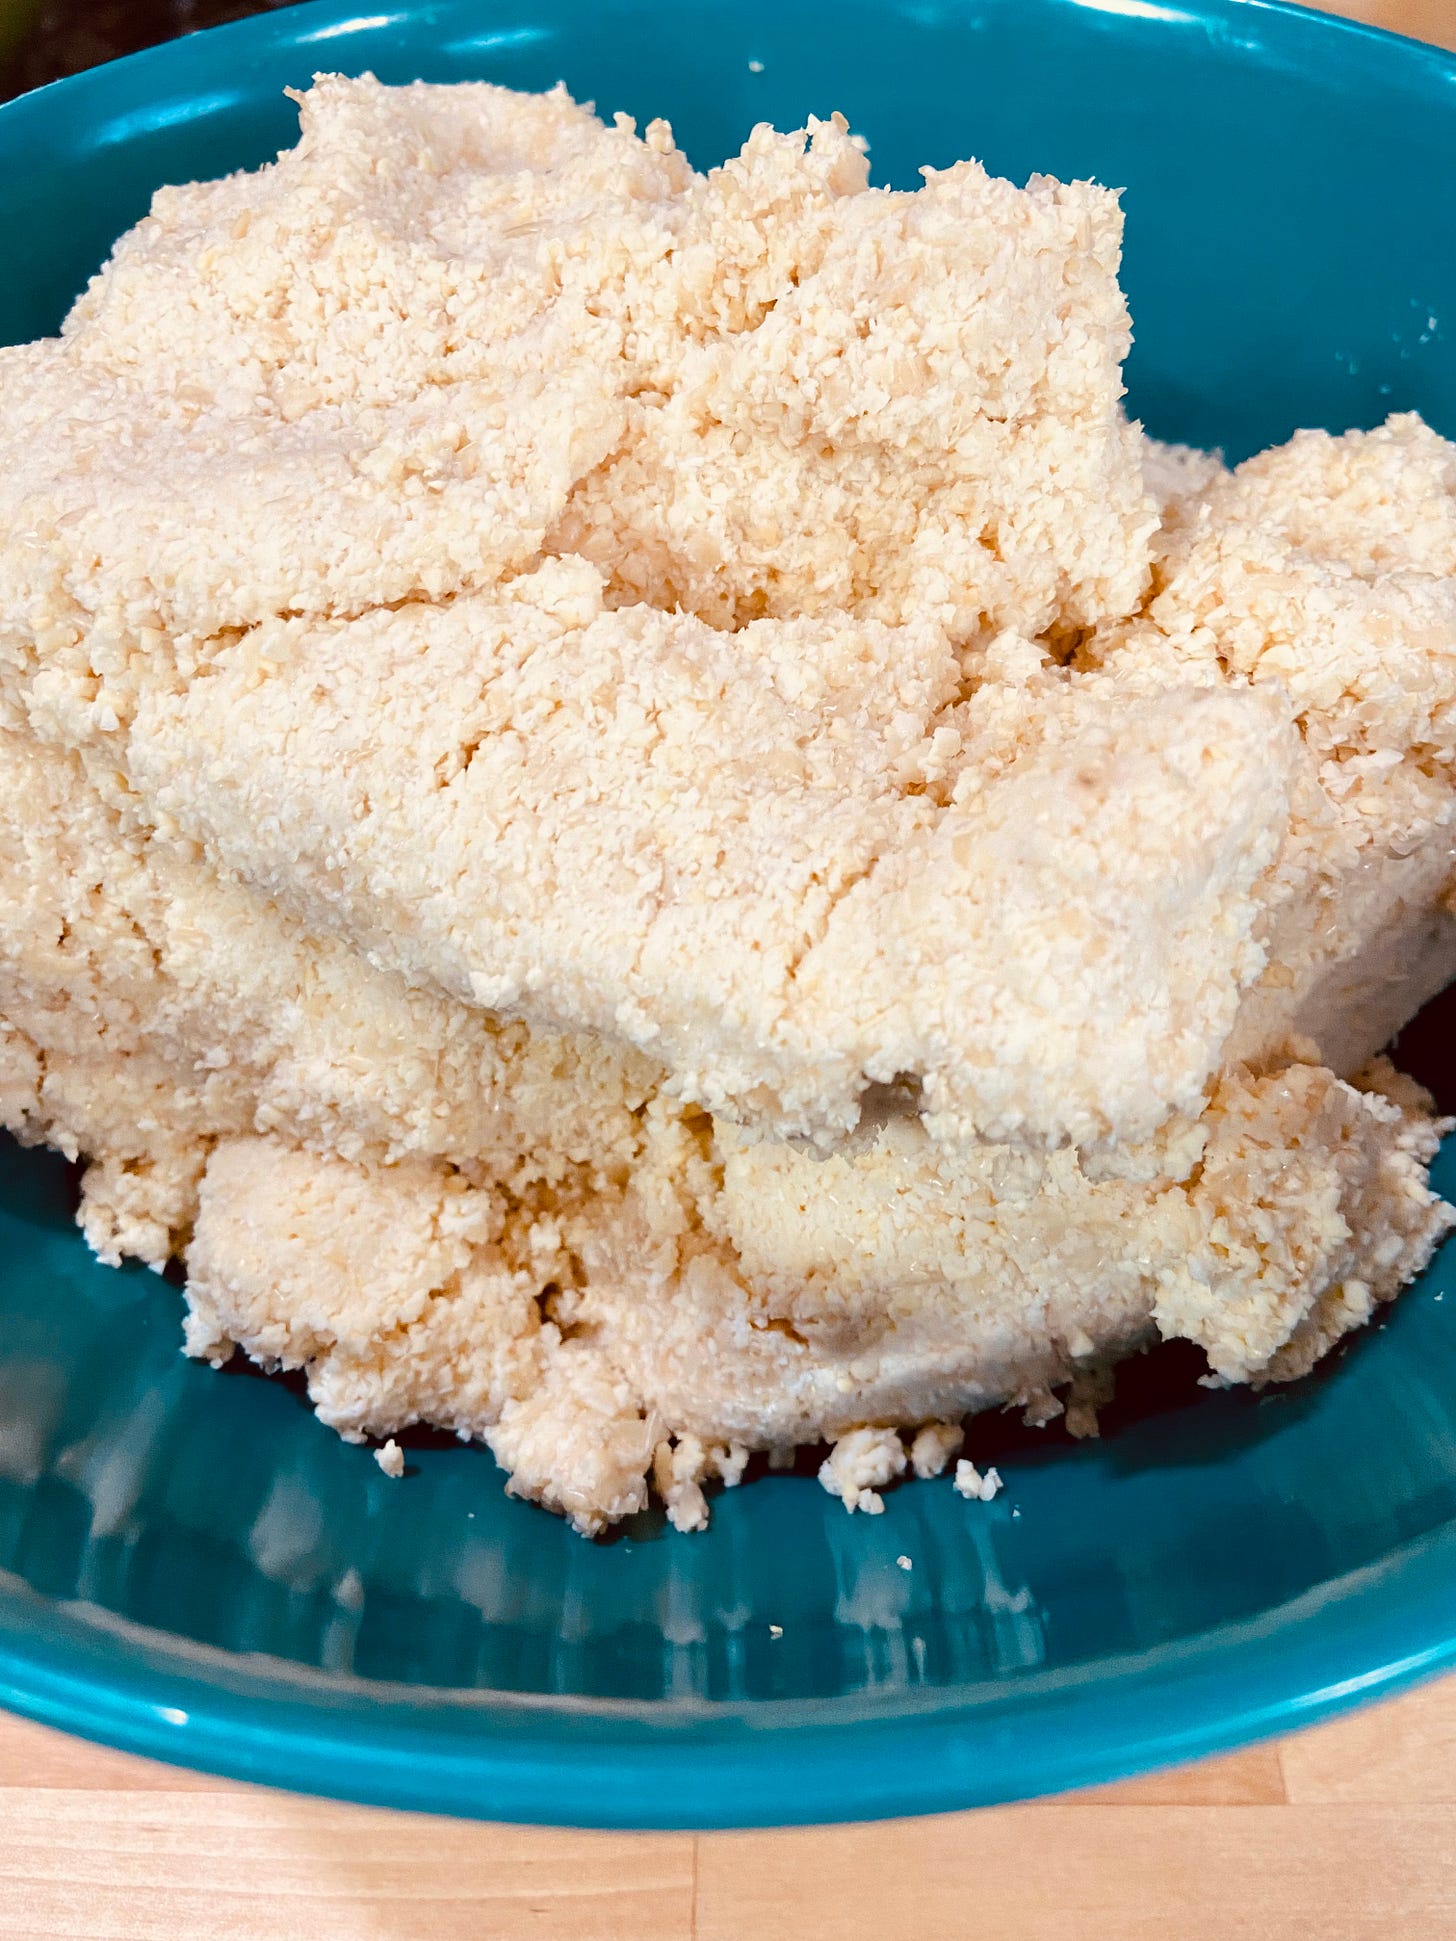
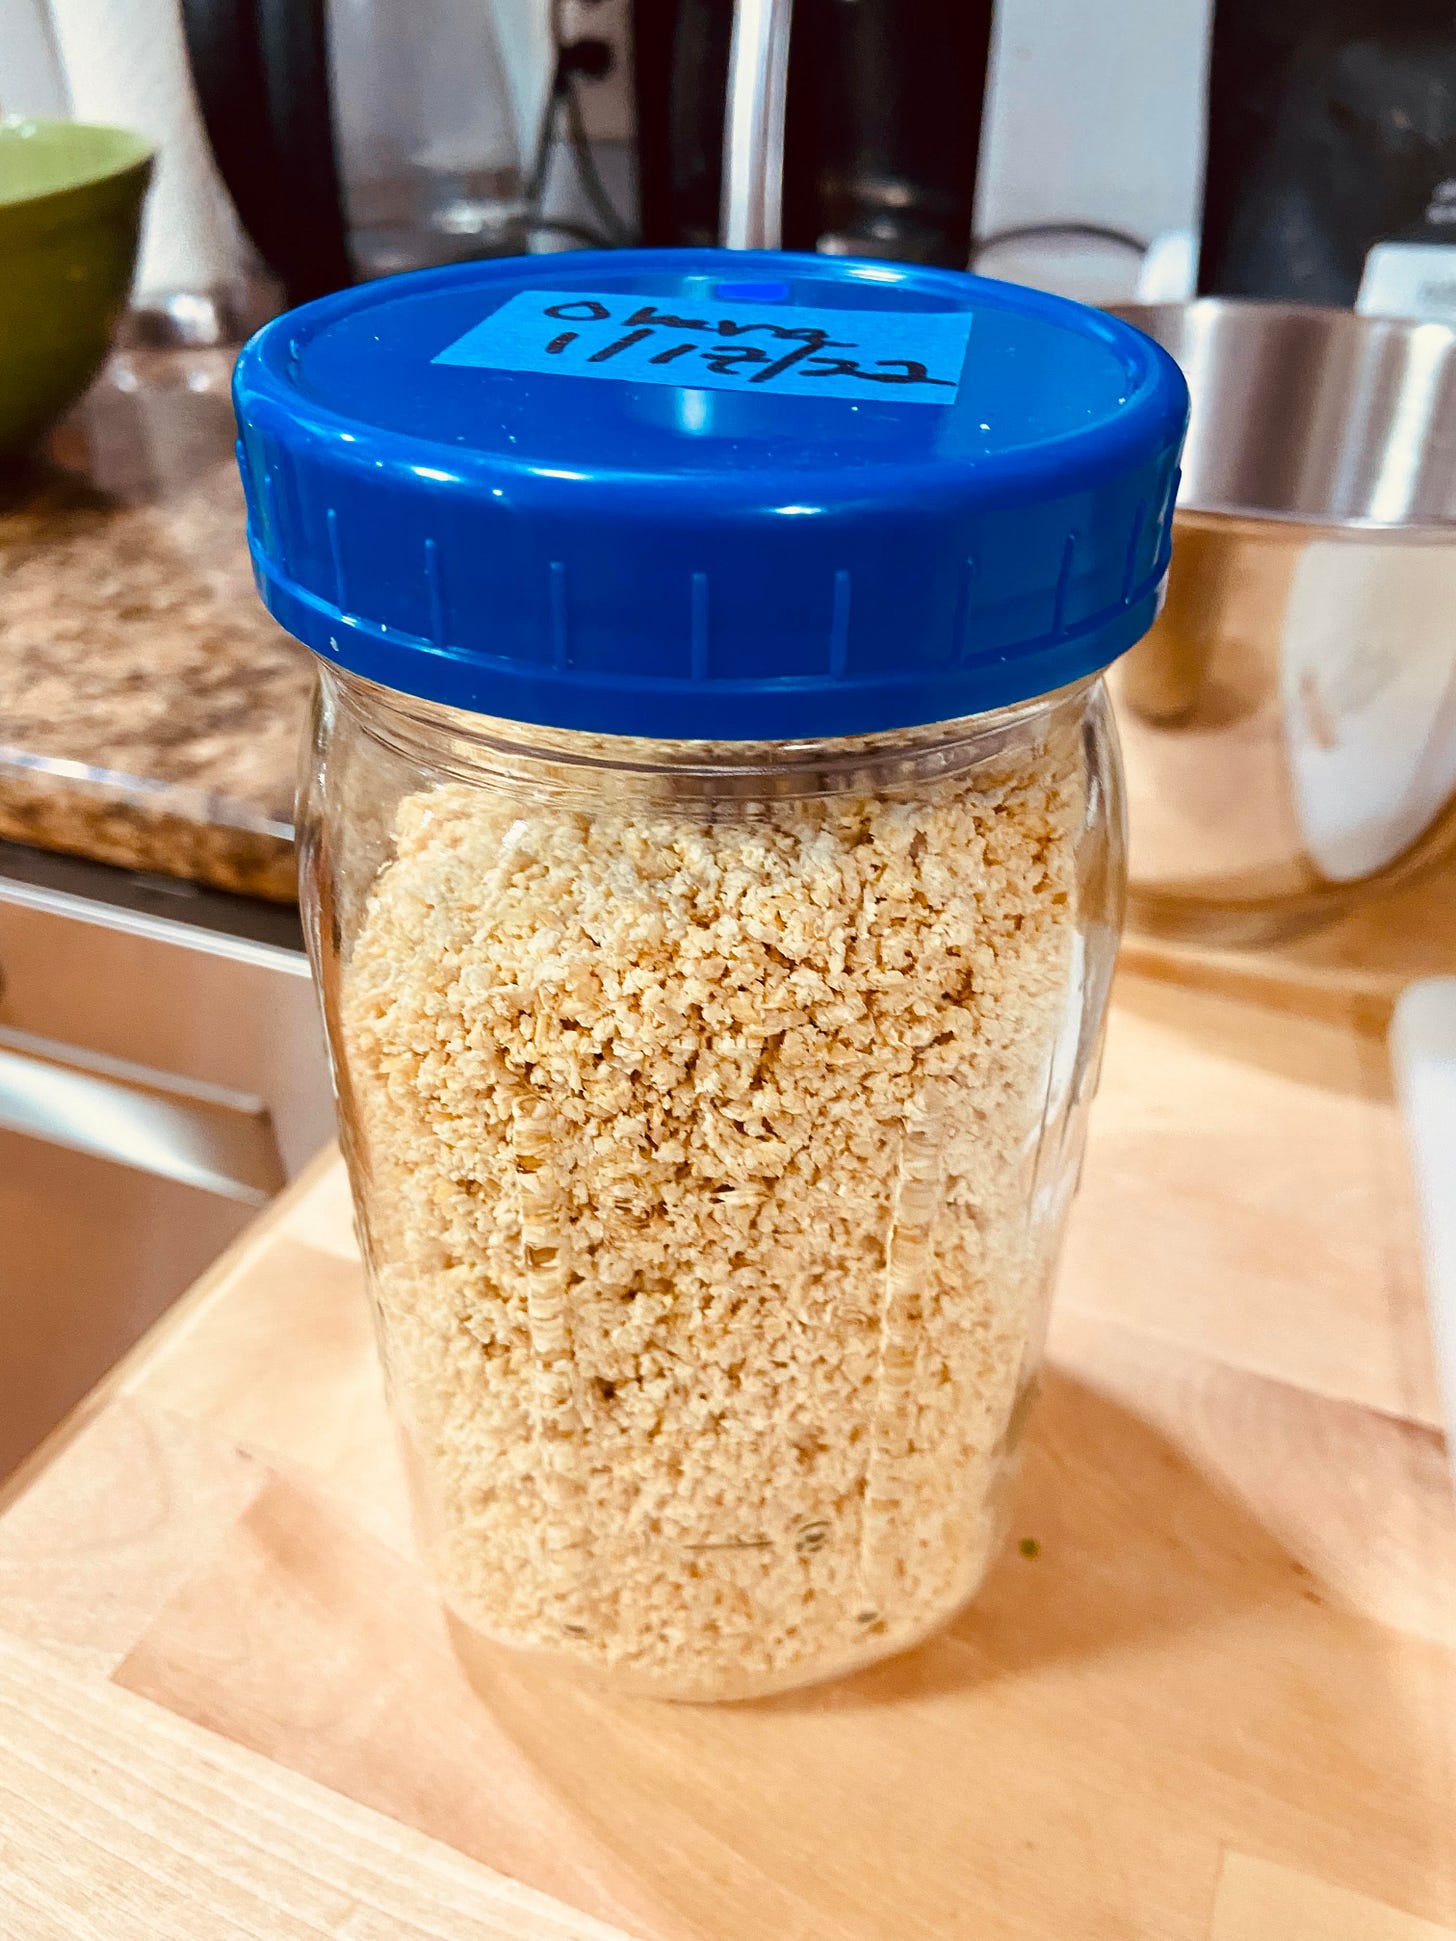
This grainy pulp is called okara in Japanese, and can be used for all sort of good things. I’ll talk more about that below. Set the okara aside for now.
4. Pour the strained soy milk into a large pot and heat it just until it comes to a boil, stirring often to keep it from scorching the bottom of the pot, then lower the heat so it just simmers. Simmer for about 15 minutes, and for the love of all that is holy, keep stirring. Skim the foam the bubbles up on top.
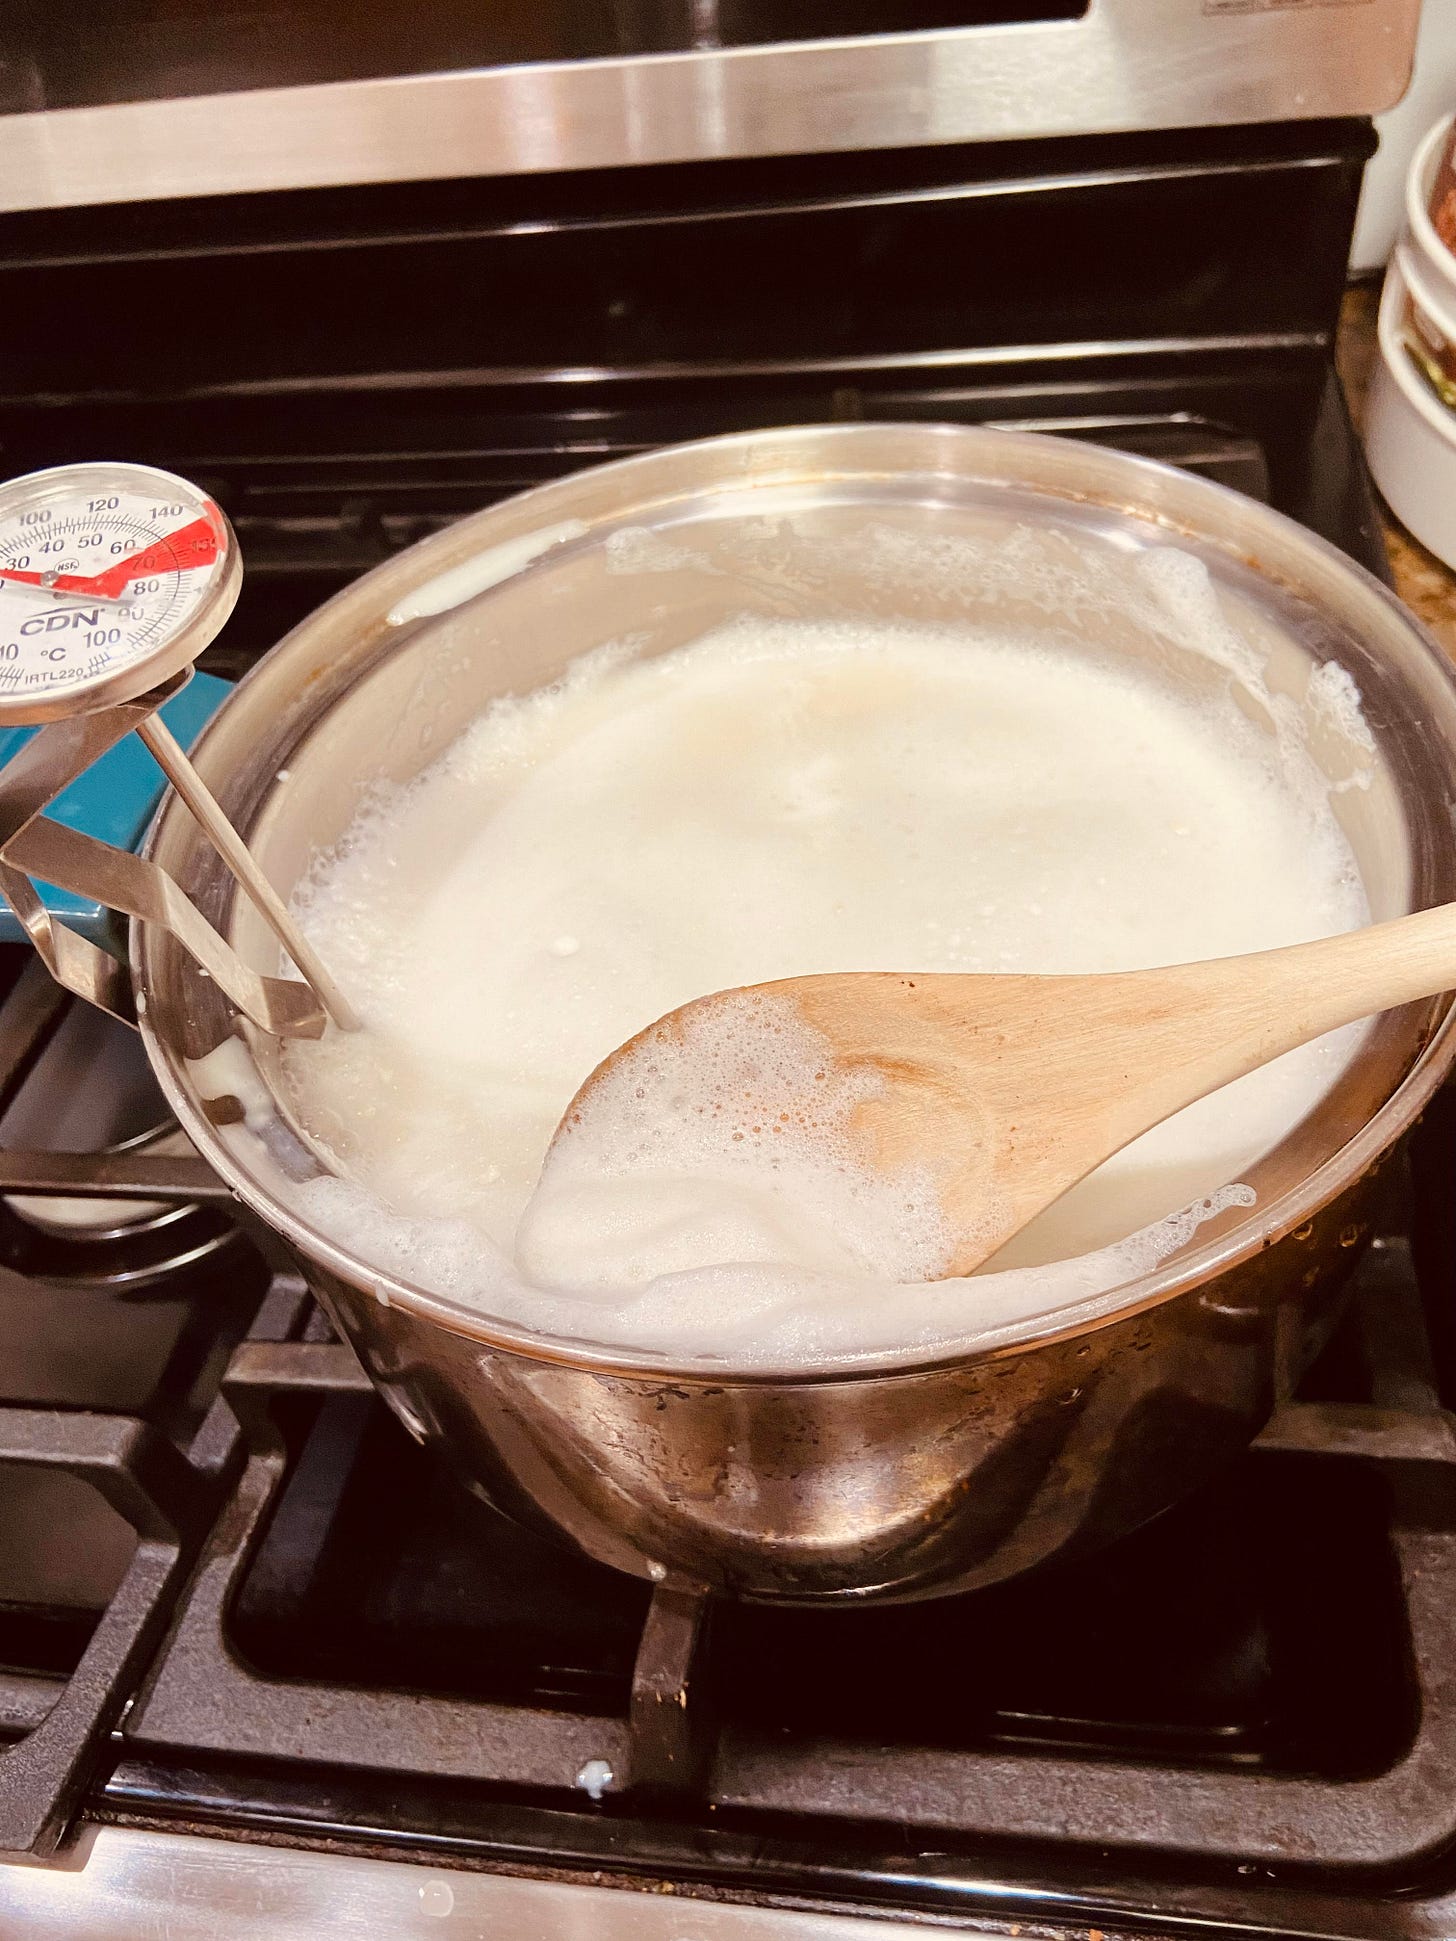
If you do nothing else, watch the pot like a maniac. Soy milk has a tendency to really foam over and make a mess.
Remove the pot from the heat and allow to cool to about 170 degrees F. Stir from time to time so the milk does not stick to the pot.
And now for the exciting actual science part! Acidification!
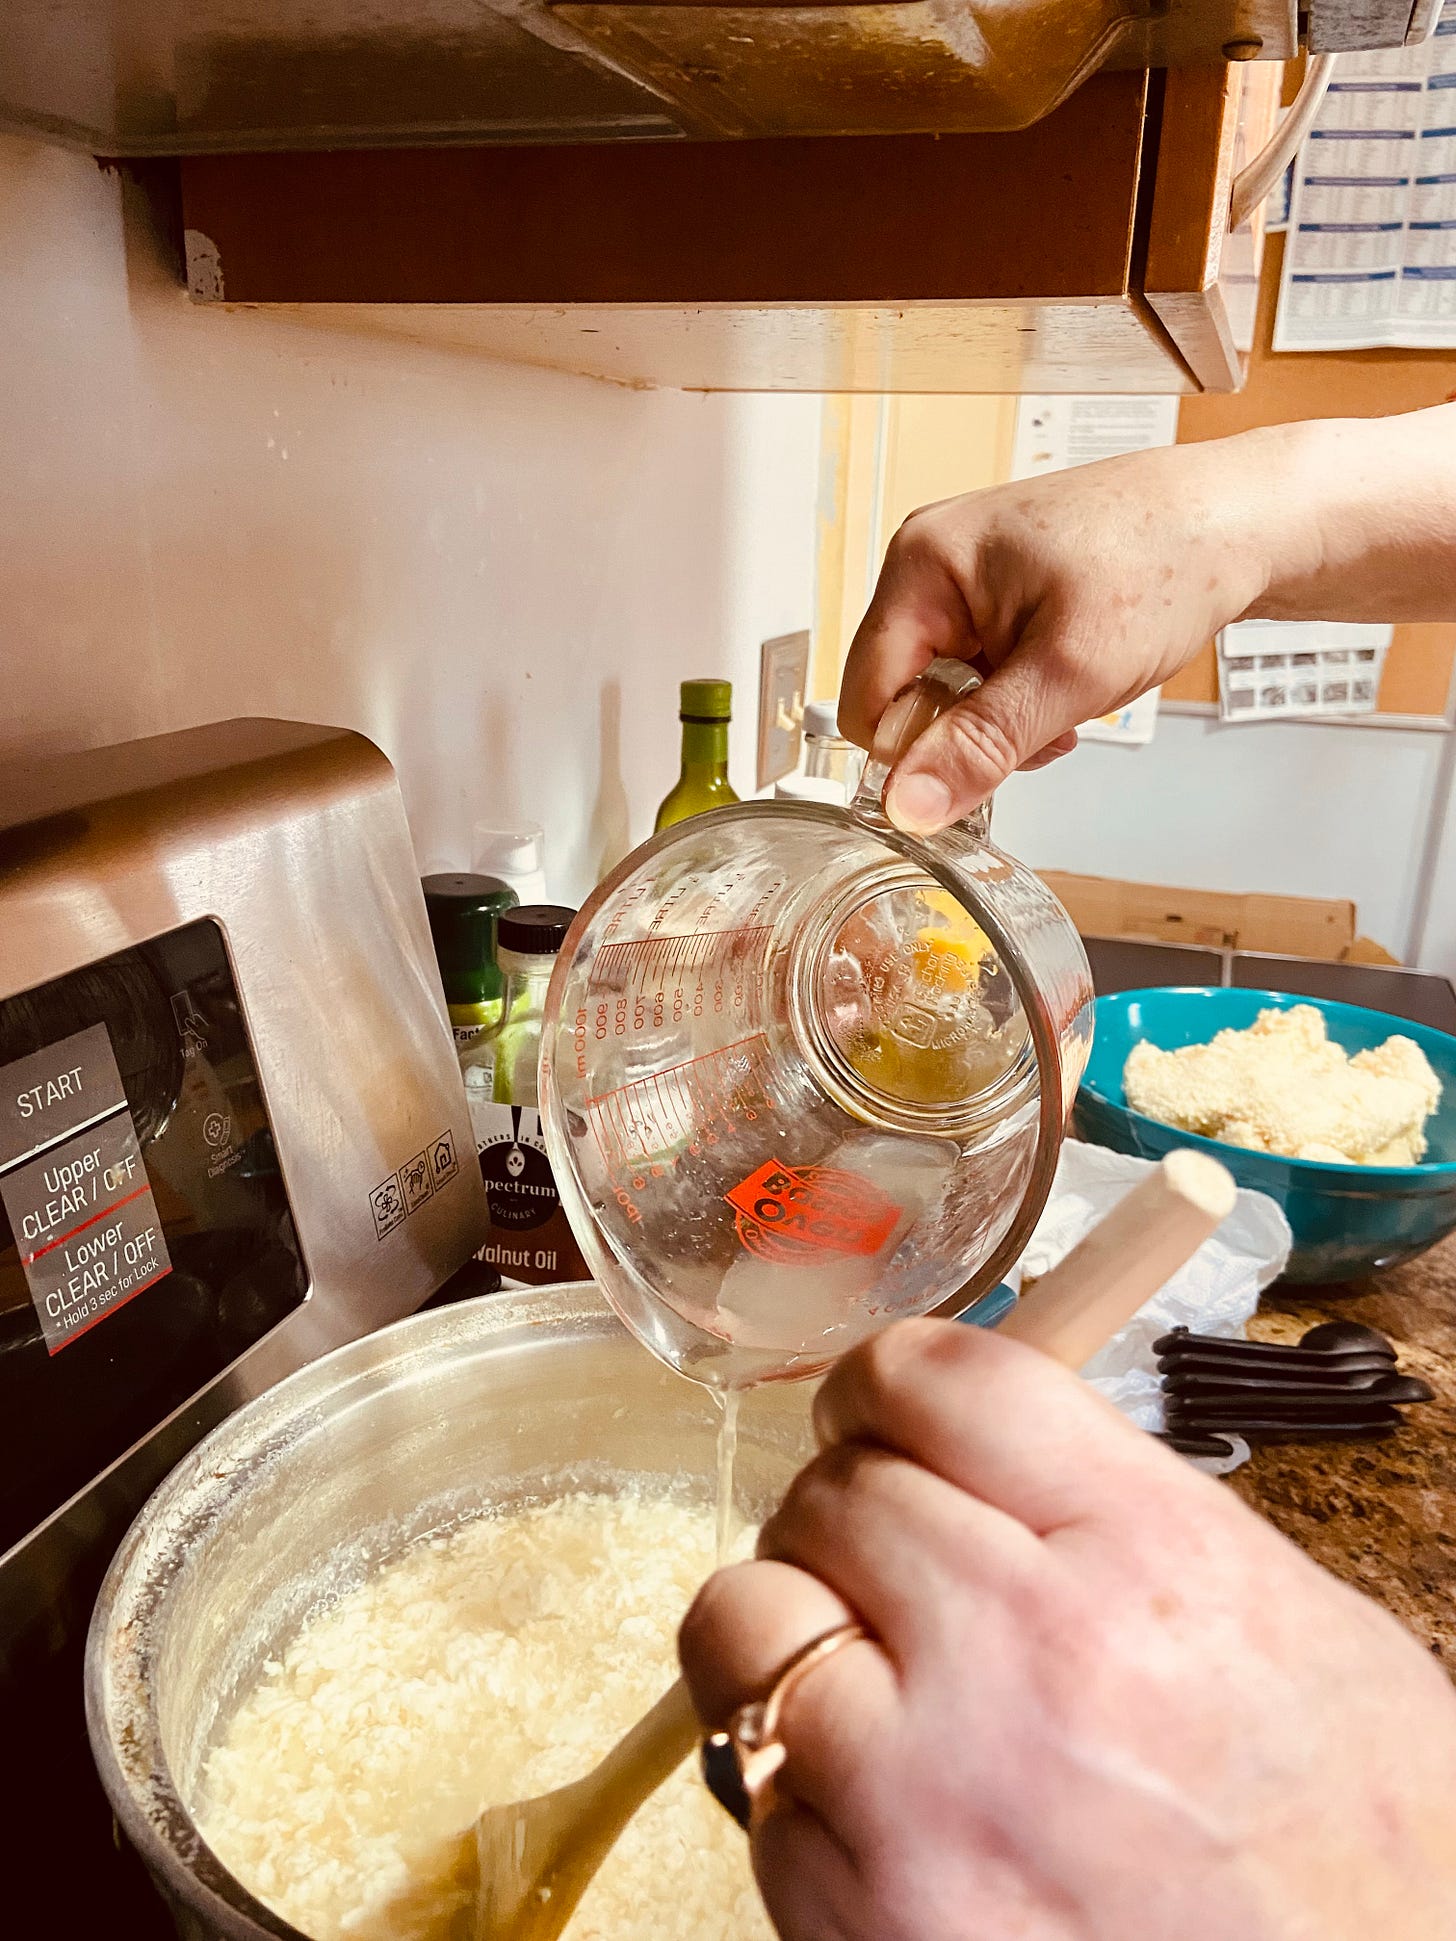
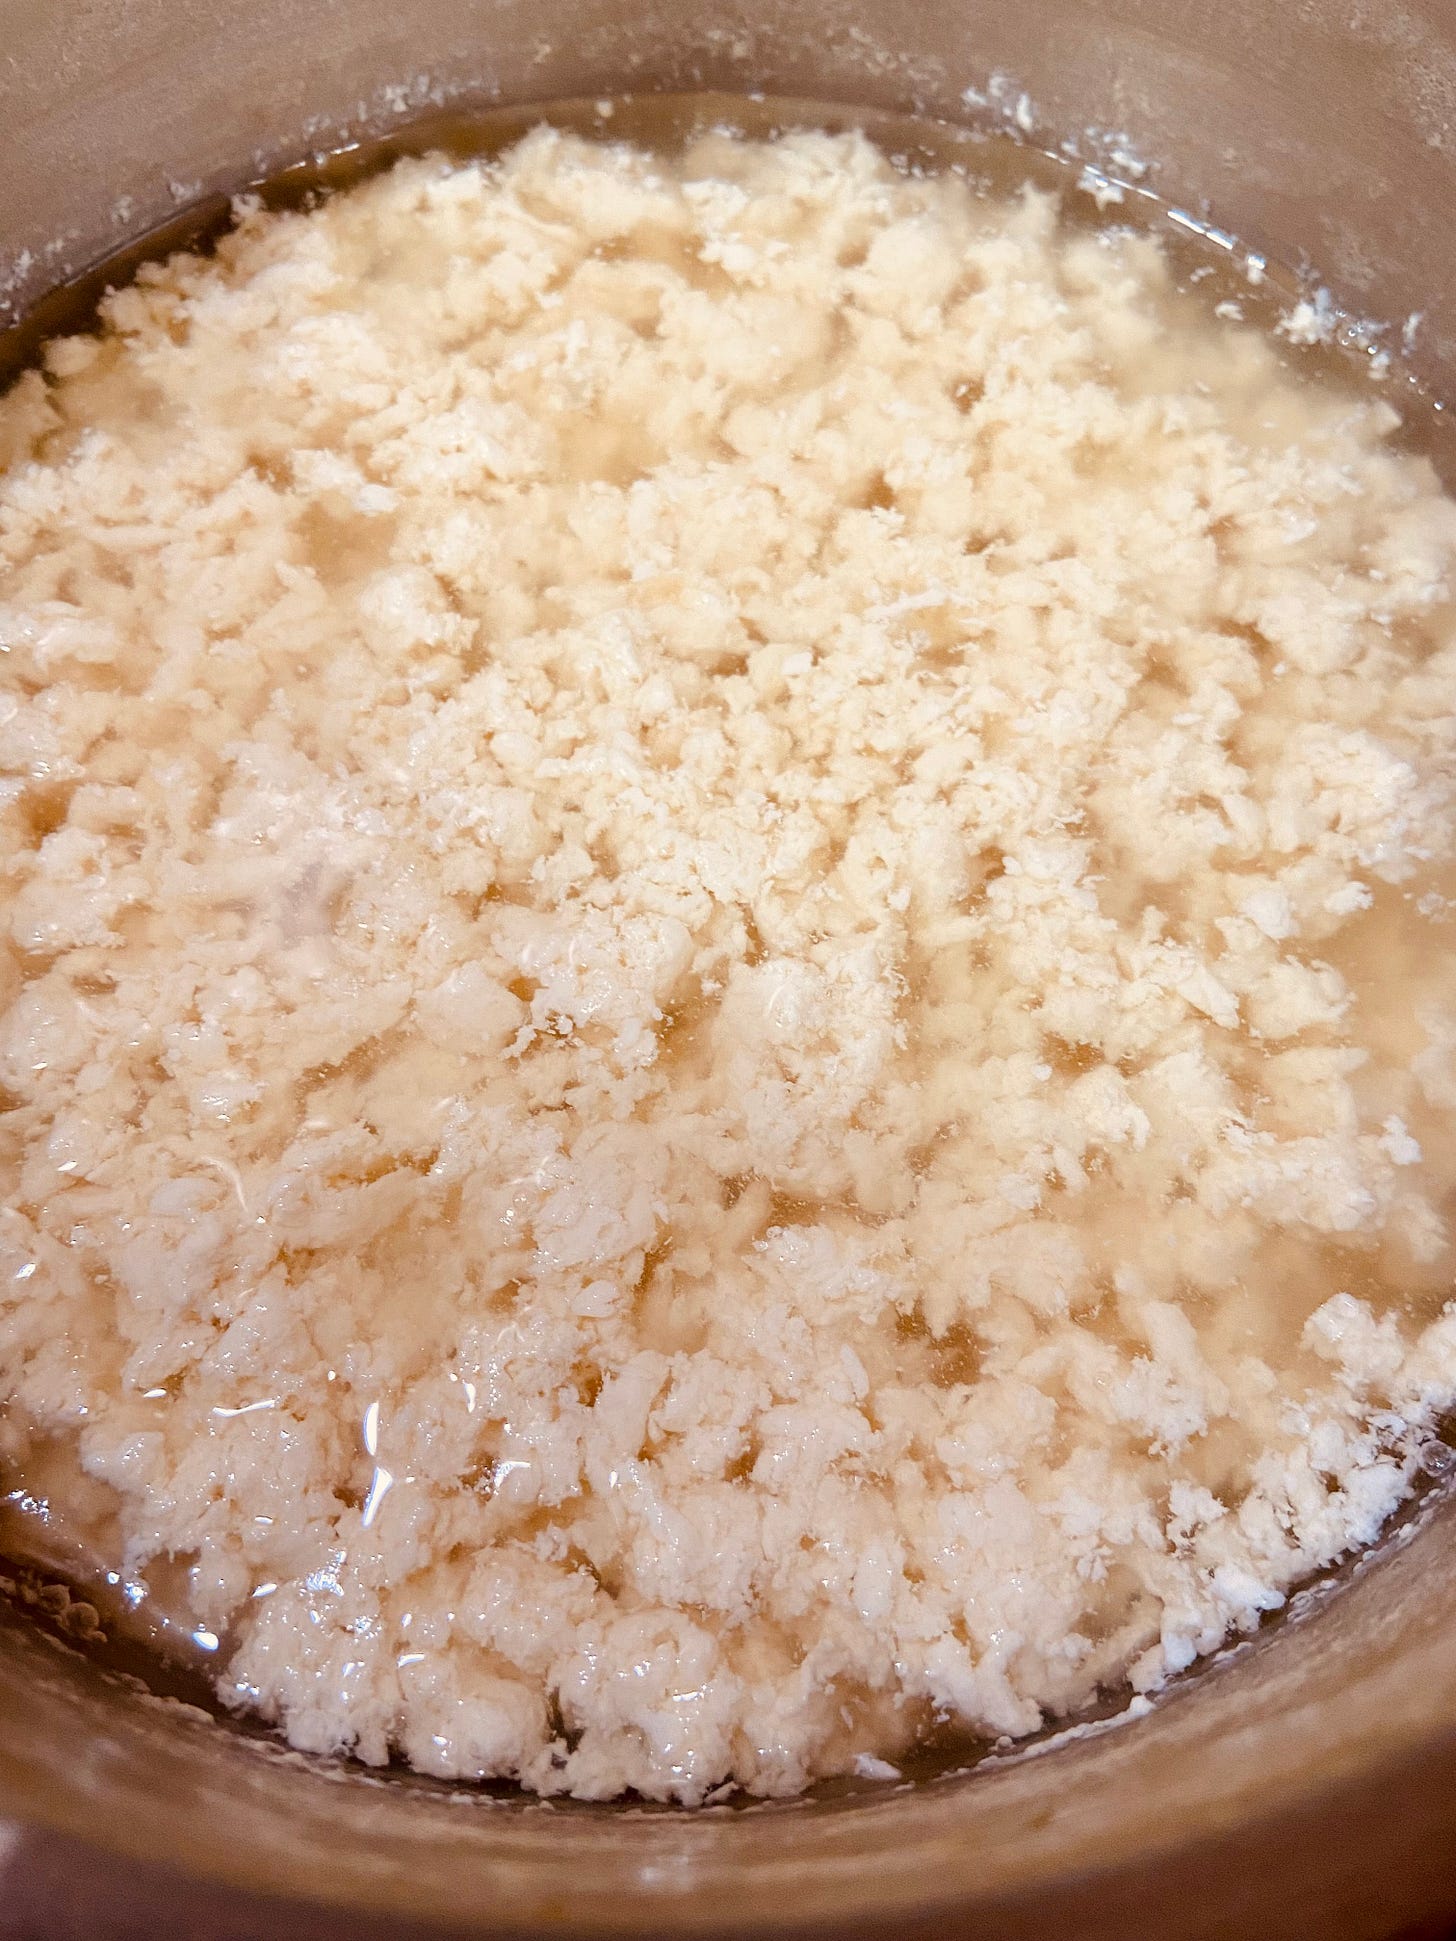
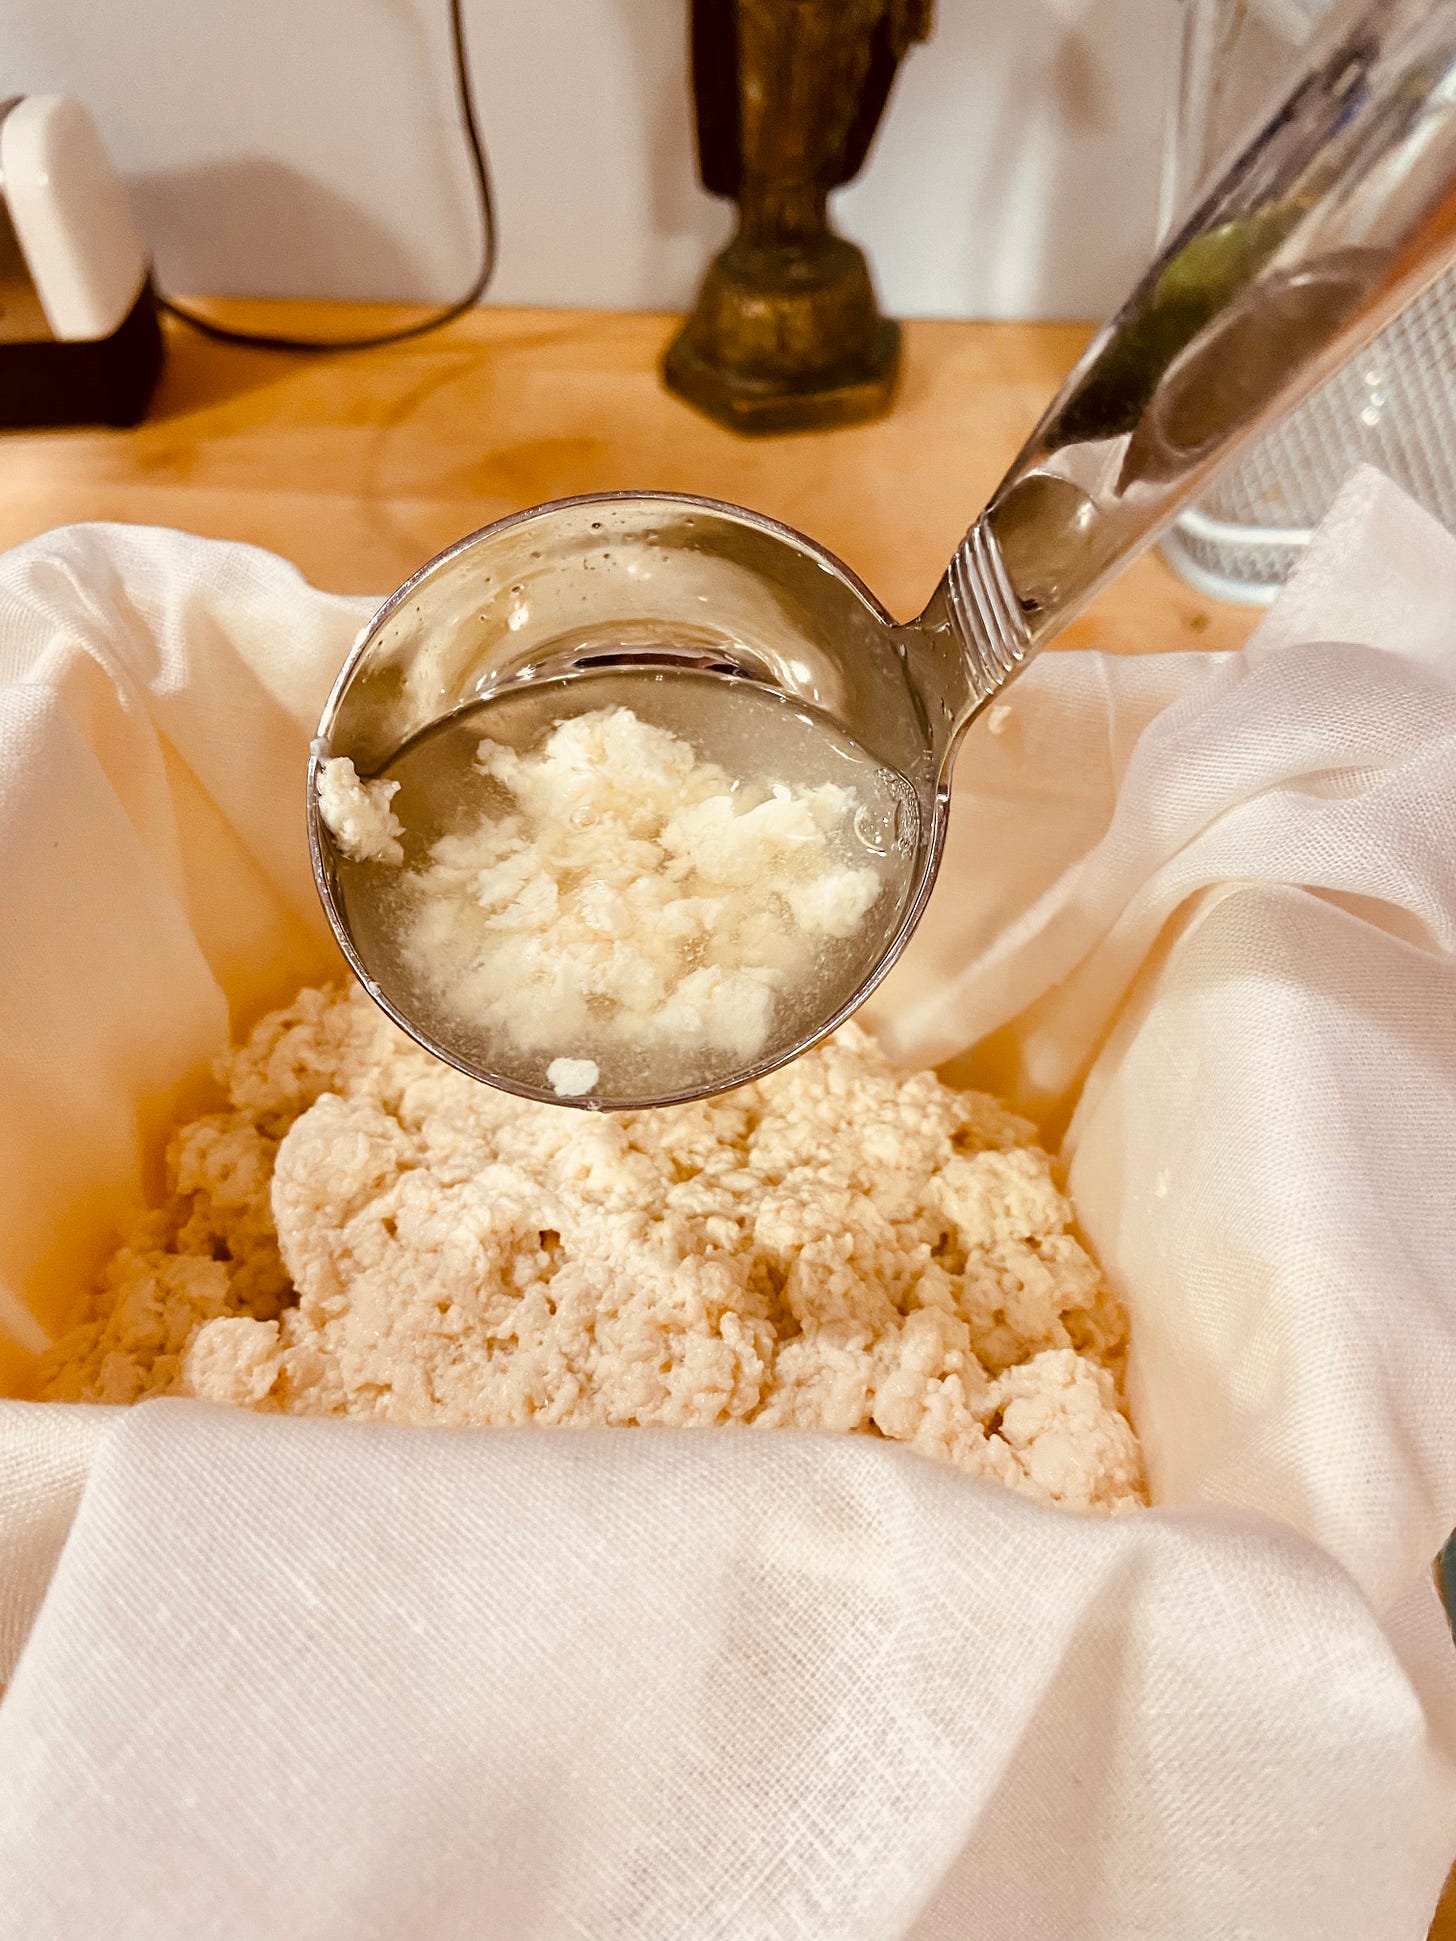
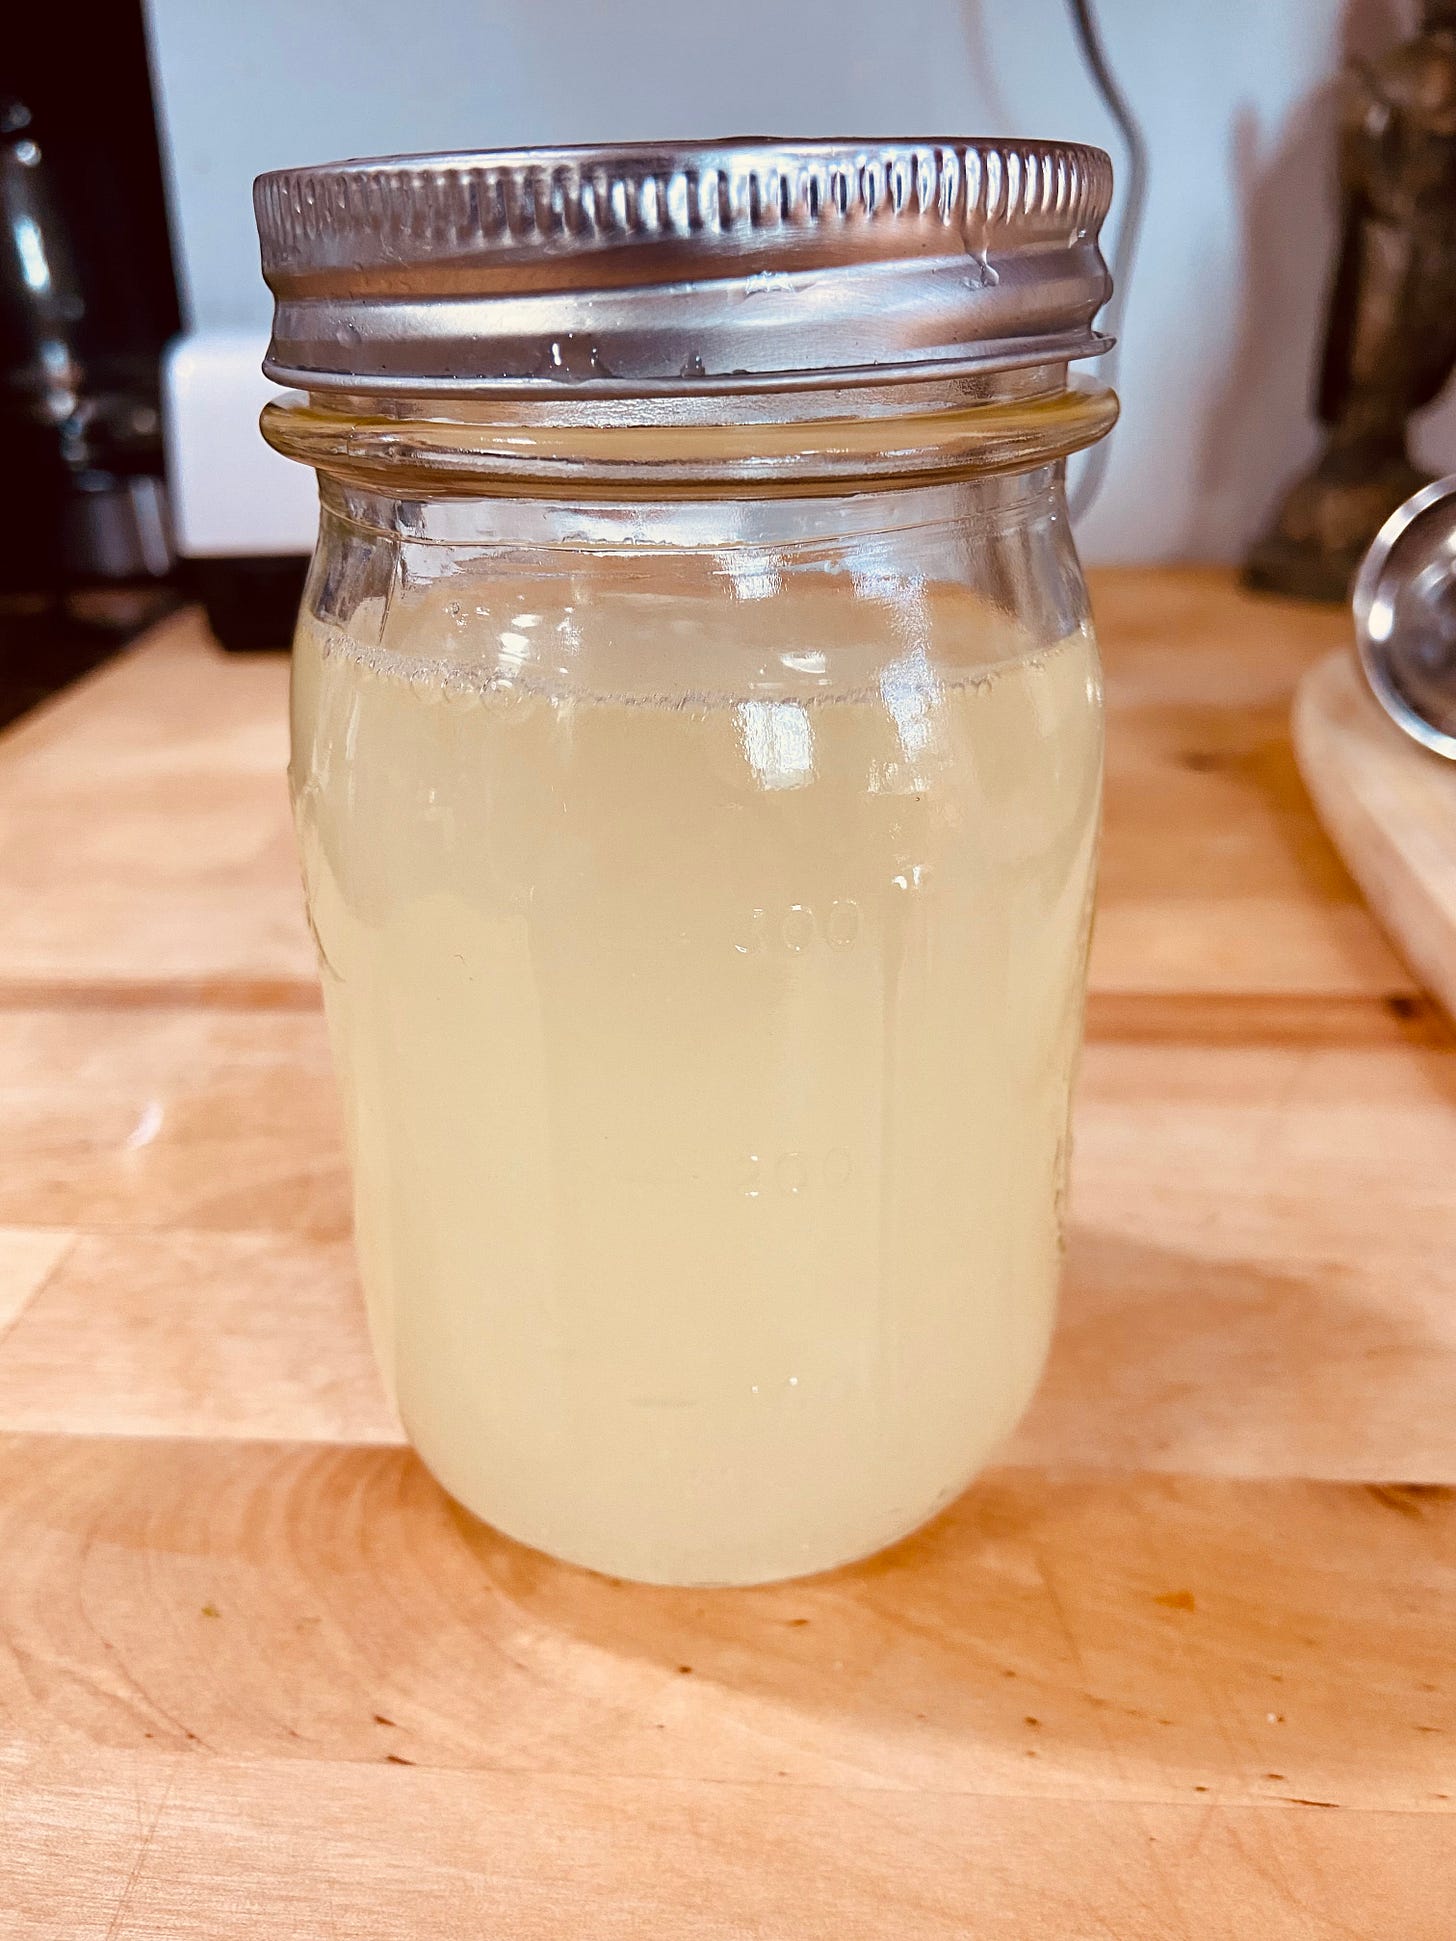
Slowly pour the lemon juice/nigari/vinegar into the milk, gently moving your stirring spoon back and forth (not in circles), so that the acid is well dispersed.The curds are the white chunks (Mmm, appetizing, Deb!), and the whey is the pale amber liquid that separates from the curds. We will be using the curds to make the tofu, but don’t throw away the whey! It can be mixed into smoothies for a little extra protein. So they say.
Cover the pot and allow to fully curdle for about 30-45 minutes. It might take less time, so check the pot once in a while to see if the curds are fully formed. Moving the stirring spoon gently among the curds — note to self: Use “Gently Among the Curds” as the title of my next romance novel — and if they feel like they have some heft, they’re done.
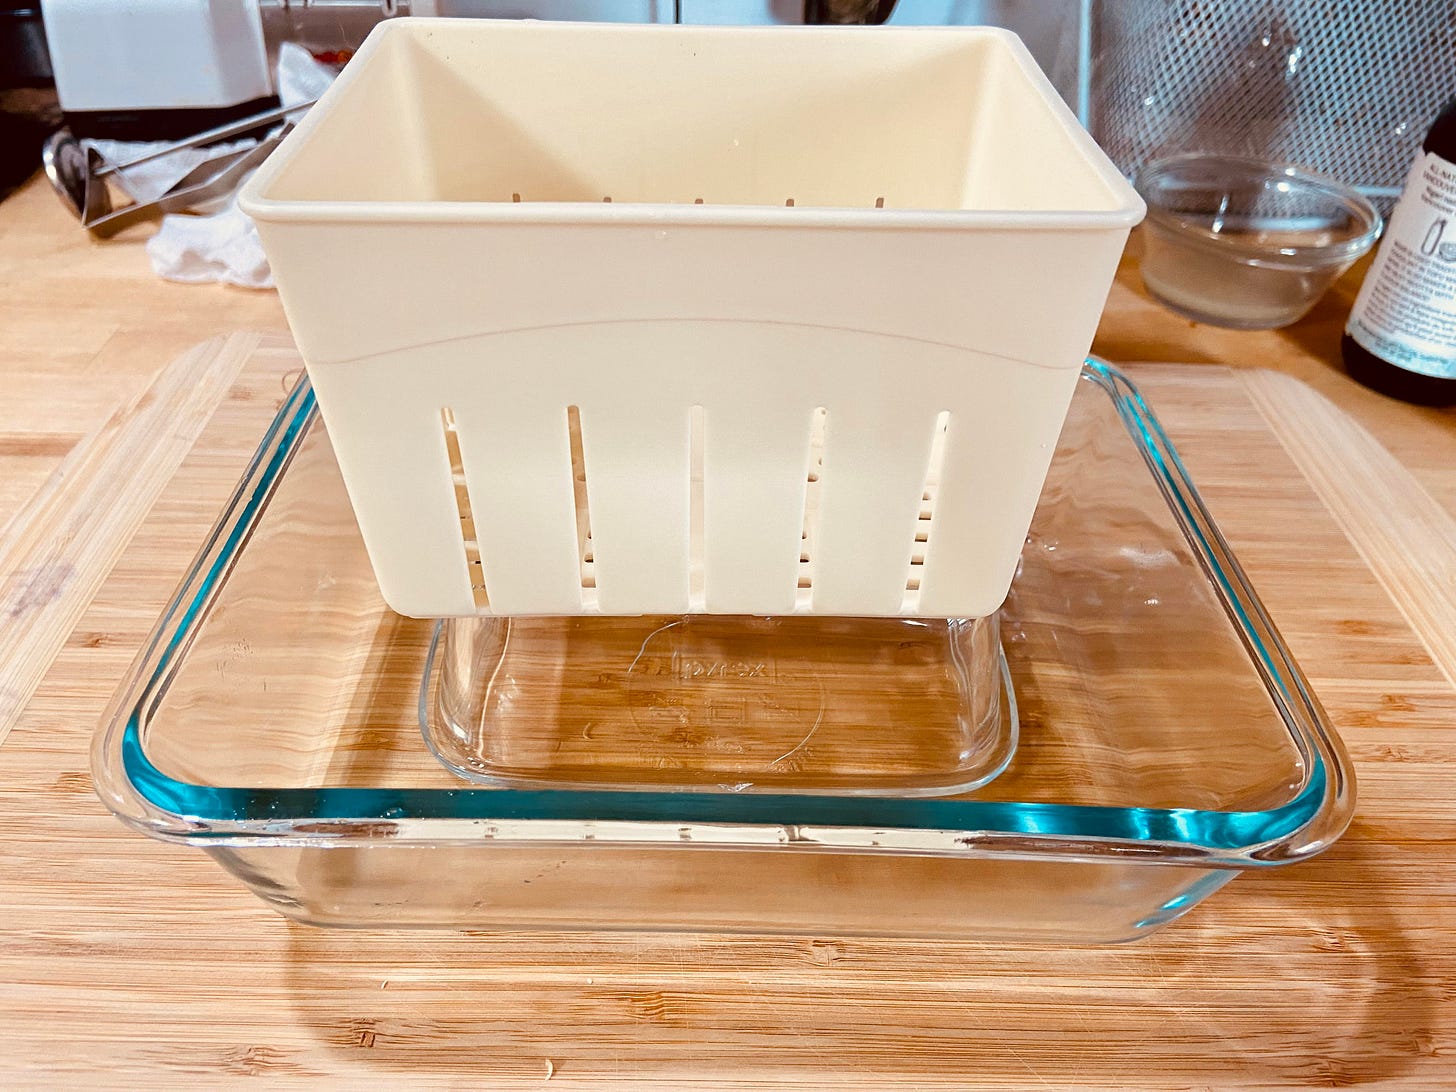
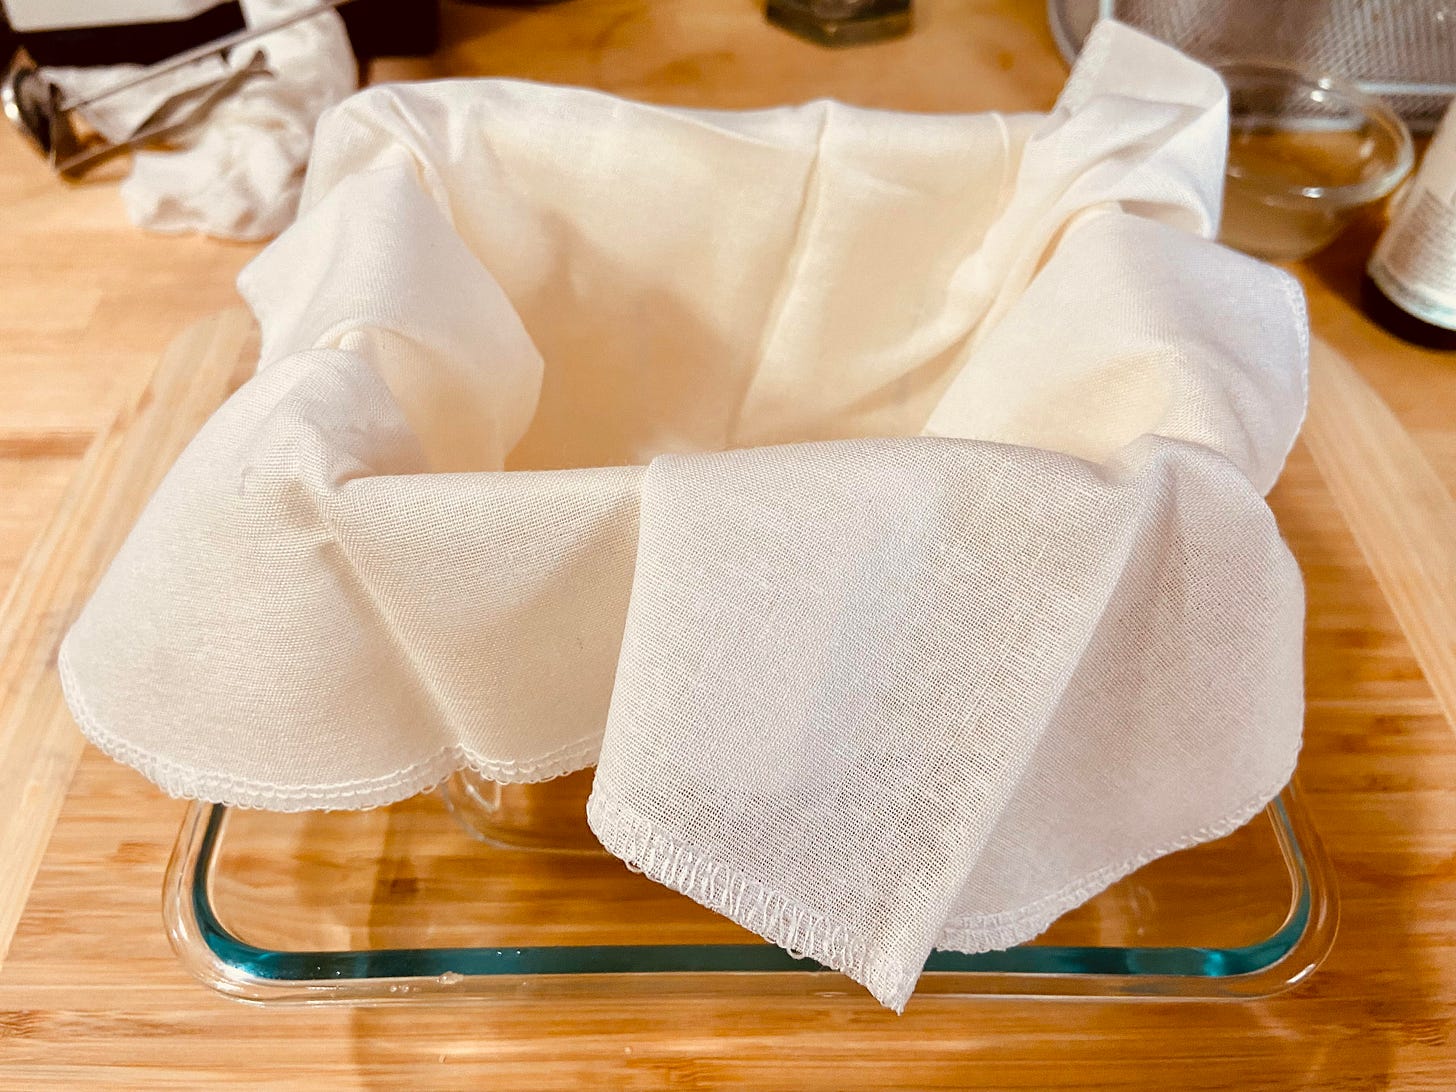
I MacGyver my own set up to allow the tofu to drain properly. It basically consists of two glass casserole dishes, with the smaller one inverted and placed inside the larger one. It looks like this:
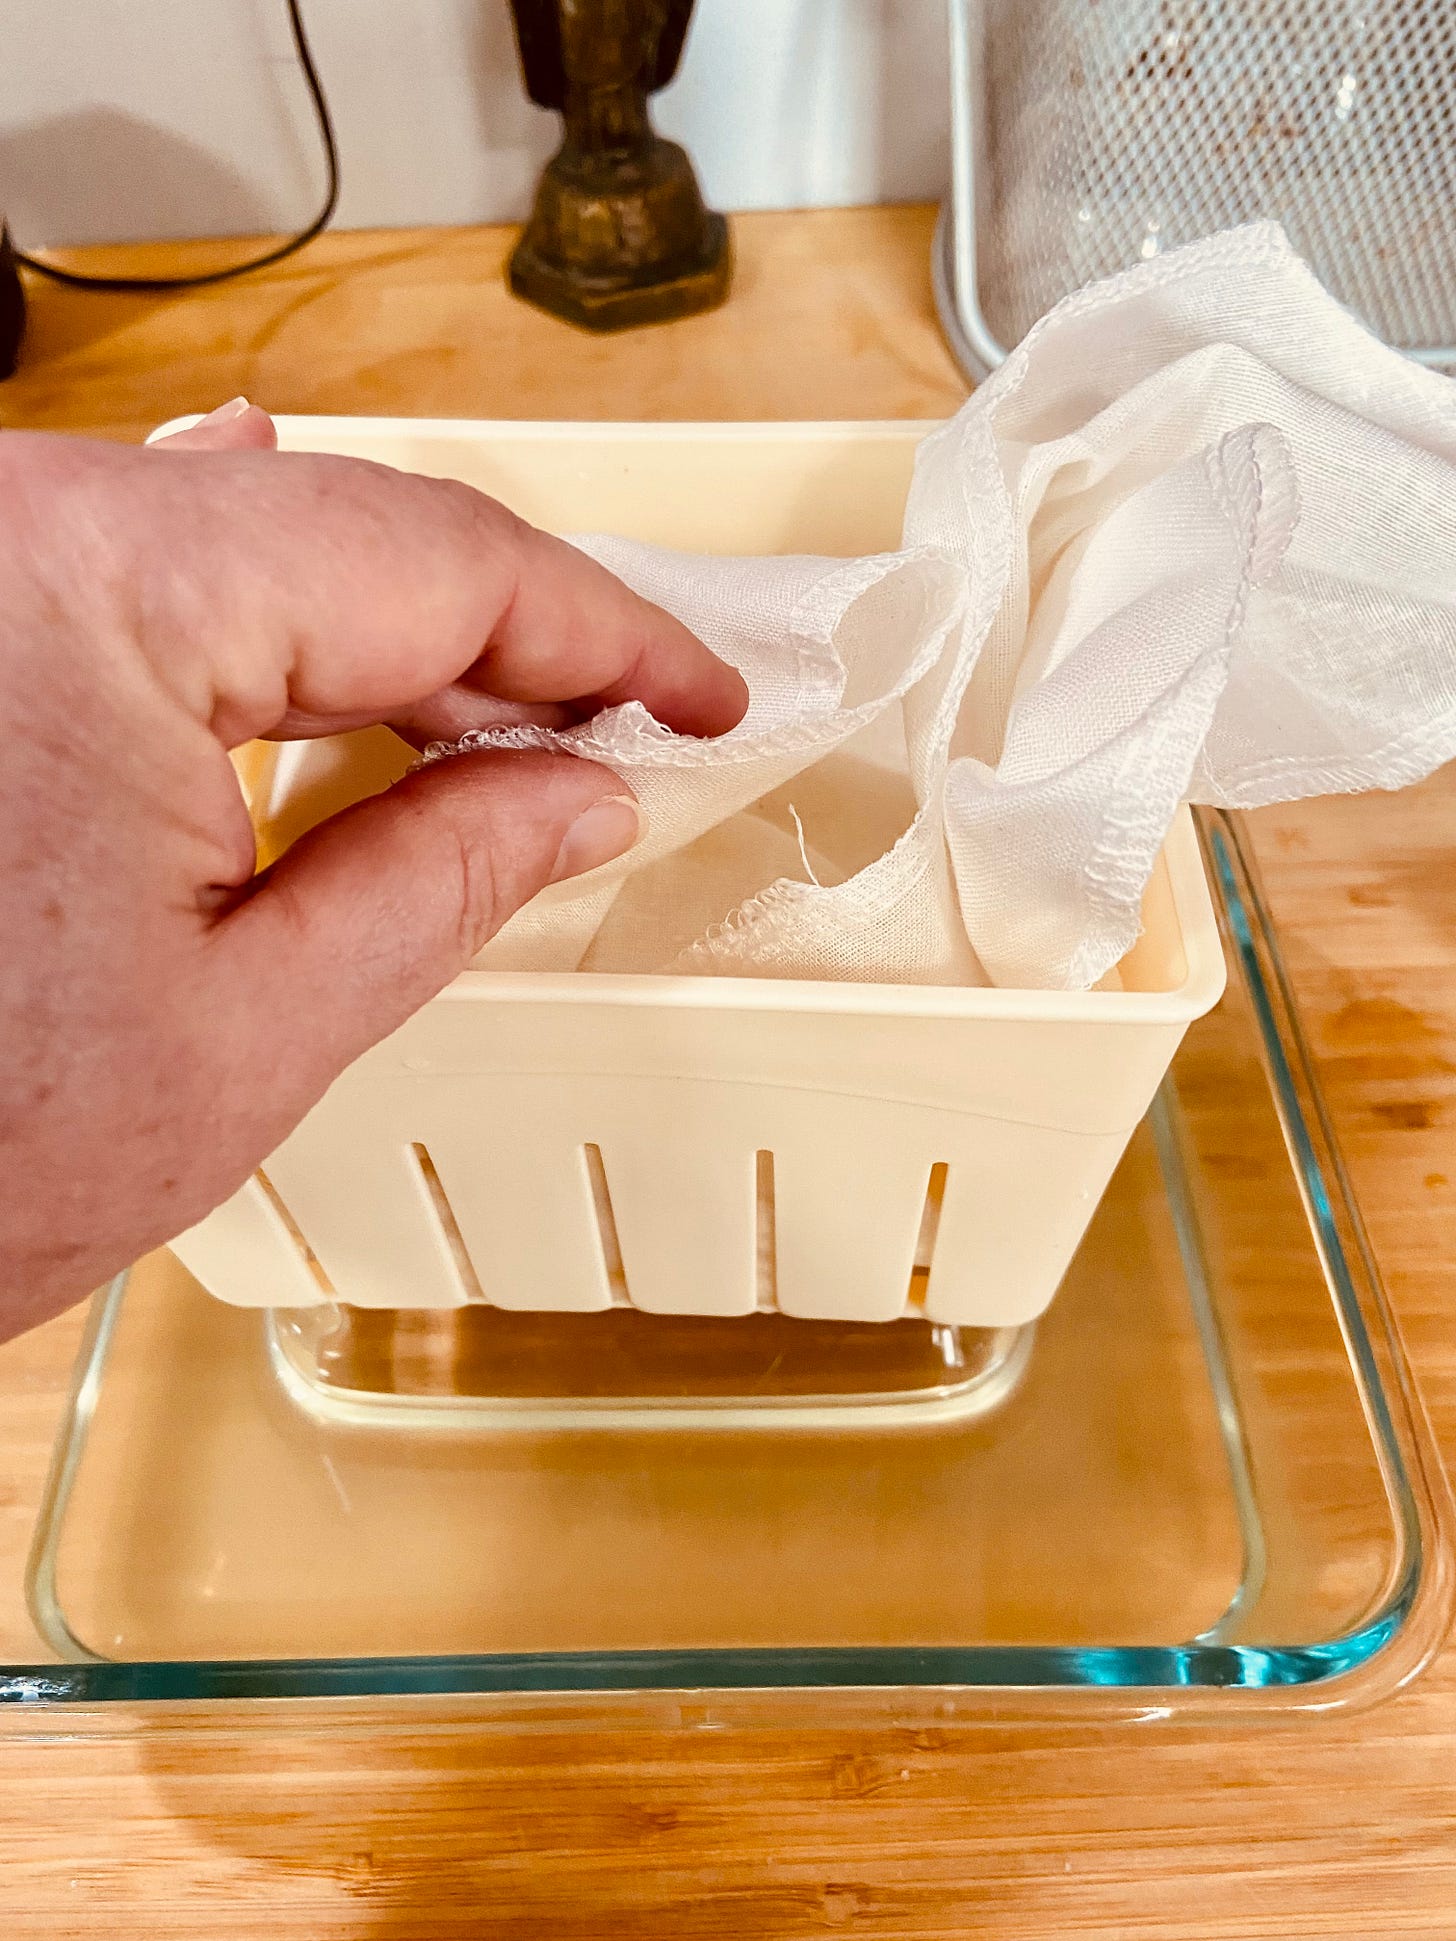
Then I place the bottom of the tofu press on top:
Place the second piece of cheesecloth inside the tofu press.
Bring your contraption over to the pot o’curds. Gently ladle the curds into the cheesecloth, draining as much whey as possible back into the pot. This will prevent our MacGyver contraption from overflowing.
Gently fold the edges of the cheesecloth over the curds and put the top of the press on.
Place a weight on top of the press to help drain the tofu.
Allow the tofu to drain and press for at least 15 minutes for softer tofu, 30 minutes if you want it firmer. I pressed mine for an hour because I am neurotic.
This is not going to be pretty, my friends. We can make tofu, but we don’t have the professional-grade presses or smoothers or whatever it is that large manufacturers have that makes a smooth block. But we made our own tofu, dammit, and that is something to be proud of.
Epilogue
After all this, you will most likely be exhausted. Put your feet up for a while and toast yourself with a beverage of your choice for being brave enough to make something as mysterious as a block of tofu. Call or text everyone you know and inform them in no uncertain terms that you have made something by yourself, at home, that most people buy in the supermarket. Let them know that you have made TOFU.
This will garner one of two responses: 1) “You’re amazing!” or b) “Why??”
Pay the second one no never-mind. You know what you did. And now you are drinking because of it.
But that is not my point. My point is, you have done alchemy once again. You are truly amazing.
Oh, and the byproducts of making tofu, the whey and they okara? As I said, they can be used for all sorts of things, so I jar up the whey and refrigerate it. After a week, I realize I haven’t touched it and I throw it away, which I would imagine most people do.
I did use the okara, though. When mixed with vital wheat gluten, you can make veggie meatballs like these. I minced some onion and carrot and added them to the mix. And since I had a lot left, I rolled out some logs and seasoned them like sweet Italian sausages, which are resting in my freezer for the next time I make peppers and onions.
And, because I am a sucker for dehydrating things, I spread some okara on the dehydrator screens and dried it out, so it can be used in other recipes.
So, to recap: Tofu, soy milk, okara, whey, veggie meatballs, veggie sausage.
That’s a lot of food to get out of three cups of dried beans. I think that’s really neat. (Yes, I still say “neat.”)
Let me know in the comments if you try this out!
Until next time,
Deb



I love this Deb! I’m taking bioengineering this semester and we are making genetically engineered chicken, potatoes and of course we are learning how to genetically engineer people! I’ll also gladly be a paying subscriber. Thank you. I love nothing more than learning new things. You are awesome!